Instagram YouTube

Handmade by Kavya

  • Home
  • Creative Resume
  • Contact Me


Hi folks, 

Taylored Expressions has a new release out and it's all about celebrating new grads and our amazing teachers! I cannot imagine it's already been a year since I have graduated.... In my mind, because I didn't get a ceremony, I haven't 'officially' graduated! Nevertheless, this release gave me an opportunity to make some cards for my friends who will be gradating in a few weeks :)

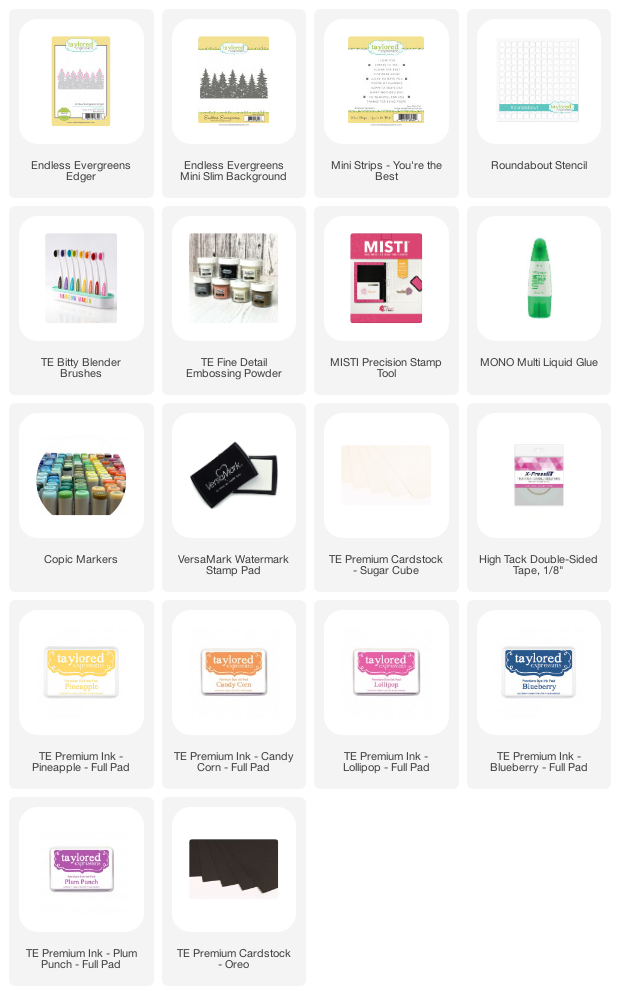
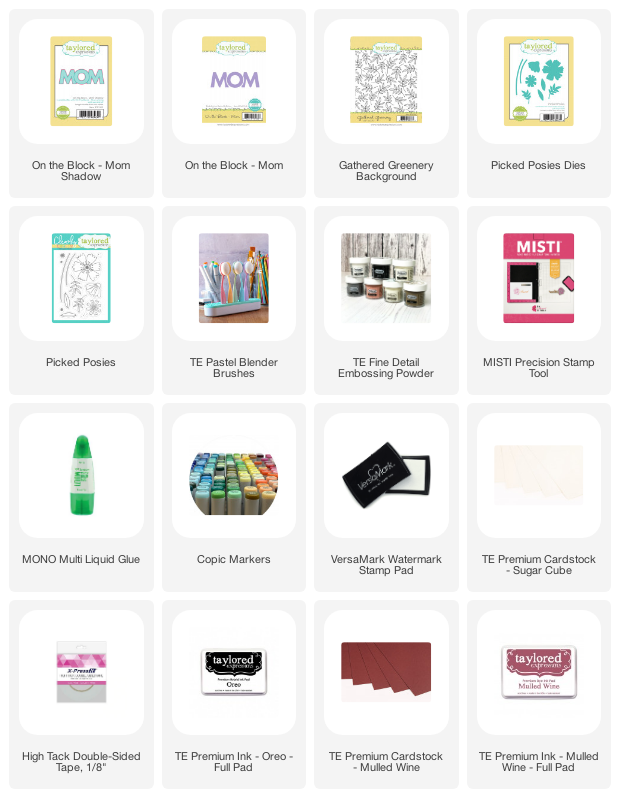
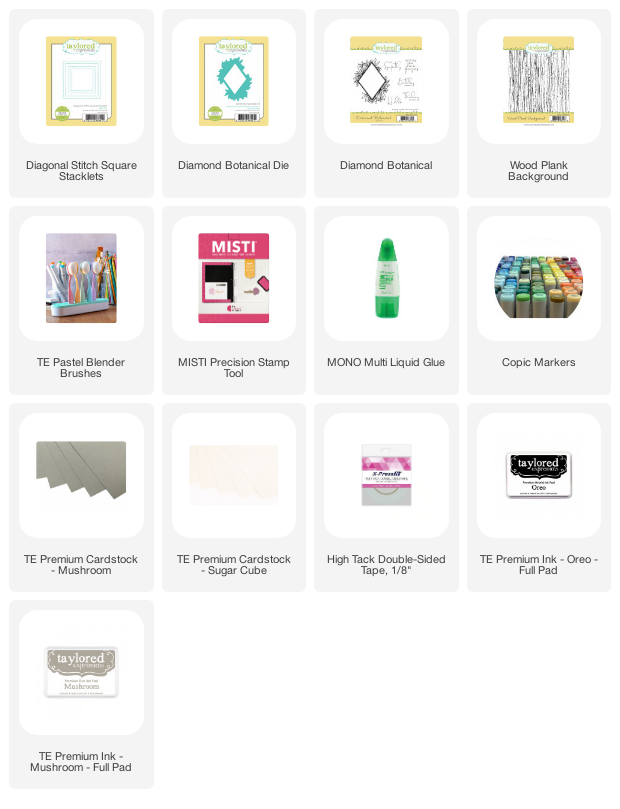
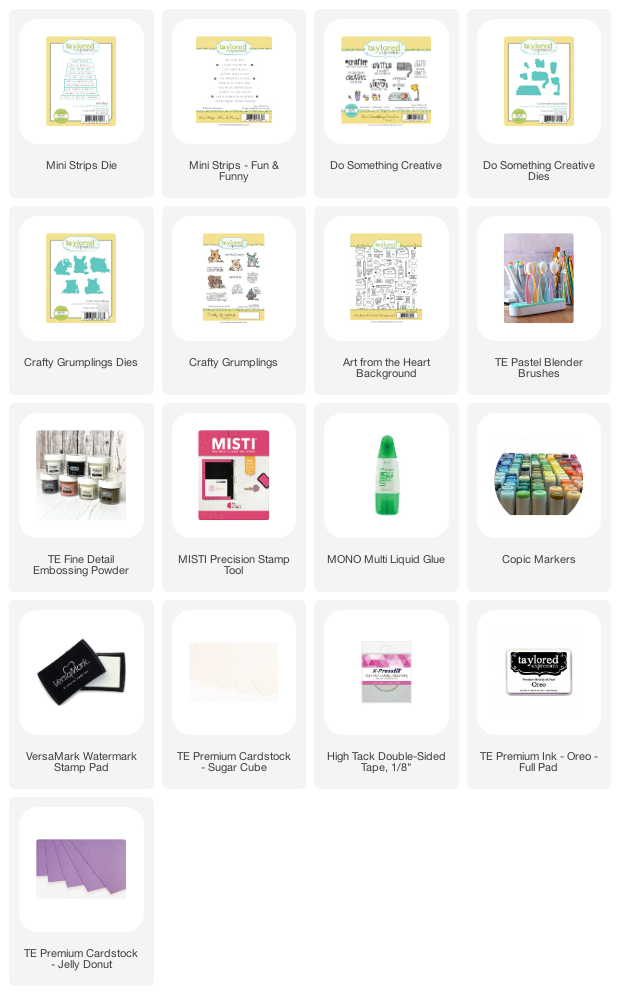
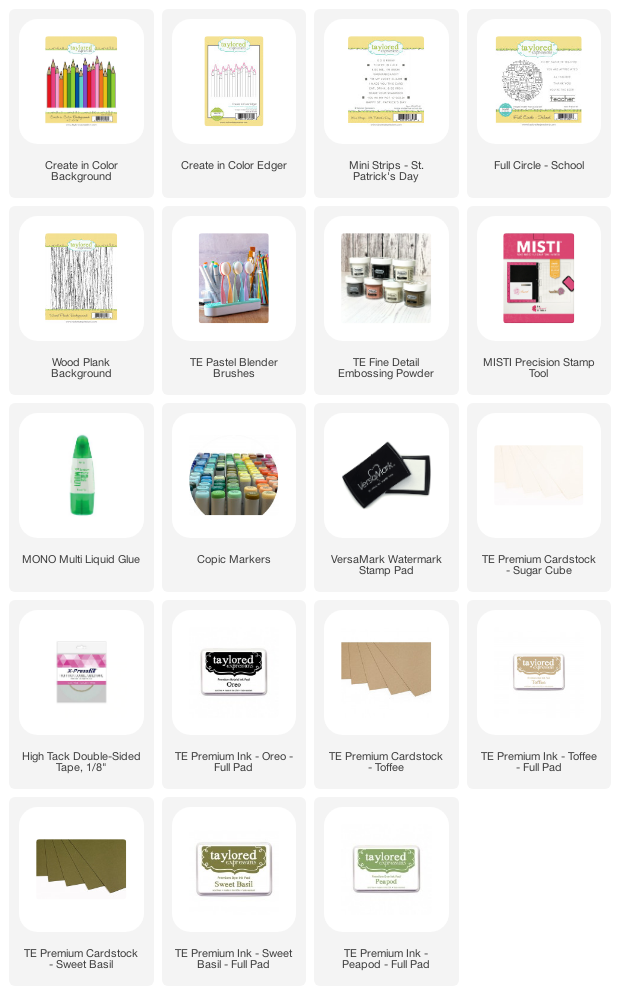
My first card uses a bunch of products from the new release. I first created a chalkboard by ink blending the edges of Sweet Basil cardstock using Peapod and Sweet Basil ink. I then rubbed the Sugar Cube ink directly on the cardstock to create some streaks that look like 'chalk'. For the wood frame, I stamped the Wood Plank background using Toffee Ink on Toffee Cardstock. I also ink blended the edges using Toffee Ink. Then, I heat embossed the adorable Full Circle - School background using white embossing powder. I lightly ink blended on top using Sweet Basil ink so that the background isn't 'pure white' and looks like it's been drawn with chalk. I then heat embossed the On the Block - Grad and Mini Strips - St Patrick's Day on Sweet Basil Cardstock. I didn't apply full pressure while stamping On the Block - Grad so that the heat embossed sentiment looks like it's been sketched/drawn with chalk! Then, I finally, stamped and colored  the pencils from Create in Color edger stamp :) 


Supply List:


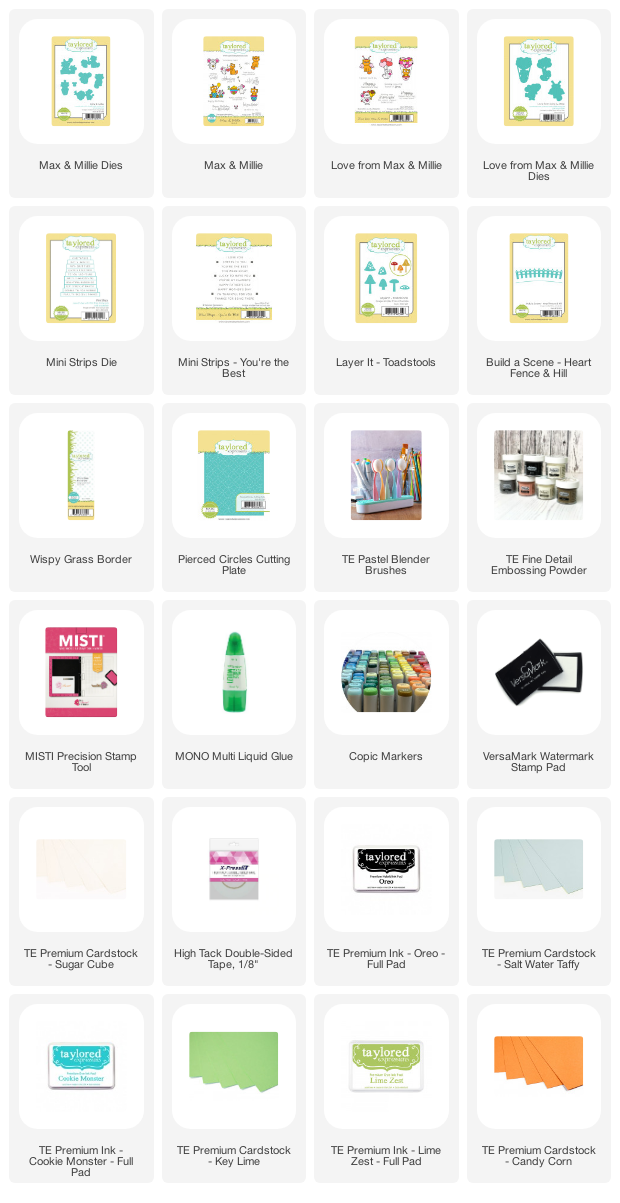
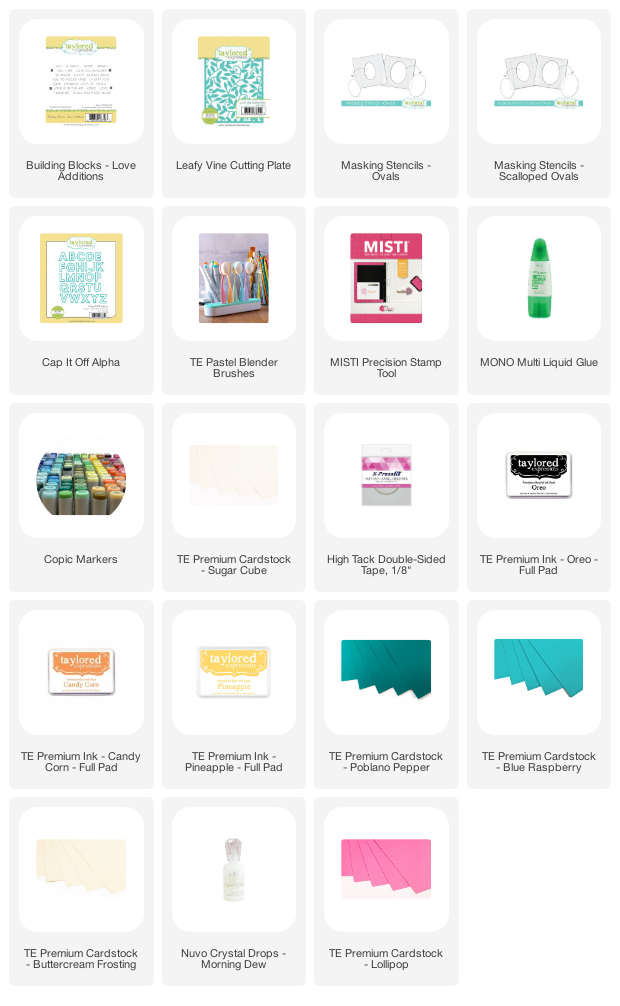
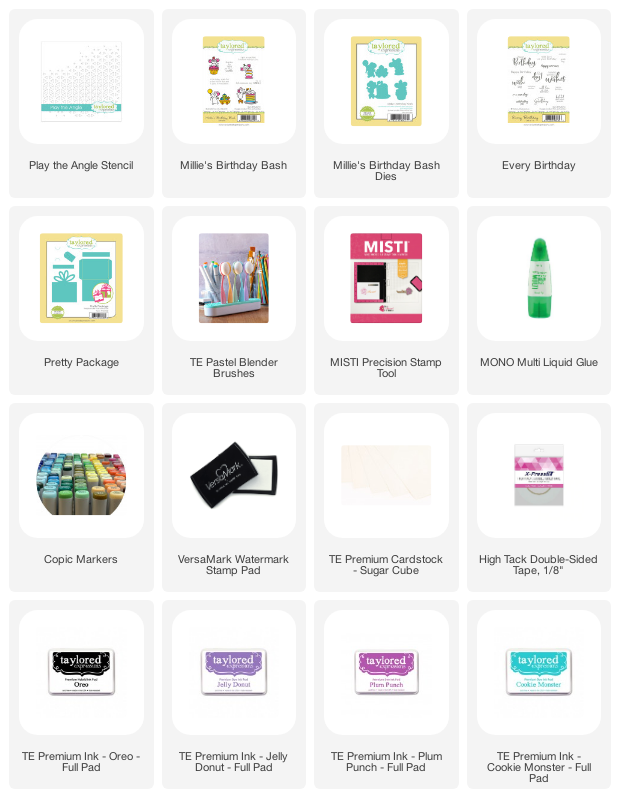
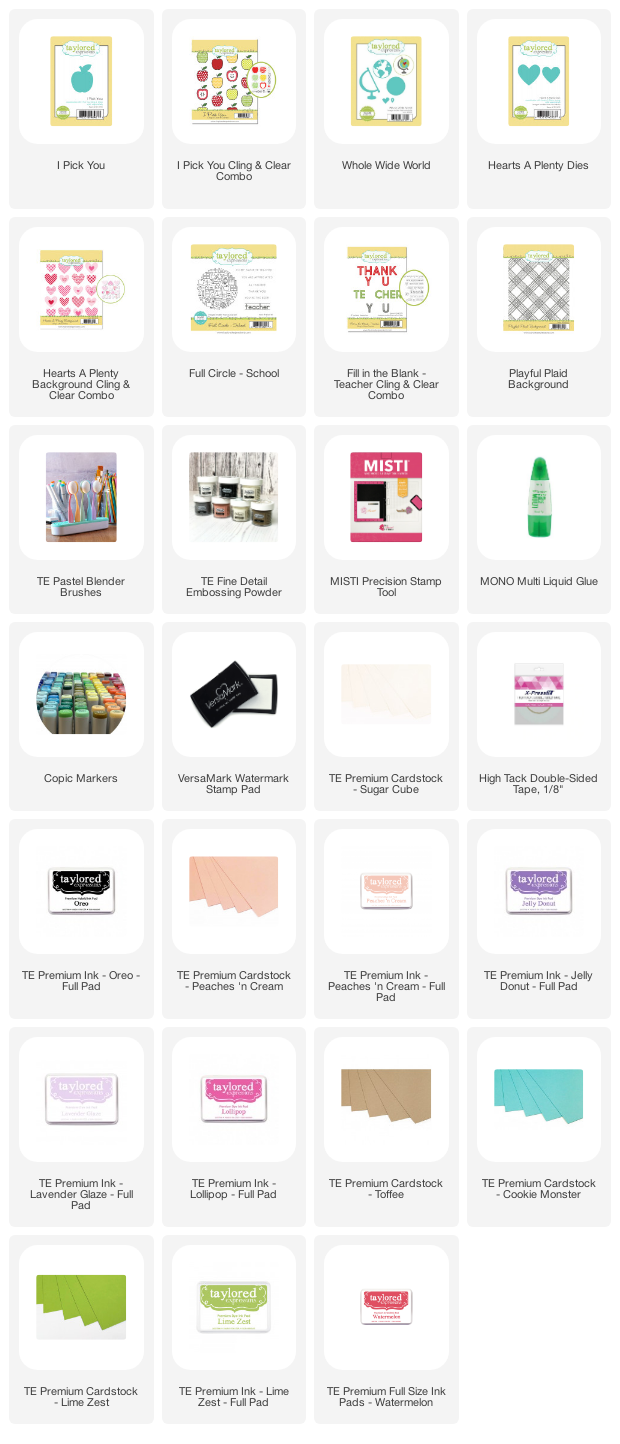
My next card is perfect for all the wonderful teachers in your life! I stamped the sentiment from the Fill in the Blank – Teacher stamp and cut out the letters to arrange them on my card. I used a few hearts from the Hearts A Plenty Cling & Clear Combo set to fill in the ‘O’ and added details with markers and a white gel pen. The globe is created with the Whole Wide World die collection and added a little apple from the I Pick You Cling & Clear Combo set. For the background, I ink blended an A2 cardstock using Peaches and Cream ink and for the desk, I stamped Playfully Plaid using Peaches and Cream ink on Peaches and Cream cardstock. Finally, I stamped a sentiment from Full Circle: School using Lavender ink.


Supply List: 

Get the Hooray Bundle for 15% off the retail price! The bundle includes:

  • On the Block – Hooray stamp
  • On the Block – Hooray Shadow die
  • Congrats die
  • Building Blocks – Well Done stamp
  • Simple Storage for Building Blocks case

The special introductory price of the Hooray Bundle is available Tuesday, April 27th, through Sunday, May 2nd, or while supplies last!


Thanks, 

Kavya

Share
Tweet
Pin
Share
No comments


Hi folks, 
I am super excite about this release! TE is releasing their popular blender brushes in a smaller size along with a black and white blender brush!!! IKR? and to celebrate this, we are also having a mini stencil release. The I Want it ALL Bundle retails for $75 and includes the following:

  • Bitty Blender Brushes (set of 6)
  • Bitty Blender Brush labels
  • Black & White Blender Brushes (set of 2)
  • All 6 new stencils
  • 8.5″ x 11″ Grid Paper Placemat Pad

The special introductory price of $75 on the I Want it ALL Bundle is available now through Sunday, April 25th, or while supplies last!


My first card uses the new Roundabout stencil. Here is a fun little way to create a geometric sunset! I first started of by ink blending the stencil using Blueberry, Plum Punch, Lollipop, Candy Corn and Pineapple dye ink. I then ink blended the edges with the same colors to make it seem more like a 'sky'. I then stamped the Endless Evergreens background using oreo ink. I didn't apply 100% pressure while stamping it so that it looks a bit more realistic. Then, I simply tore the edges to give it a frayed look and then placed it on top of a A2 oreo cardbase, Finally, I added some mini sentiments from 'You are the Best' heat embossed on Candy Corn cardstock.


Supply List:


My next card is a super simple rainbow card that uses the new Mandala stencil. I first stenciled the Mandala using Lollipop, Candy Corn, Pineapple, Granny Smith and Cookie Monster dye inks. I then trimmed the cardstock. I cut some 1/4" strips using Lollipop, Candy Corn, Pineapple, Granny Smith, Cookie Monster and Jelly Donut cardstock and created a rainbow striped background. I then placed both these pieces on some Sea Salt cardstock. Then, I die cut the letters 'FYI' using Cap It Off Alpha out of Sugar Cube cardstock for the outline and vellum for the inside. Finally, I included a sentiment from Simple Strips: Snarky heat embossed on Jelly donut cardstock to finish it off. 


Supply List:


I hope you liked these cards! Be sure to check out the TE blog to see what other have in store.

Thanks,
Kavya 


Share
Tweet
Pin
Share
1 comments


Hi folks, 

Taylored Expressions has a new kit out and it's all about butterflies! Here’s everything included the Butterfly Wishes Kit– which retails for $55:

  • Butterflies Stamp & Stencil Combo set
  • Butterflies die collection
  • Clearly Crafty Butterfly Wishes stamp set
  • Clearly Crafty Sweet Sentiments stamp set
  • Diamond Jewels
  • 6 Custom Envelope Seals
  • 6 Toffee A2 Envelopes
  • Packaged in a zippered pouch with a custom kit label

Limited quantity available. Most items not available to purchase individually.


My first card is another one of my 'vibrant colors on dark cardstock' combos! I don't think I can get enough of them and this kit provided me with so many ways to stretch my supplies as it comes with coordinating dies. This card is super easy to recreate.. I first started off by heat embossing the Butterflies stamp and stencil on Oreo cardstock using white embossing powder. I then stamped the same stamp on white cardstock using Oreo ink and ink blended the wings of the butterfly using the coordinating stencil. I used Pineapple, Candy Corn, Lollipop, Granny Smith, Cookie Monster and Jelly Donut to ink blend the wings. I used the same colors to stamp the inner details using Clearly Crafty Butterfly Wishes stamp set. I also added some details using a white gel pen. I finally die cut all of these butterflies and adhered them on top of the Oreo cardstock. Then, I added a border using Stitched Frame Stacklets 1 and a sentiment using Clearly Crafty Sweet Sentiments stamp set and Heart Stacklet dies. 

Supply List:


For my next card, I created a rainbow watercolor background on some 110 lb watercolor paper. I then masked one side of the Butterflies stamp and heat embossed the bodies using white embossing powder. Later, I stenciled in the wings using Candy Corn, Pineapple, Lollipop, Granny Smith, Cookie Monster and Jelly Donut inks and added the details to the wings using a white gel pen. I finally finished it off by adding sentiments from the Clearly Crafty Sweet Sentiments stamp set.


Supply List:


I hope you liked these projects. Be sure to check out the TE blog to see what the rest of the team has in store!

Thanks,
Kavya 


Share
Tweet
Pin
Share
No comments


Hi folks, 

There is a new Mother's Day themed release from Taylored Expressions and you sure won't be disappointed! I had a blast working with the new products that pair perfectly with some previous releases :) So let's get started! 

My first card is another one of my "bright colors on dark colored cardstock" cards! For this one. I tried something different and pulled out Mulled Wine cardstock from my stash - a color that I am yet to use after 7 months on the DT! I ink blended the edges using Mulled Wine ink as well and stamped the Gathered Greenery background using the same ink multiple times until I was happy with it :) I then colored various images from Picked Posies using colored pencils and markers and placed them at the edge of the card. I then used the new On the Block Mom die to create a vertical 'MOM'. I simply cut each alphabet separately and placed them strategically so that you cannot see the overlapped parts of the stamp. I also stamped the MOM using a lighter ink like Salt Water Taffy and then colored on top using Copics and colored pencils. Then, I added some Nuvo drops to finsh off my card (they actually hide a bunch of mistakes like adhesive, creases etc!)


Supply List:

My next card is a critter card that shows you a fun way to use the new Pierced Circles cutting plate die. This die adds a subtle background when used and is perfect for those critter cards when you don't want to add too many elements but think your card is 'lacking' in some way! I first started of by ink blending the edges of a Salt Water Taffy cardstock using Cookie Monster ink. I then used the Wispy Grass Border die and the hill die from Heart Fence and Hill die to create my grass and land. I used Key Lime cardstock for this and also ink blended the edges using the same ink. I then die cut all these elements using the Pierced Circles cutting plate die. I had some left over Layer It Toadstools from a previous project so I decided to use them here! Then, I stamped On the Block Mom using a litter shade of ink and then colored on top using colored pencils and alcohol markers. For my critters, I used Max and Mille and Love from Max and Mille. Finally, I added a sentiment from Mini Strips - You're the Best by heat embossing it on some Candy Corn cardstock! 


Supply List:

Right now, through Sunday, April 11th (or while supplies last), You can get the Picked Posies bundle for 15% off! The bundle includes the Clearly Crafty Picked Posies stamp set, Picked Posies die collection, and Gathered Greenery Background stamp. The discounted bundle price is only available through Sunday, April 11th.


Be sure to check out what the rest of the DT has in store! You won't be disappointed!

Happy Crafting,
Kavya 


Share
Tweet
Pin
Share
No comments


Hi folks, 

Taylored Expressions is releasing all the products from the kits for individual sale! In case you missed the kits, now is your chance to grab them. Today, I am using the Heart Fence and Hill die from Like Gnome Other... This is such a gorgeous scene builder die that can be used with all your critter cards! I used it to create this adorable card inspired by Monsters, Inc. I simply modified some stamps from TE to look like Mike and Sully...

For Mike, I used the penguin from Fluffy Friends: Holidays. I masked the eye and inner lines and drew the eye and smile! For Sully, I used the famous Big Grumpy! Then, I simply colored the images to look like them :) For the hill, I used the 'Hey There Sunshine" stencil on lollipop cardstock using lollipop ink. I also used the Hot Spots stencil with Candy Corn ink and cardstock. Then I finished it off by adding a Heart Fence die cut using Sugar Cube cardstock. 


Supply List:


I hope this inspires you to stretch your supplies and use them creatively! Also, be sure to check out what the rest of the design team has in store for you!

Thanks,
Kavya

Share
Tweet
Pin
Share
No comments
Hi folks, 

If you saw any projects on social media using the Stamp Joy products and wanted to get them.. here is your chance! Today's project has a little backstory... I am always out of ideas for cards when it comes to florals! Most of my floral cards follow the formula - ink blended background + colored florals on one side or the center. I also find myself using the exact same color scheme over and over again. If you are in the same situation as me.. here is a fun little trick to get more inspiration! 

I LOVE browsing through clothes and prints by fashion designers. Each season has a specific style, layout and color scheme and they almost never repeat them. I like looking at Indian clothes; specifically prints by Masaba and designer wedding lahengas! Today's card was actually inspired by a lahenga that I pinned a while back...


Isn't this absolutely gorgeous? I love the tiny blue and pink mirror work on a bright yellow background. I tried to pick some elements from this dress and recreate them on a card. For example, I didn't have bling at hand so I decided to substitute with a pierced cover plate and used Nuvo Glitter drops. Can you guess the rest?

I first started off by using die cutting Pineapple cardstock using the Pierced Lattice Cutting Plate. I then placed a Lollipop cardstock behind this. I then used Heart Stacklets and Stitched Heart Stacklets die to die cut the hearts out of Sugar Cube cardstock and glitter cardstock. Later, I stamped various images from Full of Flowers - Single and colored them using colored pencils and alcohol markers. Finally, I stamped a sentiment from the same set using Cookie Monster ink and added a sentiment from Building Blocks Love Additions heat embossed on Lollipop cardstock. Finally, for the faux mirror look, I used Nuvo Goldcoast Glitter drops. 


Supply List:
I hope you enjoyed this fun little inspiration! If you get inspired by clothes too, feel free to comment on my post on IG or below. Be sure to check out the TE blog for more inspiration from the rest of the DT.

Happy Crafting,
Kavya 


Share
Tweet
Pin
Share
No comments


Hi folks, 

Taylored Expressions has a new stencil themed release that goes hand in hand with the previously released masking stencils. I don't use stencils that often but I had a blast trying to combine them with my usual style...Let's get started! 


My first card uses the Diagonal Stitch Square stacklets. I first used the large 4 dies to die cut the edges of the card to create a nordic look. I then stamped the Wood plank background on Mushroom cardstock and ink blended the edges using Mushroom and Oreo ink. I also added some paint splatters to make it look more like wood. Then. I used the 2 small square dies to create my center piece. I stamped a sentiment from the Diamond Botanical stamp set and also fuzzy cut the floral elements from the same stamp set so that it surrounds the large square die! Another fun way to stretch those supplies! 


Supply List:

My next card uses the Oval Scalloped and Oval Masking Stencils. I first started off by diecutting Buttercream cardstock using the Leafy Vine cover plate die. I then masked the center of another buttercream cardstock using Pinepple dye ink and Oval Scalloped masking stencil. I then ink blended the center of the die cut cardstock using Pineapple and Candy Corn dye ink using the Oval masking stencil. Then, I simply layered the two and added the word 'Love" diecut using the Cap it Off Alpha dies. Then, I simply added a sentiment from 'Building blocks: Love' to finish it off :) 


Supply List: 


My next card is a cute critter card where Millie and Max make a quick appearance! I first ink blended the squares using the Square masking stencil, Lollipop and Jelly Donut inks. I then ink blended the scalloped squares using Pink Champagne! As always, I added some paint splatters! Then, I simply added critters from 'Love from Max and Millie' and used a sentiment from the same set :) 


Supply List:
 
I hope you enjoyed this fun release! 

Happy Crafting,
Kavya


Share
Tweet
Pin
Share
No comments


Hi folks, 

Did you have your eye on a few of Taylored Expressions exclusive products that slipped away before you could get your hands on them? (By exclusive, we mean products that you could earn free with a qualifying purchase.) Never fear, because now you will be able to purchase some of these exclusive stamps and stencils this week! Here is some cool inspiration if you are wondering how to use them! 

First stop, is this beautiful floral card made using the spring spray stamp and big hello stamp set! I first started off by ink blending the edges of an A2 blueberry cardstock using blueberry and blue corn ink. I then added some paint splatters (... like always :D). Later, I stamped and colored some images of Spring Spray using alcohol markers and colored pencils. Finally, I heat embossed the 'hey' and 'bonjour' from Big Hello stamp set and arranged the floral bunch around the large sentiment! 


Supply List: 


My next card is a fun rainbow card that every single crafter can relate to! I first created a rainbow background on watercolor paper using watercolors. I then heat embossed the 'Art from the Heart' background using white embossing powder. Later, I stamped various images from Crafty Grumplings and Do Something Creative stamp set an arranged them on a smaller rectangle to create a focal point. Finally, I used a sentiment from the Mini Strips - Fun and Funny set to finish it off! I mean, I could have spent $4 on a card from the store but I decided to spend 2 hours trying to make this card... and over $100 on supplies! THE STRUGGLE IS REAL!!!


Supply List:


My final card uses the popular 'Pretty Package' Die with 'Every Birthday' stamps set. I simply ink blended the bow part of the die using Jelly Donut and Plum Punch inks and the 'box' part of the die using Cookie Monster ink and Play the Angle stencil. I then finished off the card by
stamping sentiments from the 'Every Birthday' stamp set on the inside and front of the card and added an image from Millie's Birthday Bash :) 


Supply List: 

That's it folks! I hope these projects inspire you to try out some of the new products :) 

Thanks,
Kavya 


Share
Tweet
Pin
Share
No comments
Newer Posts
Older Posts

About me


Hello! I am Kavya. Welcome to my blog where I share my love for all things papercrafting and cardmaking. I am excited that you decided to stop by and look around.

Follow me on Social Media

  • Instagram
  • YouTube

Cards by Brand

Alex Syberia altenew Mama Elephant MFT newton's nook Reverse Confetti SugarPea Designs Sunny Studio Stamps Taylored Expressions Wow Embossing

recent posts

Blog Archive

  • ▼  2023 (3)
    • ▼  March (1)
      • Easter Greetings from TE
    • ►  February (1)
    • ►  January (1)
  • ►  2022 (34)
    • ►  November (4)
    • ►  October (1)
    • ►  September (3)
    • ►  August (1)
    • ►  July (1)
    • ►  June (5)
    • ►  May (5)
    • ►  April (2)
    • ►  March (5)
    • ►  February (3)
    • ►  January (4)
  • ►  2021 (47)
    • ►  December (1)
    • ►  October (3)
    • ►  September (6)
    • ►  August (5)
    • ►  July (2)
    • ►  June (4)
    • ►  May (3)
    • ►  April (4)
    • ►  March (4)
    • ►  February (6)
    • ►  January (9)
  • ►  2020 (28)
    • ►  December (7)
    • ►  November (7)
    • ►  October (2)
    • ►  September (11)
    • ►  August (1)

Followers

Check out more cards on my Instagram here Watch Cardmaking videos on my YouTube channel here

Created with by BeautyTemplates | Distributed By Gooyaabi Templates