Instagram YouTube

Handmade by Kavya

  • Home
  • Creative Resume
  • Contact Me


Hi folks, 

TE has a new Christmas Gifting Kit that has many unique products that make packaging and decoration super adorable! As always, I have included some fun ways to stretch your supplies and mix and match products from the release :)

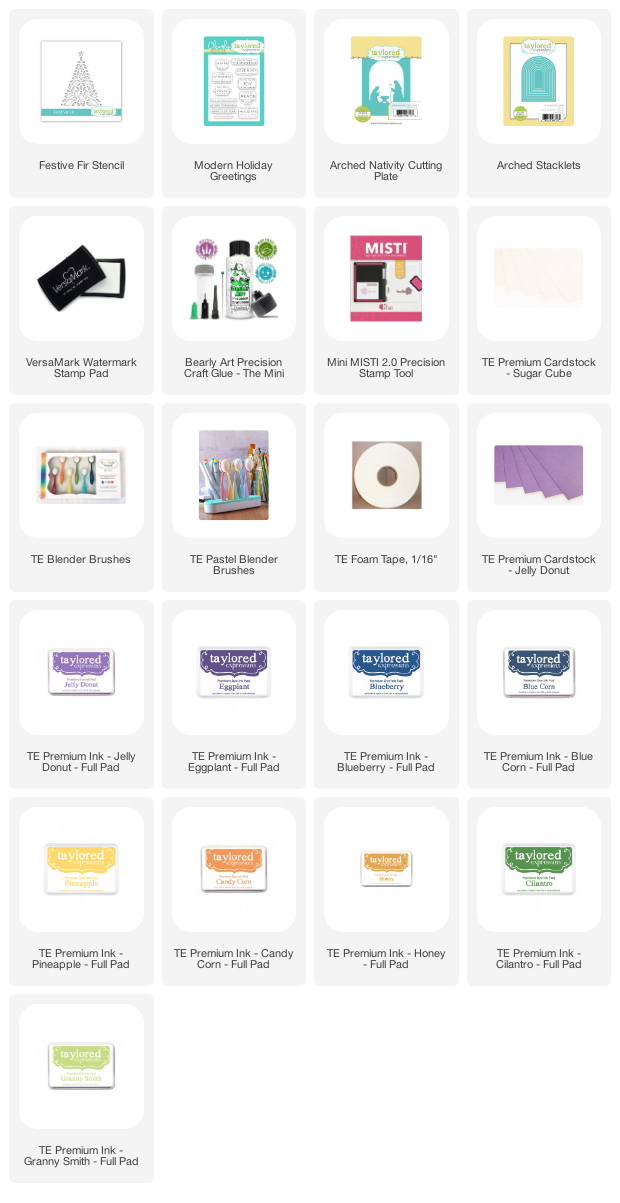
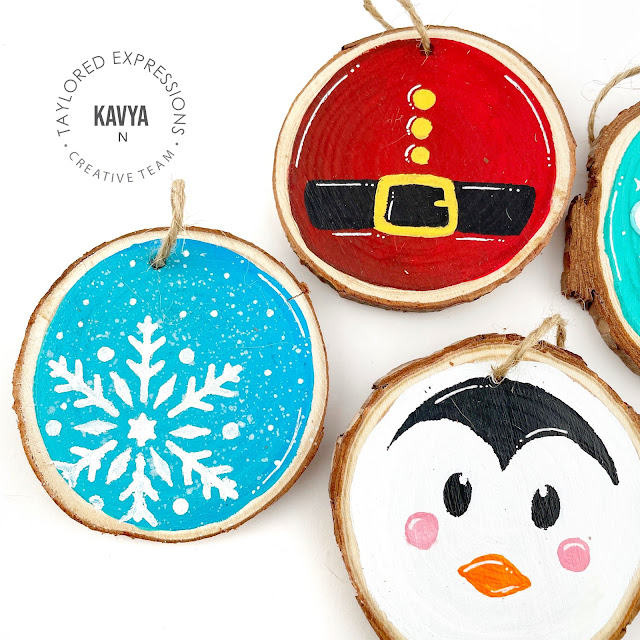
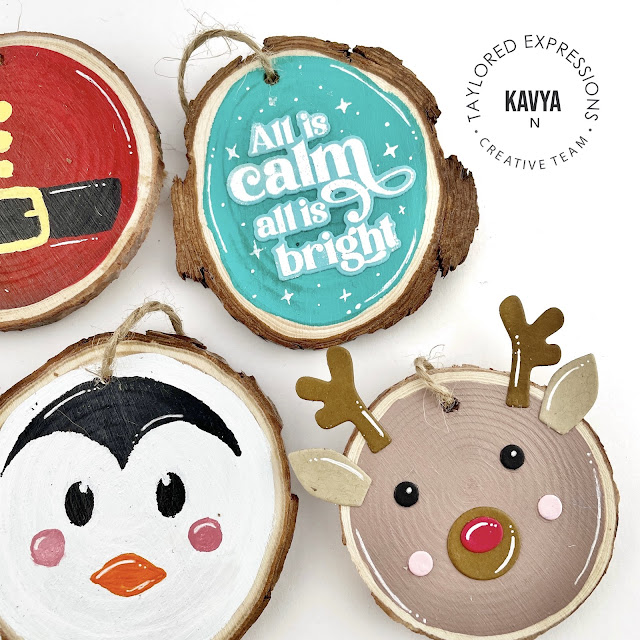
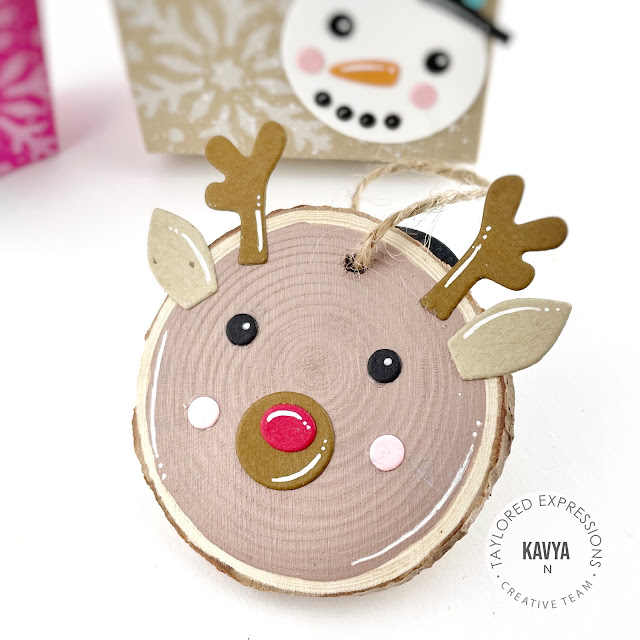
My first project uses the new Deck the Halls Ornament Kit. This kit comes with a set of stencils that can be used to paint cute little Christmas Critters. You can also stretch this kit by using the Christmas Critter Clips and heat embossed sentiments to decorate the ornaments! This can get a bit messy and if you are like me and want a 'cleaner' look while using the stencils, try the following tips:
  • Apply as much Pixie Spray as you can! Make sure your stencil adhered to the ornament well so that the pint doesn't seep through the stencil 
  • If you aren't comfortable with the foam daubers in the kit, feel free to use a paint brush! 
  • For some of the ornaments, I just used the stencil to draw an outline and then painted inside using a fine paint brush :) 
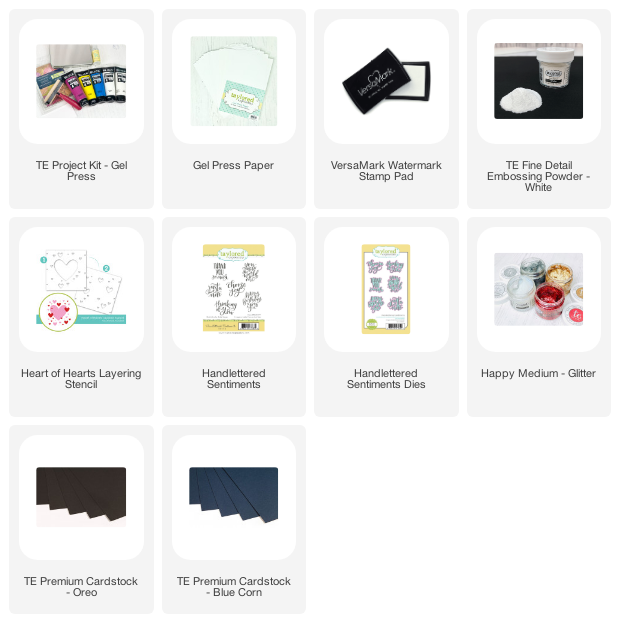
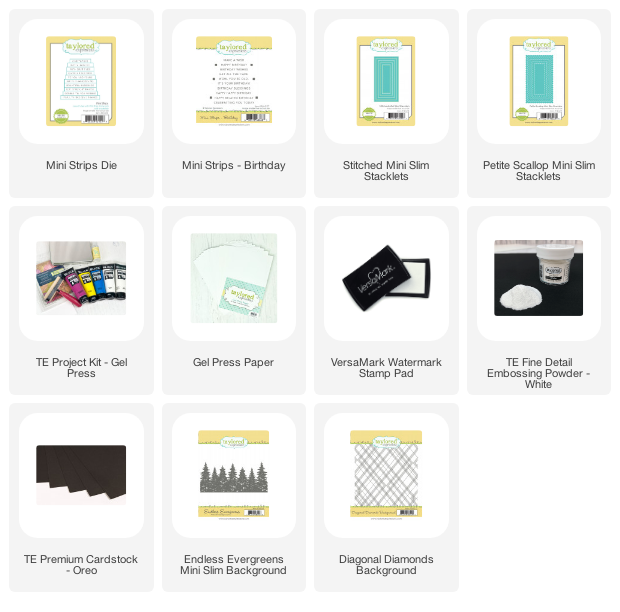

Supply List:


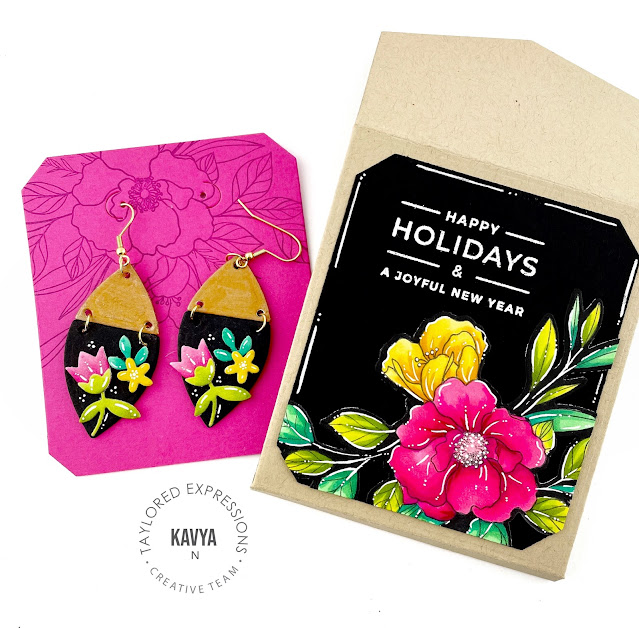
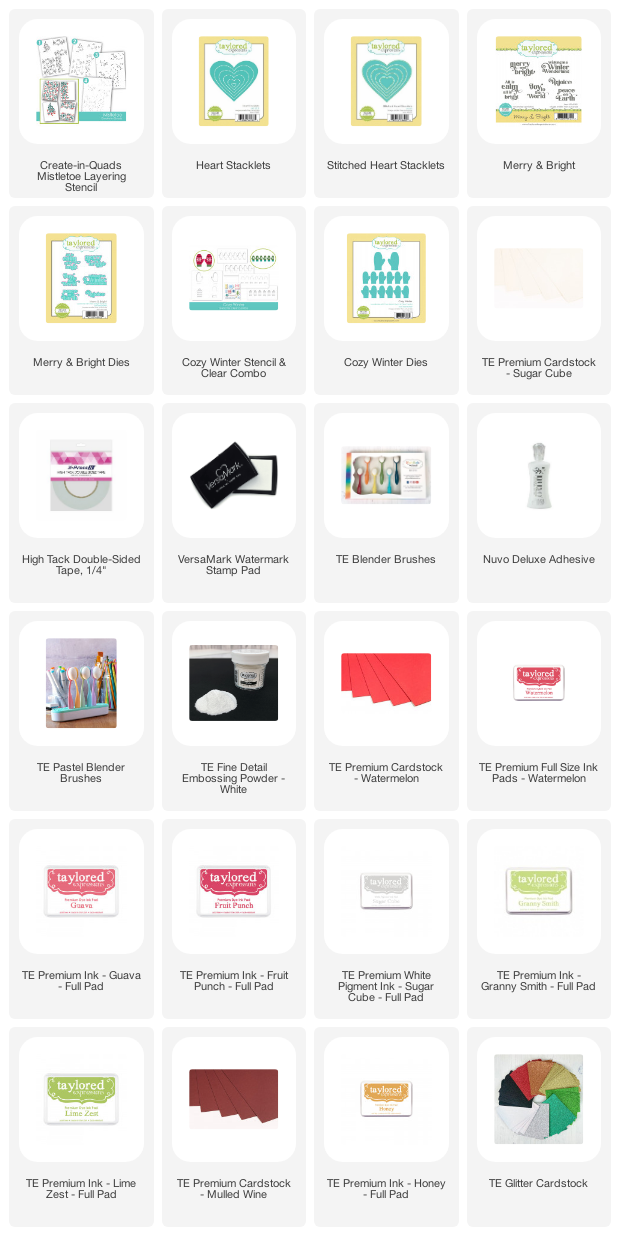
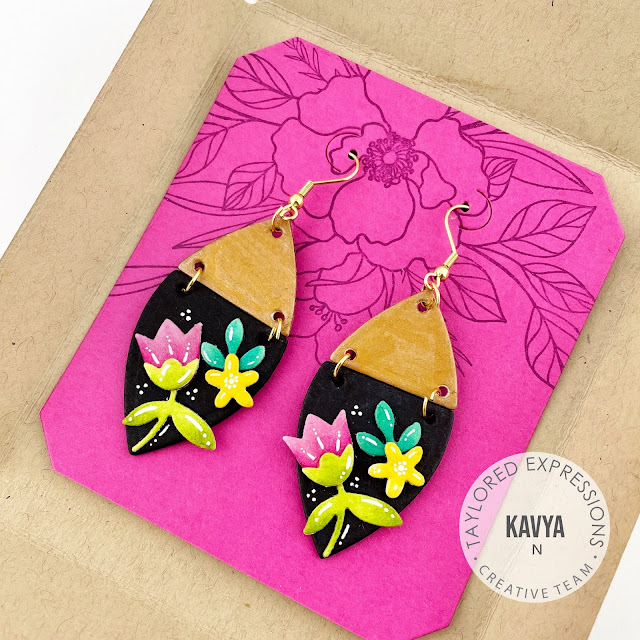
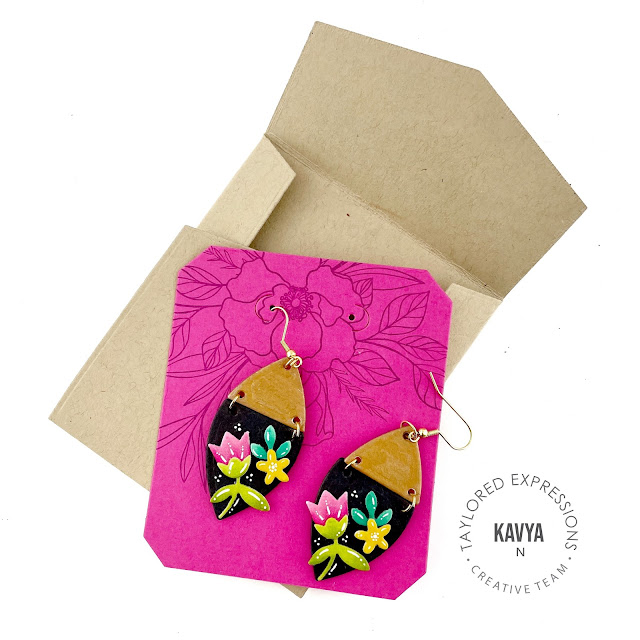
My next project uses the new Designer Dangles - Pretty Pouch. This two piece packaging die is perfect for gifting your designer dangles! I created a matching gift package for some earrings I created a while back. In order to personalize the pouch, I stamped the Spring Spray stamp set on the inner holder using matching dye ink and also used it on the top of the pouch. 
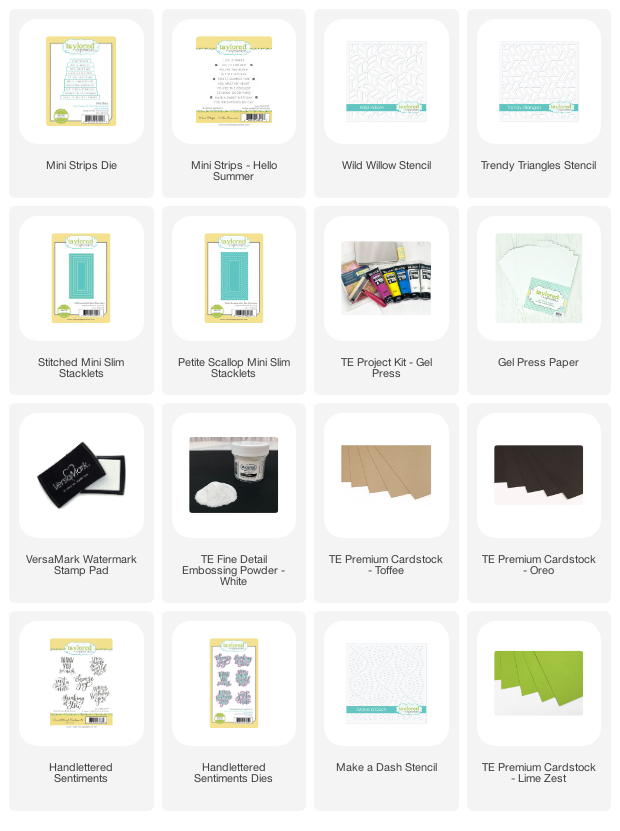
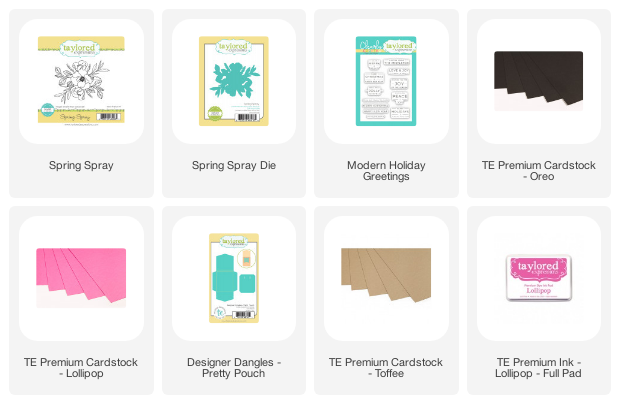


Supply List:


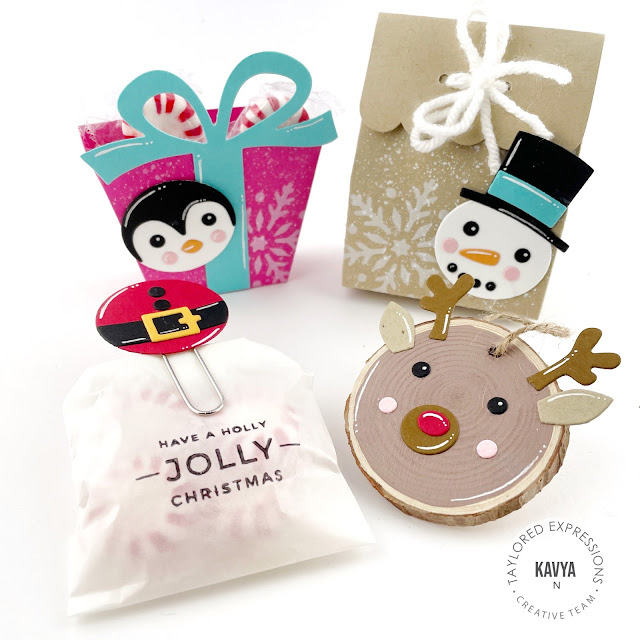
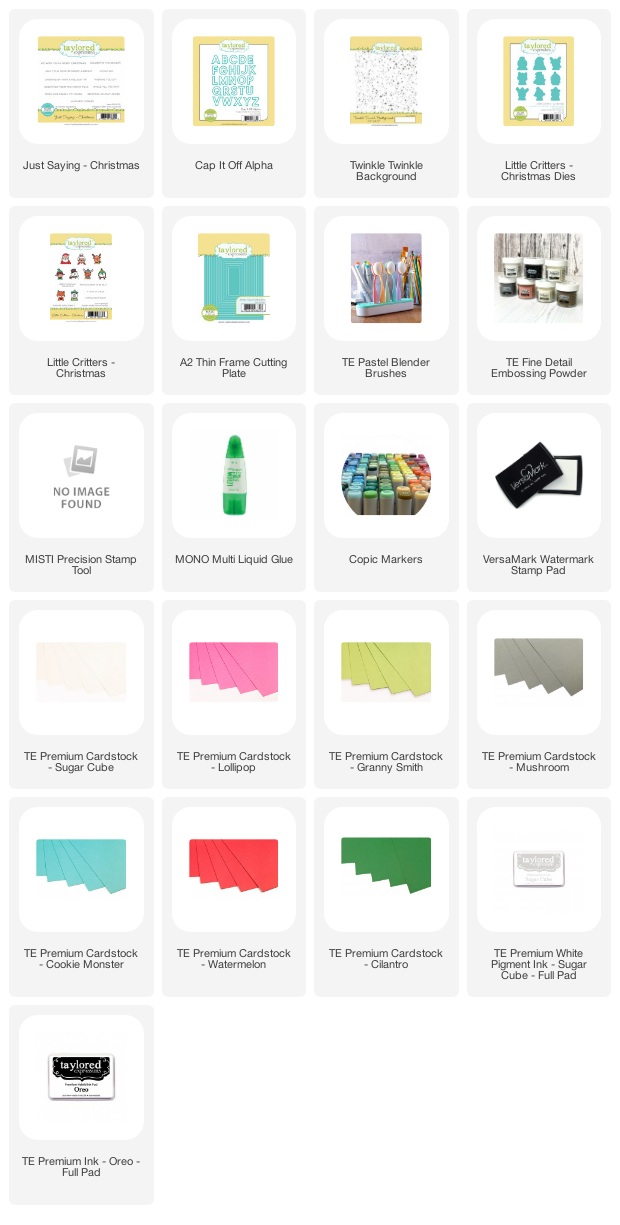
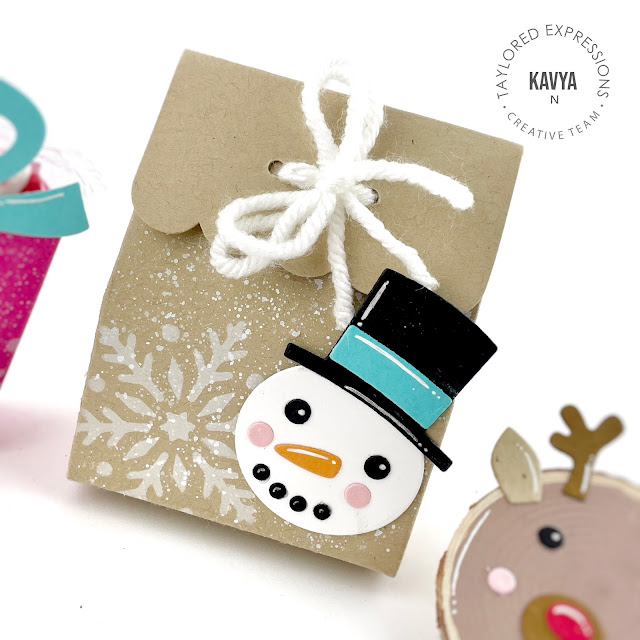
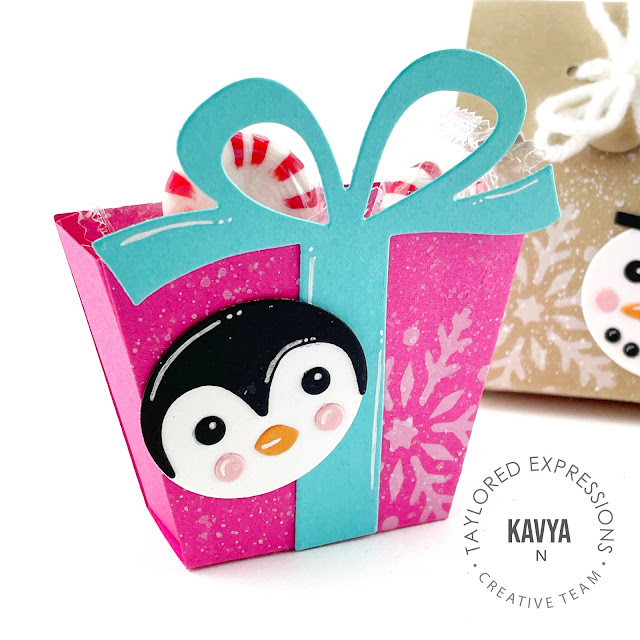
My last project shows you all the fun little ways in which you can use the new Christmas Critter Clips. These dies can be used with both felt and paper. I used cardstock for all my project today. Feel free to use them to decorate boxes, ornaments, candy holders etc! I had some Scalloped Treat Bags from the Valentine's Release that I ended up using. Unfortunately, I just released this isn't sold in the TE store anymore. Feel free to use any similarly sized treat bag instead. I also stamped sentiments on white glassine bags using black stazon ink to personalize them...The possibilities are endless with this one! 
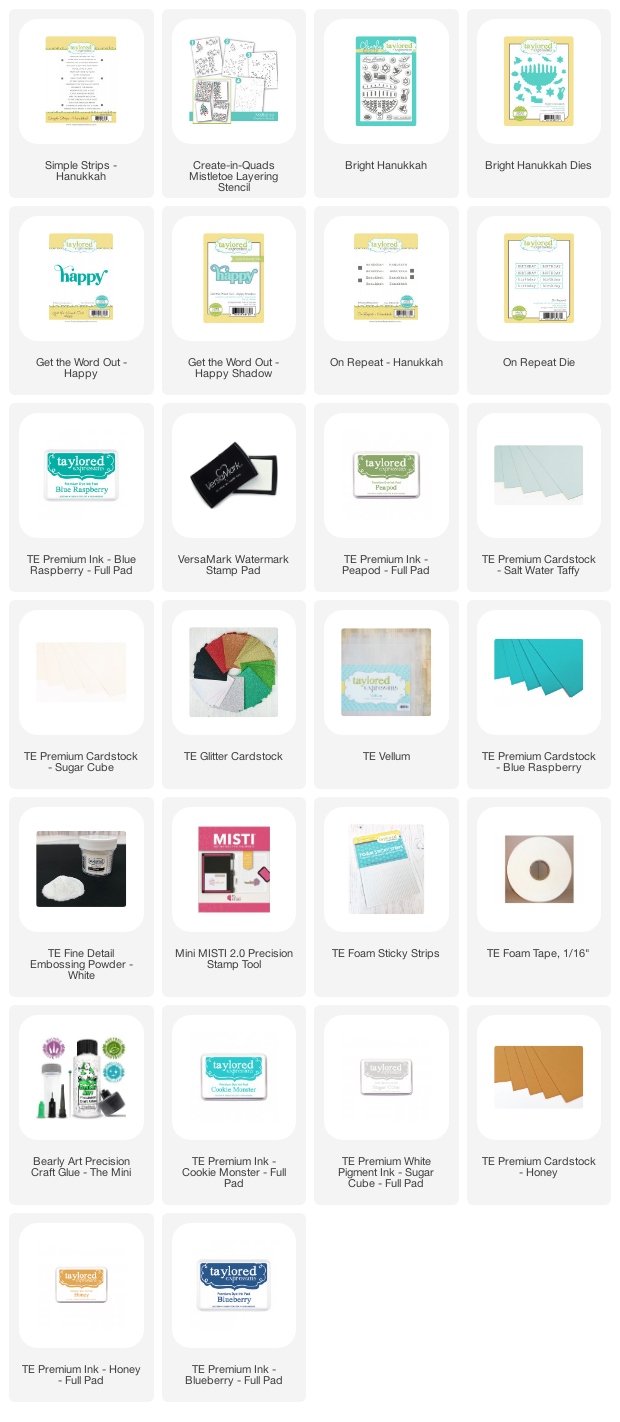


Supply List:

That's it folks! Hope you liked this fun release :)

Happy Crafting,
Kavya


Share
Tweet
Pin
Share
No comments


Hi folks, 

TE has a new kit and it's all about gel printing! I have never tried it before so I was excited to get my hands on it and try some techniques.. There are so many endless possibilities with the kit and each new background is unique from the previous! It's a bit difficult to replicate the exact pattern so just go with the flow! 

My first card makes use of the previously released Heart of Hearts stencil to create a cosmic themed card! I first started off by using the blue, magenta and white acrylic paint in the kit to create a background on the gel plate. I then placed the large heart stencil on the plate and placed an A2 sheet of Oreo cardstock on top to get the 'heart' prints. In this case, I used the hearts of hearts stencil to mask. Then, I used the gold happy medium to apply the second stencil in the set. To make it seem like galaxy, I splattered some white, blue and purple paint and added some stars using a white gel pen! Finally, I added a sentiment from Handlettered Sentiments to finish off the card :) 


Supply List:


My next card uses a gel printed background to create a gorgeous sunset! I used shades of pink, orange, yellow, green and teal acrylic paint that I had on hand to create a background on the gel plate. Then, I stamped Endless Evergreens using Staz On (Oreo ink doesn't work well on acrylic paint) die cut the panel using Stitched Mini Slimline Stacklets. I heat embossed the top of the background using Diagonal Diamonds and white embossing powder. Finally, I matted it on top of oreo cardstock die cut using Petite Scallops  - Mini Slimline Stacklets and added a sentiment from Mini Strips - Birthday to finish off my card :) 


Supply List:


For my next card, I created a background on the gel press using green, yellow and red acrylic paint. Then, I used various stencils from this release like Wild Willows, Trendy Triangles and Make a Dash and added it to the gel press background using titanium white paint and sponge daubers. Then, I matted it on top of Toffee cardstock just like my previous card and added sentiments from Handlettered Sentiments and Mini Strips - Summer to finish my card!


Supply List:


That's it folks! Hope you liked today's inspiration!

Happy Crafting,
Kavya


Share
Tweet
Pin
Share
No comments

Hi folks, 

I am back with another fun release from TE and it's all about Hanukkah :) This release has so many fun products that can be used to create beautiful holiday cards..

I first started off by creating a fun olive branch themed card by using the Create in Quads Mistletoe layering stencil and Cookie Monster, Blueberry and Sugar Cube ink and saltwater cardstock. I ink blended the edges using Cookie Monster ink and also splattered some white paint to make it a bit more dramatic! Then, I stamped various images from Bright Hanukkah stamp set using Honey, Blueberry and Cookie Monster dye inks. Fionally, I added a sentiment using Get the Word Out - Happy heat embossed on blue glitter cardstock (you might not get a perfect embossed look with the embossing powder so I recommend going over it again using Copic opaque white liquid available in the TE Store to fill in the gaps) and, On Repeat - Hanukkah and Simple Strips - Hanukkah on Honey cardstock.  Wasn't that simple?


Supply List:


That's it for today folks... Happy Crafting! 


Share
Tweet
Pin
Share
No comments


Hi folks, 

I am back with another fun TE release! This one is the biggest of the year and it's super adorable (I know I say that for EVERY release but TE hasn't disappointed me yet!). I have three totally different projects to share with you all and every single one of them shows you a fun way to stretch your stash so let's get started! 

My first card is a fun nativity themed card. This card isn't exactly slimline or A2 as I trimmed the edges of an A2 sized card as I felt an A2 sized card had a bit too much 'white space' for my liking. Feel free to stick to an A2 sized card if you like that! I first started off by ink blending the festive fir using Cilantro and Granny Smith inks for the leaves and Pineapple and Honey for the stars. Then, I ink blended the edges using Blue Corn, Blueberry, Pineapple and Candy Corn dye inks. The green portion of the background was just the pineapple and blueberry ink mixed together :) Then I splattered some white paint and added some sparkles using a white gel pen. Later, I die cut some Jelly Donut cardstock using Arched Nativity Cutting Plate (trimmed the top half and I only used the bottom!) and used two concentric Arched Stacklets to create an arch. I ink blended the edges of both using Jelly Donut and Eggplant and splattered watered down white paint to make it a bit more dimensional. Finally, I heat embossed a sentiment from Modern Holiday Greetings to finish it off! 


Supply List:


My next card uses a bunch of new products from the release. I first started off by creating a fun Christmas themed background using the new Create in Quad: Mistletoe stencil on Watermelon cardstock using Guava, Fruit Punch and Sugar Cube inks. As the stenciled background is a bit smaller than A2, I ink blended the edges using Watermelon to make it seem seamless. I then splattered some white paint and added details using a white gel pen. Then, I used the two Heart Stacklet and gold glitter cardstock to create a heart frame. For the large mittens, I ink blended them using Cozy Winter stencil and Granny Smith, Lime Zest and Honey inks. I the heat embossed a nordic star in the center and added more details using a white gel pen. For the mitten string, I found some embroidery floss that matched TE's honey color and braided it and turned the ends to tassels. Then, I arranged the mittens to make it seem like they are hugging the heart and finished off my card by adding a sentiment from Merry & Bright heat embossed on Mulled Wine cardstock. 


Supply List:


My last card is another one of word play cards! I first started off by ink blended the edges of Mushroom cardstock using Oreo dye ink and stamped the Twinkle Background using Sugar Cube ink. Then, I stamped and colored multiple images from Little Critters - Christmas using copic markers. I then die cut the 'Fa La La's...' using Cap It Off Alpha and Lollipop, Watermelon, Granny Smith and Cilantro cardstock. I colored the outlines using alcohol markers to make a it a bit darker! Then, I added a thin Oreo Frame and arranged all the letters and critters on my panel. I then heat embossed and added multiple sentiments from Just Saying - Christmas to finish off my card!  


Supply List:
 

That's it folks! I hope you liked this release! 

Happy Crafting, 
Kavya
Share
Tweet
Pin
Share
No comments

Hi folks, 

This is my first year taking part in #STAMPtember and I am already super excited! Today's collab set is by one of my fav brands - SugarPea Designs! Juts like every other release, Wendy has knocked it out of the park again with this super cute living room themed stamp set that is perfect for any occasion by this stamp  pairing it with any sentiment. This one gives me all the Scandinavian living room decor vibes!


I first started out by using a maroon and cream colored cardstock and ink blending the edges using matching dye inks. I splattered some paint to make it more realistic! Then, I stamped and colored all the images using copic markers and added details using a white gel pen. 


That's it! Wasn't that simple? I absolutely love how this one turned out! Be sure to check out SugarPea Designs' Blog for more fun inspiration!

Happy Crafting,

Kavya


Share
Tweet
Pin
Share
1 comments


Hi folks,

I spent the last few days debating if I should take part in MFT's Card Design Superstar challenge as there were so many FREAKIN AWESOME entries already but I finally decided to take part in it! This card took me over 3 days to make.. mostly because I do not own ANY coordinating dies for the stamps I used so I had to fussy cut all the images by hand! Nevertheless, I love how this turned out and this is definitely one of my fav card till date!

This card measures A4 and is meant for someone who loves to read books! In my mind, the little girl along with her 'friend'  (in the center quadrant) is envisioning all the adventures they could go on - Space, Prehistoric times, Adventures in the Sea and maybe even visit a fairytale! 

No non-MFT product was used in the making of the card. I hand drew a few images like the Earth and hand cut the basic shape of the card:


The images were all colored using Copic Markers with a white gel pen for extra details. The background for the individual quadrants were created using Distress Oxide inks. Here are more closeups of the card:


The following stamp sets were used in the creation of the card:

  • BB Our Story
  • BB Party Like a Pirate
  • BB Polynesian Paradise
  • BB Magical Dragons
  • BB Adorable Adventures
  • BB Space Explorer
  • BB Squirrel!
  • A-Roar-able Friends
  • SY Happy Campers
Check out my IG profile in a few days to see a video of this card in action! Hope you liked this entry :)

Thanks,
Kavya

Share
Tweet
Pin
Share
7 comments


 Hi folks, 

I am back with two new projects using the new kit from TE. I absolutely love Lori's gorgeous designs.. they are just so delicate! 

My first card uses the wheat stamp from the kit. I stamped the image using toffee ink and colored it using shades of wheat and brown copic markers. By the time I finished coloring, I realized that the stamped outline faded so I went over the stamped outline using a brown color pencil to make it a bit more visible! For the watercolor background, I simply used TE's liquid watercolors in Lollipop, Jelly Donut, Plum Punch, Candy Corn, Honey and Toffee. There are so many simple youtube videos out there if you aren't sure where to start. A quick search of 'Simple Watercolor Sunset' will yield so many easy tutorials! I then matted it on top of toffee and sugar cube cardstock and stamped a sentiment from the kit using lollipop ink.


Supply List:


My next card uses a ink blended background and sunflower stamp! I first ink blended the background using Lollipop, Plum Punch, Jelly Donut, Blueberry and Cookie Monster Ink. I then used the same colors to stamp the background image on top. Later, I colored three sunflowers from the kit using copic markers and added extra details using a white gel pen. I didn’t like the  white border of the sunflowers so I ended up using my copic markers to color the white die cut border such that it matches the background. Finally, I added a white border using A2 thin frame cutting plate die and finished it off by heat embossing a sentiment!


Supply List:


That's it folks. Hope you liked this week's release! Be sure to check back next week for more!

Happy Crafting, 
Kavya


Share
Tweet
Pin
Share
No comments
Newer Posts
Older Posts

About me


Hello! I am Kavya. Welcome to my blog where I share my love for all things papercrafting and cardmaking. I am excited that you decided to stop by and look around.

Follow me on Social Media

  • Instagram
  • YouTube

Cards by Brand

Alex Syberia altenew Heffy Doodle Mama Elephant MFT newton's nook Pear Blossom Press Reverse Confetti SugarPea Designs Sunny Studio Stamps Taylored Expressions Wow Embossing

Blog Archive

  • ▼  2024 (11)
    • ▼  October (1)
      • Bear Hugs ft Taylored Expressions
    • ►  September (1)
    • ►  August (1)
    • ►  July (1)
    • ►  June (1)
    • ►  May (2)
    • ►  April (1)
    • ►  March (1)
    • ►  February (1)
    • ►  January (1)
  • ►  2023 (15)
    • ►  December (1)
    • ►  November (2)
    • ►  September (3)
    • ►  August (1)
    • ►  July (1)
    • ►  June (1)
    • ►  May (1)
    • ►  April (2)
    • ►  March (1)
    • ►  February (1)
    • ►  January (1)
  • ►  2022 (34)
    • ►  November (4)
    • ►  October (1)
    • ►  September (3)
    • ►  August (1)
    • ►  July (1)
    • ►  June (5)
    • ►  May (5)
    • ►  April (2)
    • ►  March (5)
    • ►  February (3)
    • ►  January (4)
  • ►  2021 (47)
    • ►  December (1)
    • ►  October (3)
    • ►  September (6)
    • ►  August (5)
    • ►  July (2)
    • ►  June (4)
    • ►  May (3)
    • ►  April (4)
    • ►  March (4)
    • ►  February (6)
    • ►  January (9)
  • ►  2020 (28)
    • ►  December (7)
    • ►  November (7)
    • ►  October (2)
    • ►  September (11)
    • ►  August (1)

Popular Posts

  • Sunny Studio Stamps 6th Birthday Blog Hop!
      Hi folks,  Welcome to the Sunny Studio Stamps 6th Birthday Blog Hop! This new release is just so much fun! If you love Christmas.. this on...
  • Sunny Studio Stamps 7th Birthday Blog Hop
      Hi folks,  I am back on the blog with another fun card! I know it's been weeks since I have posted but life's been crazy :) But, I...
  • Heffy Doodle + Sunny Studio Stamps blog hop!
    Hi folks,  Welcome to the Heffy Doodle and Sunny Studio Stamps Collaboration Blog Hop! Design Team members from both companies are sharing i...
  • New Gel Printing Kit from TE
      Hi folks,  TE has a new kit and it's all about gel printing! I have never tried it before so I was excited to get my hands on it and t...
  • You are my Best-Tea! : MFT Dec Release!
    Hi folks! I am super excited to be a part of MFT's December release! This new release has so many adorable and versatile products just l...
  • Go Cray-zy! It’s the Pear Blossom + Heffy Doodle blog hop!!
      Hi folks,  Today, we’re kicking off a CRAFTY Collaboration Blog Hop with Pear Blossom Press and Heffy Doodle !  Come hop along with us and...
  • Toy Story ft. MFT Stamps!
    Hi folks,  I am back on the blog with another fun project for MFT’s Cardmaking Superstar competition. I always love taking part in every yea...
  • Christmas Gifting Kit from TE!
      Hi folks,  TE has a new Christmas Gifting Kit that has many unique products that make packaging and decoration super adorable! As always, ...
  • TE - Happy Father's Day!
      Hi folks,  I am back on the blog with another fun release from Taylored Expressions - Father's Day! I love this release... it's so...
  • Mass produce Christmas cards easily with TE!
      Hi folks,  I am back on the blog with another fun release from TE! I love how the new Create in Quad stencils make it super easy to mass p...

Followers

Check out more cards on my Instagram here Watch Cardmaking videos on my YouTube channel here

Created with by BeautyTemplates | Distributed By Gooyaabi Templates