Instagram YouTube

Handmade by Kavya

  • Home
  • Creative Resume
  • Contact Me


Hi folks, 

Welcome to the Heffy Doodle and Sunny Studio Stamps Collaboration Blog Hop! Design Team members from both companies are sharing inspiration using products from both companies!


My card was inspired by the fact that Heffy Doodle is based in the UK! I used a bunch of products from both the companies to create my Queen Elizabeth themed card complete with the palace, her pet corgis and tea :)


I first started off by creating my card base by layering red, navy blue and white cardstock. I used the same colors to create the center circle as well. I then colored various images from Sunny Studio Stamp's Enchanted, Happy Home Neighborhood and Heffy Doodle's Oh Crumbs using colored pencils and alcohol markers. For the Buckingham palace, the old victorian style house image from SSS' Happy Home Neighborhood was perfect! I just layered them and cut off the roof from the ones on the sides. For the Queen, I simply used an image from one of her state dinners as reference. I the finished it off by using the sentiments from HF's Oh Crumbs stamp set.


That's it! Wasn't that simple and fun? I absolutely love creating scenes and combining two stamps from different companies just gave me more options to play around with :) 

BLOG HOP DETAILS:

To be entered to win the giveaway, all you need to do is comment at each stop along the Blog Hop! Sunny Studio Stamps will be giving away $35 and Heffy Doodle will be giving away £25 to their respective stores!  Be sure to comment before 11:59 PM on March 3rd to be entered to win!

Each company will post their random winner on March 4th at 10AM EST!  Make sure to check the Heffy Doodle Blog and Sunny Studio Stamps Blog to see if you’re a winner!

Blog Hop Lineup:

Heffy Doodle Blog
Tallie Clewley
Mayra Duran-Hernandez
Mona Toth
Candice Fisher
Davina Cantrell
Julia EnglichAmanda Fitterer
Handmade by Kavya (You are here)
Sunny Studio Blog

Be sure to check out what the rest of the team has in store!

Happy Crafting,
Kavya


Share
Tweet
Pin
Share
39 comments


Hey folks, 

A new challenge is up on RC and it's all about Encouragement and Congratulations! As always, I like to come up with ways stretch your supplies... I have a fun little way to make small handmade gifts for friends :) I am someone who loves to drink warm infused drinks or tea when I am stressed. It relaxes me and calms my nerves! So, for today's post, I will show you a fun little way to make cute tea bags that will definitely encourage someone right before their big day! 


This is super easy to put together.. Trust me! I first started off by folding a paper in half such that a tea bag fits inside. To decorate the top, I die cut a fancy border using RC's Outlined Frame Cover Panel die. I then ink blended the bottom half using shades of blue ink. I also used the heart from the Big Love die to make a tiny window so that your special someone gets a quick sneak peak into the flavor of the tea! I added some acetate and added the outline heart on top as well. Later, I got rid of the Tea Tag and attached images from the Love is in the Air set instead! That's it... Wasn't that simple? 


Supplies Used:


If you'd like, you can make a tiny a little matching gift box to go along with the tea bags! I hope this project inspired you to take part in this month's challenge :) 

Happy Crafting,
Kavya 

Share
Tweet
Pin
Share
No comments

Hi folks, 

Taylored Expressions has a fun new Spring themed release out and I am lovin' all the new critters and dies! I have so many fun cards to show you so lets get started...


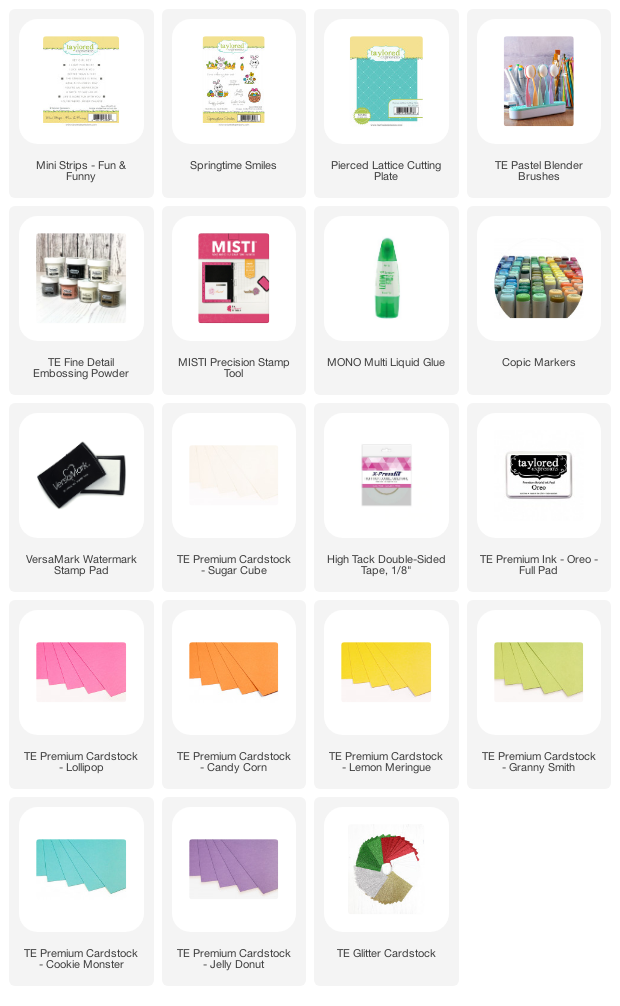
My first card is filled with color! After the previous release, I have been itching to use my left over rainbow strips and this was the perfect opportunity. I first started off by cutting Lemon Meringue, Granny Smith, Cookie Monster, Lollipop and Jelly Donut into stripes for the background. I then used the newly released Pierced Lattice Cutting Plate with Sugar Cube cardstock to layer it on top of my rainbow background. I then colored various images from the Springtime Smiles set using alcohol markers and colored pencils. Finally I spelled out 'EASTER' using Cap -It - Off Alpha die set and added a sentiment from Mini Strips - Fun and Funny to tie everything together!


Supply List:


My second card used the newly released Wood Plank Background and Unexpected Blessings stamp set. I created faux wood planks by ink blending Sea Salt cardstock using Peaches and Cream and Toffee ink. I then stamped the background image using Toffee ink. I then cut this background into strips and ink blended the edges again using Toffee Ink. I then created a floral wreath using Unexpected Blessings stamp set that encircles the ‘you mean the world to me’ sentiment from the Handlettered Sentiments stamp set.


Supply List: 


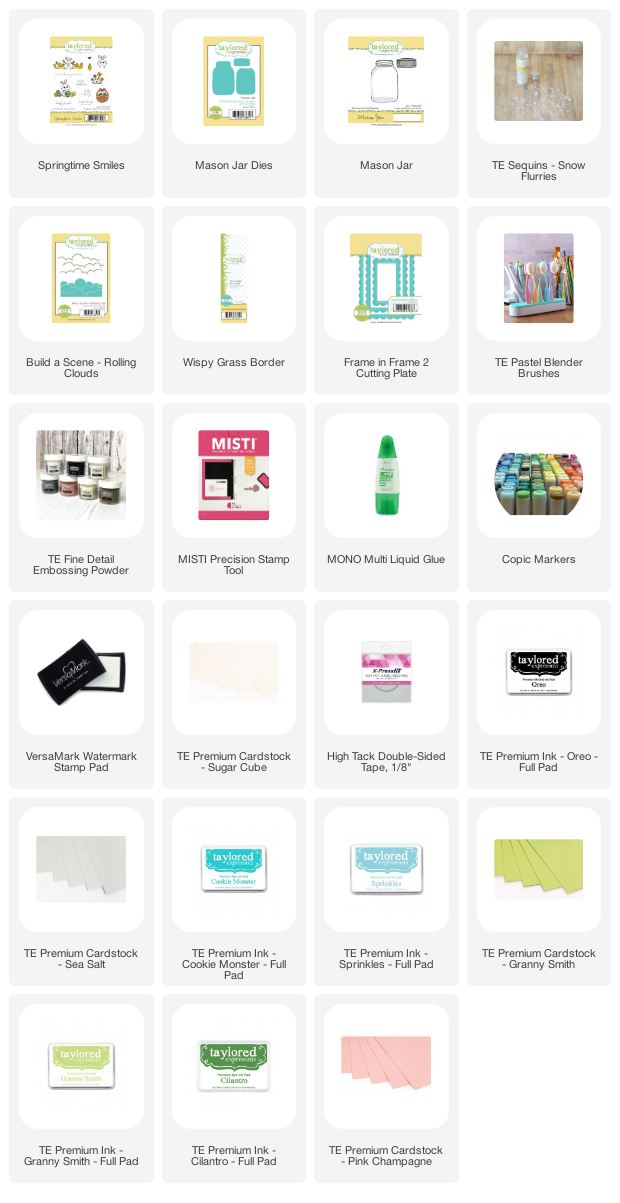
My final card shows you yet another way to use the mason jar stamp and die! Can you tell how much I love this set? I can think of so many ways to use this set every release but I have to stop myself :D I first started off by die cutting the scalloped frame using Frame in Frame 2 cutting plate out of Sugar Cube and then placed it on Pink Champagne cardstock. I then die cut some grass using the Wispy Grass Border out of Granny Smith.. As usual, I ink blended the edges using Granny Smith and Cilantro and added some paint splatters to make it more realistic! Later, I created the cloudy background by using the Rolling clouds dies as stencil with Cookie Monster and Sprinkles ink. I then colored the bunny image and some other mini images from the set using colored pencils and alcohol markers. I also used some of the tiny carrots as shaker bits!


Supply List: 
Tuesday, February 23rd, through Sunday, February 28th (or while supplies last), You can get the Joyful Spring Bundle for 15% off! The bundle includes the Spring Wreath Layered Stencil set, Spring Wreath die collection, and Be Joyful stamp set. The discounted bundle price is only available through Sunday, February 28th.


I hope you liked the cards! Be sure to check what the rest of the team has in store :)

Happy Crafting,
Kavya 
Share
Tweet
Pin
Share
No comments


Hi folks, 

Taylored Expressions has a new kit out and it's all about florals this time! Lori Craig designed this gorgeous floral bunch that can be used in so many ways! Here’s everything included the Field Notes 2 Kit – which retails for $55:

  • Sketchbook Bouquet stamp set
  • Sketchbook Bouquet Die
  • Sketchbook Bouquet Stencil
  • Splatter Background stamp
  • 6 Watercolor 111 lb. A2 Cardstock Panels
  • 6 Textured Watercolor A2 Envelopes
  • 6 Custom Envelope Seals
  • Packaged in a zippered pouch with a custom kit label

Limited quantity available. Most items not available to purchase individually.


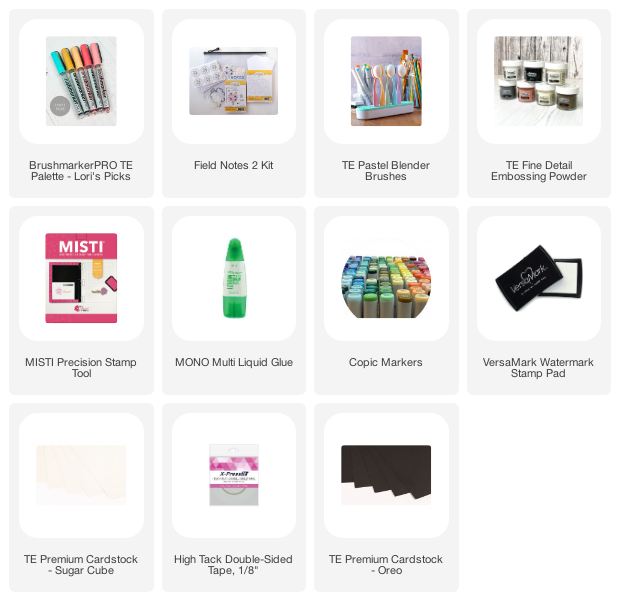
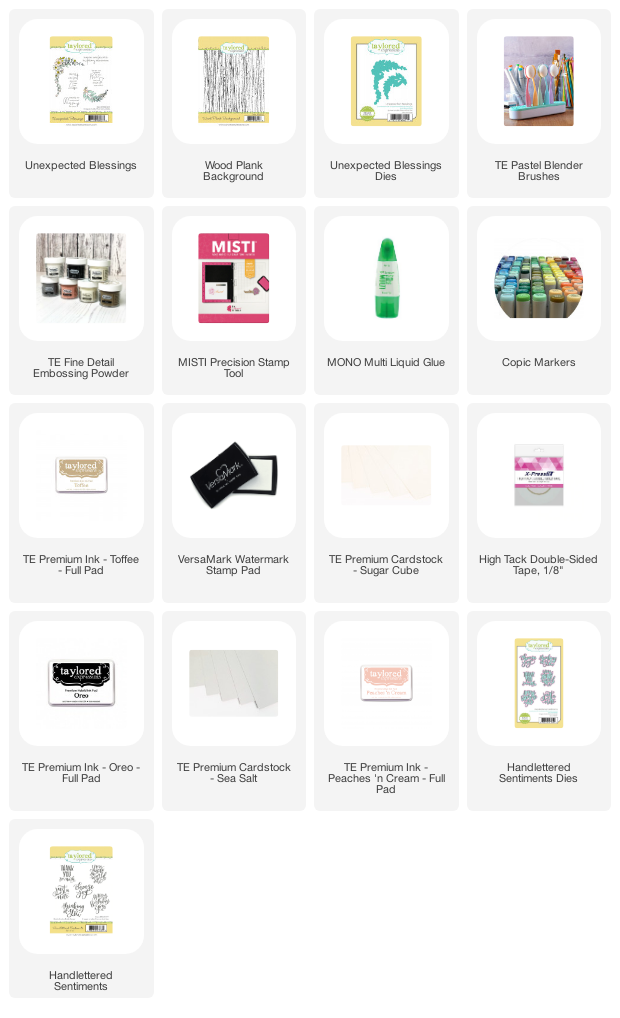
I made two totally different cards using this mini kit. For my first card, I simply die cut multiple images of the floral bunch and colored them using alcohol markers and colored pencils. My color palette is based on the first palette chosen by Lori. I then heat embossed a sentiment from the kit and the splatter background on Oreo cardstock with gold embossing powder. Finally, I just arranged all the blooms around the sentiment! 


Supply List:


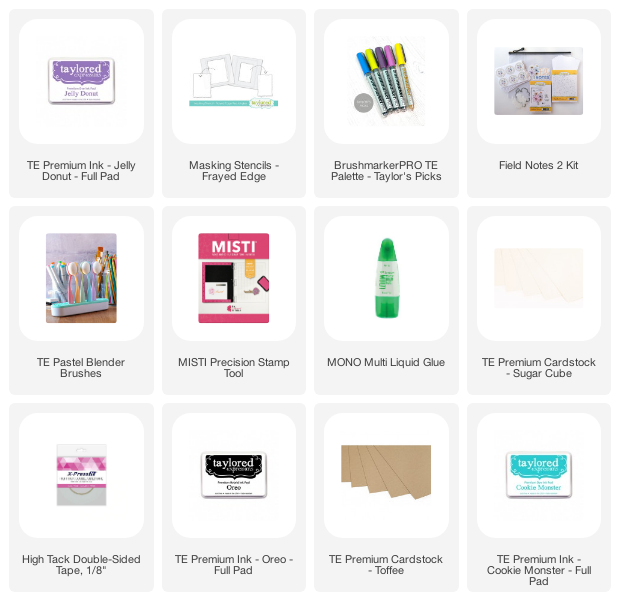
For my next card, I decided to watercolor the floral bunch using Karin Markers - Palette 2 picked by Taylor. I then placed it on an ink blended backdrop created by using the Frayed edges masking stencil and Cookie Monster and Jelly Donuts inks. Later, I finished off the card by adding some paint splatters and a sentiment from the kit! 


Supply List: 
If you like florals, this kit is a must have! Be sure to check out what the rest of the team has in store for you!

Thanks,
Kavya 


Share
Tweet
Pin
Share
No comments

Hi folks, 

Welcome to Reverse Confetti's February bloghop! I have a fun project that showcases a totally new way to use some products from the Jan release... who doesn't like versatile products? 

I used the newly released Pencil and Treat holder to make a book mark! The die cut slot is perfect for marking your last read page and also makes cute gifts! I first started off by die cutting an A2 cardbase using the the Pencil an Treat holder die. I then used the Outlined Frame Cover Panel die to die cut a fancy border. Punch a hole at the top to finish your bookmark base! 


To decorate my bookmark, I then ink blended it using shades of red, pink and peach dye inks. I wanted some glam so I decided to apply some glimmer paste to the top of the bookmark for some Ombre look. Not sure if I succeeded, but I definitely like how it turned out! 


I finished off my bookmark by adding some colored images from Love is in the Air and Picture Perfect stamp set. To make it a bit more fancy, I also used some embroidery floss in different shades of red and pink to make a tassel for the top! 


Supplies Used: 


Wasn't that simple and cute? If you haven't gotten the pencil and treat die yet, I highly recommend it! You can use it in three different ways and make so many cute gifts for all occasions! 

Be sure to check out what the rest of the team has in store for you:

Reverse Confetti  https://reverseconfetti.com/blogs/posts
Amy Kolling http://stamp-n-paradise.blogspot.com/search/label/Reverse%20Confetti
Tricia Barber  https://diaryofaninkygirl.blogspot.com/search/label/Reverse%20Confetti
Lisa Henke https://mylittlecreativeescape.blogspot.com/search/label/reverse%20confetti
Ali Farmer   https://alilovescardmaking.blogspot.com/search/label/reverse%20confetti
Jenny Colacicco  https://www.jccards.com/
Kathy Schweinfurth http://stampsatplay.blogspot.com/search/label/Reverse%20Confetti
Olga Moss  http://becauseofscrap.blogspot.com/
Jane Trivedi  https://www.papercraft4fun.com/
Jeanne Jachna  http://akeptlife.blogspot.com/search/label/Reverse%20Confetti
Olga Matyushevskaya  https://www.matyushevskaya.com/blog
Rebecca Keppel  https://www.myclutteredcorner.com/
Audrey Tokach  https://pinkinkoriginals.blogspot.com/search/label/Reverse%20Confetti
Kavya  https://www.handmadebykavya.com/
Candice Fisher  https://candicardscreations.wordpress.com/
Amy Tsuruta  https://tsurutadesigns.blogspot.com/search/label/Reverse%20Confetti
Deanne Kuntz  https://iaintnowriter.blogspot.com/   

Thanks for stopping by, 
Kavya

Share
Tweet
Pin
Share
3 comments


Hi folks, 

Taylored Expressions has a new release out and it’s all about St Patrick’s Day! It’s small but packed with awesome products that can be used in multiple ways... So, let’s get started! 

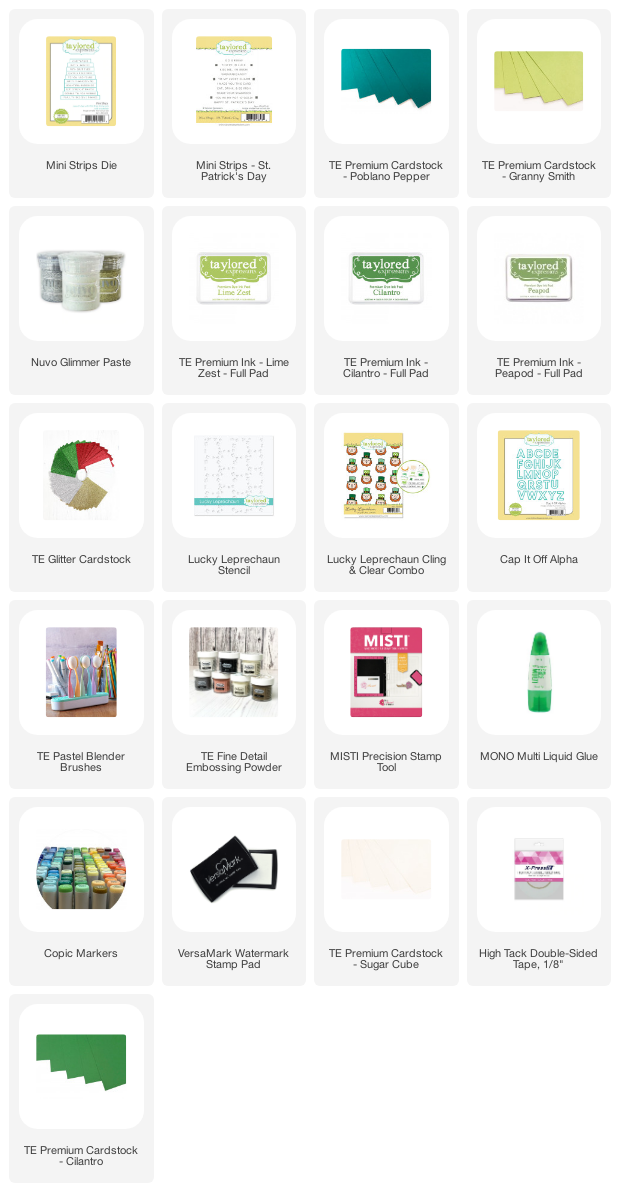
My first card is super simple to recreate. I first started with Granny Smith cardstock and used the Lucky Leprechaun stencil with Cilantro and Peapod ink to stencil the tiny shamrocks. I applied glimmer paste on top for some bling. I then used the Cap it Off Alpha dies with gold cardstock and some Peapod cardstock to die cut the word ‘Luck’. Later, I colored some leprechauns from Lucky Leprechaun background stamp using alcohol markers and colored pencils. I finished off my card by placing it on Pablano Pepper cardstock and adding some sentiments from Mini Strips - St Patrick’s Day. 


Supply List:


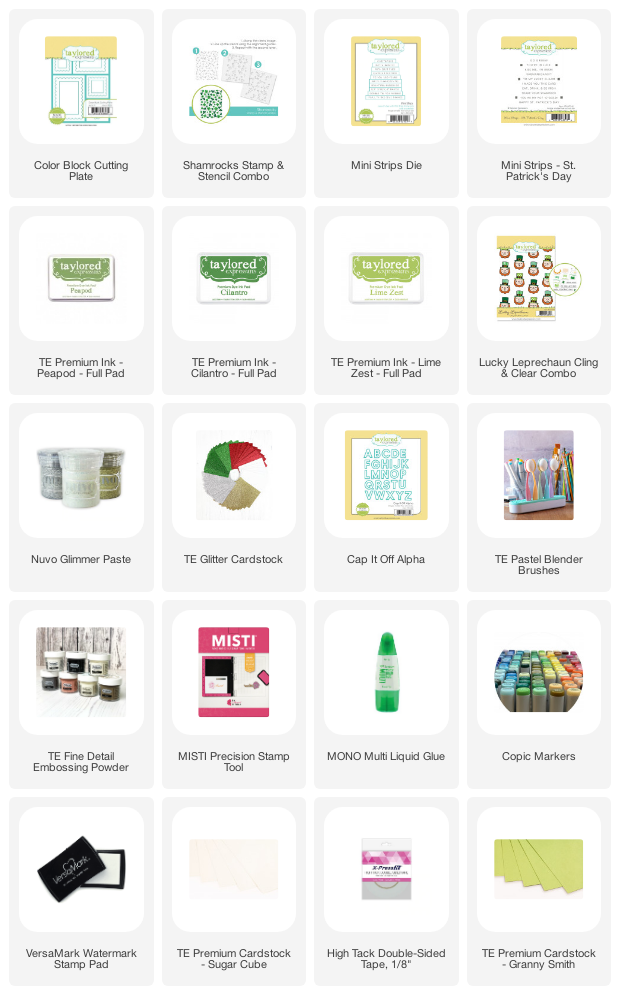
My second card is easy too! And has lots of green... I usually don’t use a lot of green so this is new to me! I first started off by stamping the shamrock stems using Pablano Pepper ink. I then stenciled the leaves using the coordinating stencils and different green inks like Lime Zest, Cilantro and Peapod. I created the framed pieces of Leprechauns by using the Color Block cutting plate and gold cardstock. Finally, I colored some leprechauns using colored pencils and alcohol markers and added some sentiments from Mini Strips - St Patrick’s Day. 


Supply List:

I hope you liked the two cards! Be sure to check out what the other DT members created with this release..

Happy Crafting,
Kavya 

Share
Tweet
Pin
Share
No comments
Newer Posts
Older Posts

About me


Hello! I am Kavya. Welcome to my blog where I share my love for all things papercrafting and cardmaking. I am excited that you decided to stop by and look around.

Follow me on Social Media

  • Instagram
  • YouTube

Cards by Brand

Alex Syberia altenew Heffy Doodle Mama Elephant MFT newton's nook Pear Blossom Press Reverse Confetti SugarPea Designs Sunny Studio Stamps Taylored Expressions Wow Embossing

Blog Archive

  • ►  2024 (11)
    • ►  October (1)
    • ►  September (1)
    • ►  August (1)
    • ►  July (1)
    • ►  June (1)
    • ►  May (2)
    • ►  April (1)
    • ►  March (1)
    • ►  February (1)
    • ►  January (1)
  • ►  2023 (15)
    • ►  December (1)
    • ►  November (2)
    • ►  September (3)
    • ►  August (1)
    • ►  July (1)
    • ►  June (1)
    • ►  May (1)
    • ►  April (2)
    • ►  March (1)
    • ►  February (1)
    • ►  January (1)
  • ►  2022 (34)
    • ►  November (4)
    • ►  October (1)
    • ►  September (3)
    • ►  August (1)
    • ►  July (1)
    • ►  June (5)
    • ►  May (5)
    • ►  April (2)
    • ►  March (5)
    • ►  February (3)
    • ►  January (4)
  • ▼  2021 (47)
    • ►  December (1)
    • ►  October (3)
    • ►  September (6)
    • ►  August (5)
    • ►  July (2)
    • ►  June (4)
    • ►  May (3)
    • ►  April (4)
    • ►  March (4)
    • ▼  February (6)
      • Heffy Doodle + Sunny Studio Stamps blog hop!
      • Reverse Confetti Stock your Stash Challenge!
      • New Spring Release from Taylored Expressions!
      • New Field Notes 2 Kit from Taylored Expressions!
      • Reverse Confetti February OuBloghop
      • Celebrating St Patrick’s Day with TE!
    • ►  January (9)
  • ►  2020 (28)
    • ►  December (7)
    • ►  November (7)
    • ►  October (2)
    • ►  September (11)
    • ►  August (1)

Popular Posts

  • Sunny Studio Stamps 6th Birthday Blog Hop!
      Hi folks,  Welcome to the Sunny Studio Stamps 6th Birthday Blog Hop! This new release is just so much fun! If you love Christmas.. this on...
  • Sunny Studio Stamps 7th Birthday Blog Hop
      Hi folks,  I am back on the blog with another fun card! I know it's been weeks since I have posted but life's been crazy :) But, I...
  • Heffy Doodle + Sunny Studio Stamps blog hop!
    Hi folks,  Welcome to the Heffy Doodle and Sunny Studio Stamps Collaboration Blog Hop! Design Team members from both companies are sharing i...
  • New Gel Printing Kit from TE
      Hi folks,  TE has a new kit and it's all about gel printing! I have never tried it before so I was excited to get my hands on it and t...
  • Go Cray-zy! It’s the Pear Blossom + Heffy Doodle blog hop!!
      Hi folks,  Today, we’re kicking off a CRAFTY Collaboration Blog Hop with Pear Blossom Press and Heffy Doodle !  Come hop along with us and...
  • You are my Best-Tea! : MFT Dec Release!
    Hi folks! I am super excited to be a part of MFT's December release! This new release has so many adorable and versatile products just l...
  • Toy Story ft. MFT Stamps!
    Hi folks,  I am back on the blog with another fun project for MFT’s Cardmaking Superstar competition. I always love taking part in every yea...
  • Christmas Gifting Kit from TE!
      Hi folks,  TE has a new Christmas Gifting Kit that has many unique products that make packaging and decoration super adorable! As always, ...
  • TE - Happy Father's Day!
      Hi folks,  I am back on the blog with another fun release from Taylored Expressions - Father's Day! I love this release... it's so...
  • Mass produce Christmas cards easily with TE!
      Hi folks,  I am back on the blog with another fun release from TE! I love how the new Create in Quad stencils make it super easy to mass p...

Followers

Check out more cards on my Instagram here Watch Cardmaking videos on my YouTube channel here

Created with by BeautyTemplates | Distributed By Gooyaabi Templates