Instagram YouTube

Handmade by Kavya

  • Home
  • Creative Resume
  • Contact Me


Hi folks, 

If you have been following me for a while, you know how much I love slimlines and mini slimlines! I find the size perfect for scene building and I feel less intimidated. Taylored Expressions has some new products that are sure to up your slimline game! 

As always, I have a bunch of cards that combine all of the products from this release in a fun colorful way! 


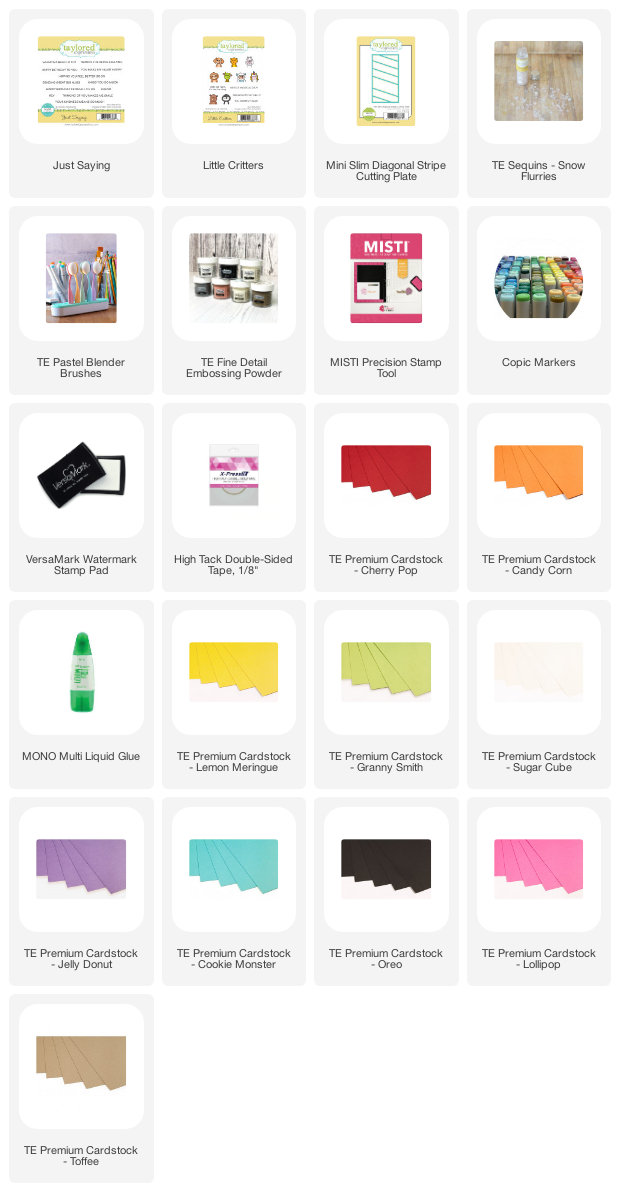
My first card is a rainbow shaker card inspired by Noriko, a fellow DT member. Noriko made this gorgeous rainbow shaker card and I just had to make one! I first started off by using die cutting multiple Mini Slimline Diagonal Stripe die cuts using Sugar Cube so that I can layer them for the shaker card base. I then used Cherry Pop, Candy Corn, Lemon Meringue, Granny Smith, Cookie Monster, Lollipop and Jelly Donut for the stripe openings. I then filled it with Snow flurries for the shaker bits. I finished it off by adding a line of cute adorable rainbow critters from the new Little Critters set and a sentiment from the Just Saying stamp
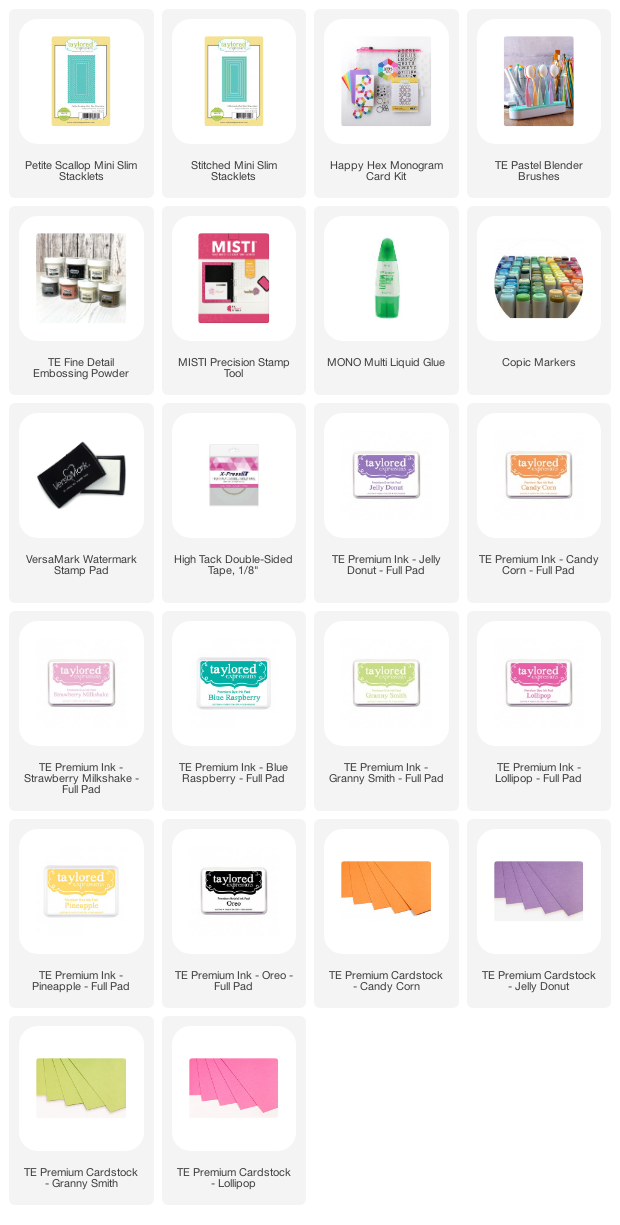
Supply List:


My second uses some scraps from my first card to a make the background. Each strip was about 1/4” in width. I then placed the newly released Mini Slim Square Window cutting plate in Sea Salt on top. I filled the windows with cute critters from Little Critters and added the the alphabets H, B and D from Cap It Off Alpha. I finished it off by adding a sentiment from Just saying stamp set!


Supply List:


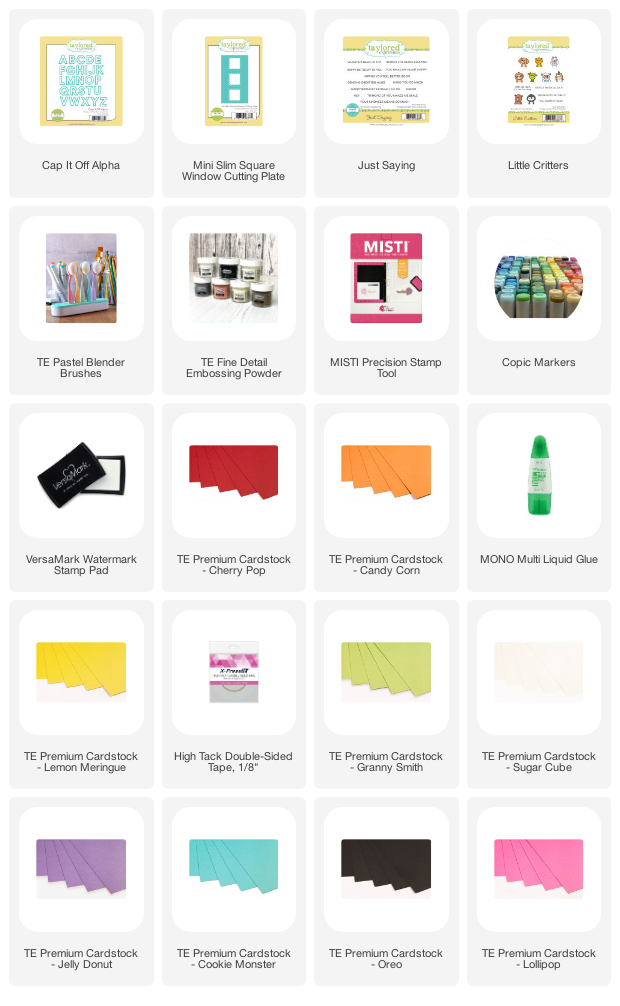
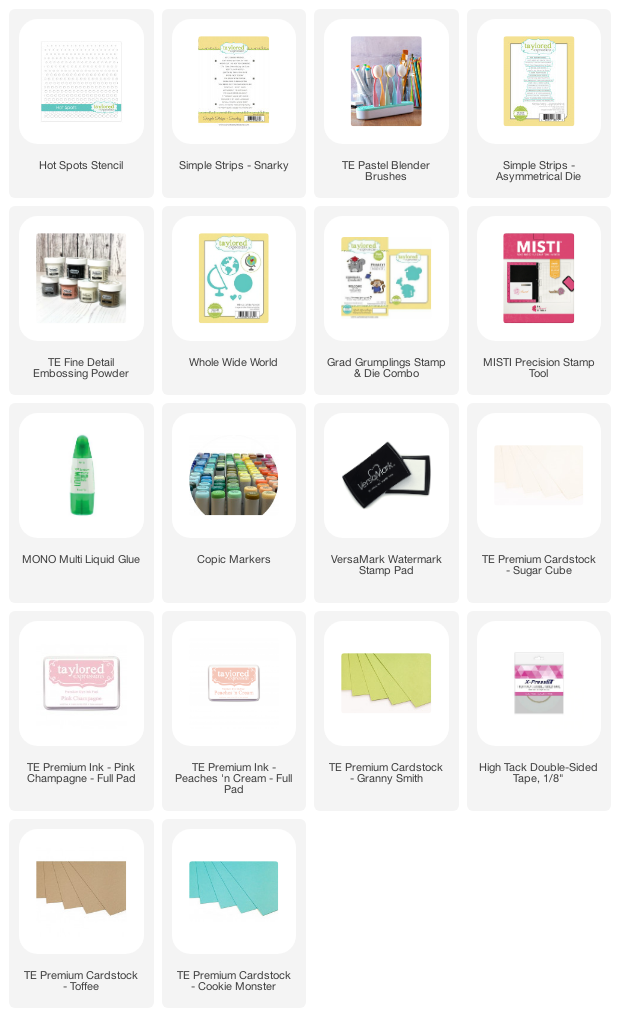
My final card uses the newly released Hexagon trifold template. I started off by ink blending the top half of the cardstock using Pink Champagne, Candy Corn, Pineapple, Granny Smith and Cookie Monster. I then used the template to die cut the hexagons. I filled the window with little critters and added the large ‘Hugs’ using the Cap It Off Alpha die set and an embossed sentiment on Jelly Donut cardstock. Fun tip: Add tiny strips of magnet to your tri fold card so that it closes! 


Supply List:

January 26th through Sunday, January 31st (or while supplies last), you can get the Little Critters Mini Slim Bundle for 15% off! The bundle includes the Little Critters stamp set, the Just Saying stamp set, and the Mini Slim Square Window Cutting Plate die. The discounted bundle price is only available through Sunday, January 31st.


I hope you liked these fun rainbow cards! Be sure to check what the rest of the DT has in store for you.

Happy Crafting,
Kavya
Share
Tweet
Pin
Share
No comments


Hi folks, 

Taylored Expressions has a new release out and it’s all being snarky and sarcastic! The new mini and simple strips are perfect additions to your cards that would definitely bring a smile on the recipient’s face! And they are perfect for many occasions! Let me show you how...

My first set of cards are for some friends who will be graduating this semester from college. It’s going to be year since I have graduated and I still feel like a teenager except I have bills to pay :) I combined multiple sentiments from the Simple Strips Snarky to make ‘honest’ graduation cards. I first started off by ink blending on white cardstock using Pink Champagne and Peaches and Cream. I then used the same colors to stencil using the Hot Spots stencil. I then colored the images from Grad Grumplings using colored pencils and alcohol markers. I die cut the earth from Whole Wide World die set using Granny Smith and Cookie Monster cardstock. Finally, I heat embossed the sentiments on the same colored cardstock and diet cut them using the new Asymmetrical die for Simple Strips. I then placed by card base on Toffee cardstock to finish it off. 


Supply List:

My next card uses the new Mini Strips Fun and Funny. When I saw some of the sentiments in this set, I knew I could make a perfect Covid themed card for a friend that I haven’t seen in ages. I first made a bunch of emojis using the Build an Emoji set and Pineapple, Chocolate Truffle , Sugar Cube and Strawberry Milkshake cardstock. This set even has a mask! I then ink blended the rays using Lavender Glaze and Jelly Donut inks on the matching ‘Hey There’ stencil. I know this stencil was for the stamp set but if stencil gently when you reach the center, no one would know! The ‘hard lines’ are visible in some places so I just covered them using the emojis! I added a white scalloped border using the Frame in Frame 2 die and I then heat embossed the sentiments on Jelly Donut cardstock. Isn’t this just adorable? 


Supply List:

 
That’s it for today! Be sure to check the works of other DT members for more inspiration!

Thanks,
Kavya 

Share
Tweet
Pin
Share
No comments


Hi folks, 

There is a new Stock your Stash challenge at Reverse Confetti blog and the theme is ‘Love is in the Air’! This theme perfectly aligns with this month’s release and I was excited to get another opportunity to play with the release. I used a bunch of products to create a non-red/pink/purple card!


I first started off by ink blending my A2 panel using shades of blue and green. I then used the Outlined Frame Cover Panel die to die cut and also cut an inner rectangle so that I can use it as a border. I used the inner rectangle to die cut the inner part of the Big Love die and white glitter card stock to die cut the outline. Later, I stamped an image from the Love is in the Air stamp set and colored using alcohol markers and colored pencils. Finally, I added a left over bow from my previous project and stamped a sentiment from Words of Love to finish of the card! 


Be sure to check the Reverse Confetti blog for instructions to enter the challenge!

Thanks,
Kavya

Share
Tweet
Pin
Share
1 comments
Hey folks, 

Taylored Expressions has a new kit out and you know how much I love the kits! Just like every other one, this one too is versatile and can be used in so many ways! Here’s everything included the Happy Hex Monogram Kit – which retails for $48:
  • Happy Hex Mini Slim Background stamp
  • Happy Hex die collection
  • Clearly Crafty Happy Hex Add-ons stamp set
  • Clearly Crafty Typewriter Alpha stamp set
  • Happy Hex Mini Slim stencil
  • 6 Sugar Cube Top Fold Mini Slim Card Bases
  • 6 Custom Envelope Seals
  • 6 Colored Mini Slim Envelopes
  • 1 Mini Slim Clear Card Box
  • Packaged in a zippered pouch with a custom kit label


I made 4 different projects using this set and all of them are monogrammed so that I can gift it to a friend. I created my cardbases by using the Petite Scallop Mini Slimline Stacklets and Stitched Mini Slim Stacklets along with Candy Corn, Jelly Donut, Granny Smith and Lollipop card stock. Here is how I made them:

  • My first card is pink-purple ink blended card. I first started off by masking the lower portion of the card and then ink blending it using Candy Corn, Lollipop and Jelly Donut. I then used the hexagon stencil to stencil using the same colors. I then stamped the top half using Mini Slim background stamp using Oreo ink and stenciled the hexagons using the Candy Corn, Lollipop and Jelly Donut. I stamped the Monogrammed Letter and hexagon border using Candy Corn and Jelly Donut.
  • My second card is a simple card made by using the Happy Hex slimline stencil three times. I used Strawberry Milkshake, Lollipop and Jelly Donut to ink blend each time. I then used the same colors to stamp the tiny patterns from the Happy Hex Add on stamp set. I finished it off my stamping an L and the hexagon border using Jelly Donut.

  • My next card is super simple! I just masked the left and right hexagon pattern from the background stamp and then stamped using Blue Raspberry, Granny Smith, Pineapple and Candy Corn. I finished it off by stamping the letter L and hexagon border using Blue Raspberry.
  • My last project is a custom post-it-note pad. I made the cover using the same colors as my first card! 


Supply List:
The opportunities to use this kit are endless! You could make custom tags, notepad covers, envelopes, gift bags etc and there is also a clear box to go with it! 

I hope you like the projects! Be sure to check what the rest of the DT has in store!

Thanks,
Kavya 


Share
Tweet
Pin
Share
No comments


Hi folks, 


Today is the new release hop at Reverse Confetti and I am showcasing the new Layered XOXO Confetti cuts and Love is in the Air stamp and die set. This stamp set has so many cute critters so I combined it with the XOXO die to create a fun card! 


This is another fun card and the ink blended background allows the adorable images to stand out! I first started out by ink blending the background using shades of pink. I then ink blended another piece of paper using darker shades of pink and used this card stock to die cut the outline for XOXO. I then die cut the inner XOXO using white glitter card stock. Then, I stamped images from Love is in the Air and colored them using colored pencils and alcohol markers. I had some left over elements from yesterday’s Picture Perfect stamp set so I used them to decorate the rest of the card. That’s it! Isn’t that easy and simple? 


For more inspiration, please check out the following terrific designers:

  •  Reverse Confetti Blog
  • Amy Kolling
  • Michelle Short
  • Tricia Barber
  • Kelly Lunceford
  • Lisa Henke
  • Jenny Colacicco
  • Kathy Schweinfurth
  • Jane Trivedi
  • Amy Rohl
  • Jeanne Jachna
  • Rebecca Keppel
  • Julee Tilman
  • Audrey Tokach
  • Kavya
  • Becky Roberts
  • Candice Fisher
  • Amy Tsuruta
  • Cheiron Brandon
  • Deanne Kunt


Happy Crafting, 

Kavya


Share
Tweet
Pin
Share
1 comments


Hi folks, 


Today is Day 3 of the release and we are showcasing the new Picture Perfect stamp and die set. This stamp set has so many cute elements and sentiments that go along with the main images and you don’t even need other stamps to finish the scene! 


This card is easy to make and doesn’t require much effort other than coloring the images. I first started off by ink blending a white card stock panel using shades of navy blue at the top and shades of purple and pink at the bottom. I then stamped images from the set and colored them using alcohol markers and colored pencils. Finally, I heat embossed a sentiment using white embossing powder. 


For more inspiration, please check out the following terrific designers (there will be a $15 gift certificate to Reverse Confetti for one blog commenter and one for a Facebook commenter.  Comments eligible for a prize will close at noon CST on January 7th. Winner will be announced at 5pm CST on the Reverse Confetti blog and on the FB page on January 7th):

  • Reverse Confetti
  • Amy Kolling 
  • Tricia Barber  
  • Lisa Henke 
  • Jenny Colacicco  
  • Kathy Schweinfurth 
  • Jane Trivedi  
  • Jeanne Jachna  
  • Rebecca Keppel  
  • Audrey Tokach  
  • Kavya
  • Candice Fisher  
  • Amy Tsuruta  
  • Deanne Kuntz  
Happy Crafting, 

Kavya
Share
Tweet
Pin
Share
6 comments
Newer Posts
Older Posts

About me


Hello! I am Kavya. Welcome to my blog where I share my love for all things papercrafting and cardmaking. I am excited that you decided to stop by and look around.

Follow me on Social Media

  • Instagram
  • YouTube

Cards by Brand

Alex Syberia altenew Mama Elephant MFT newton's nook Reverse Confetti SugarPea Designs Sunny Studio Stamps Taylored Expressions Wow Embossing

recent posts

Blog Archive

  • ▼  2023 (3)
    • ▼  March (1)
      • Easter Greetings from TE
    • ►  February (1)
    • ►  January (1)
  • ►  2022 (34)
    • ►  November (4)
    • ►  October (1)
    • ►  September (3)
    • ►  August (1)
    • ►  July (1)
    • ►  June (5)
    • ►  May (5)
    • ►  April (2)
    • ►  March (5)
    • ►  February (3)
    • ►  January (4)
  • ►  2021 (47)
    • ►  December (1)
    • ►  October (3)
    • ►  September (6)
    • ►  August (5)
    • ►  July (2)
    • ►  June (4)
    • ►  May (3)
    • ►  April (4)
    • ►  March (4)
    • ►  February (6)
    • ►  January (9)
  • ►  2020 (28)
    • ►  December (7)
    • ►  November (7)
    • ►  October (2)
    • ►  September (11)
    • ►  August (1)

Followers

Check out more cards on my Instagram here Watch Cardmaking videos on my YouTube channel here

Created with by BeautyTemplates | Distributed By Gooyaabi Templates