Instagram YouTube

Handmade by Kavya

  • Home
  • Creative Resume
  • Contact Me


 Hi folks, 

I am back with two new projects using the new kit from TE. I absolutely love Lori's gorgeous designs.. they are just so delicate! 

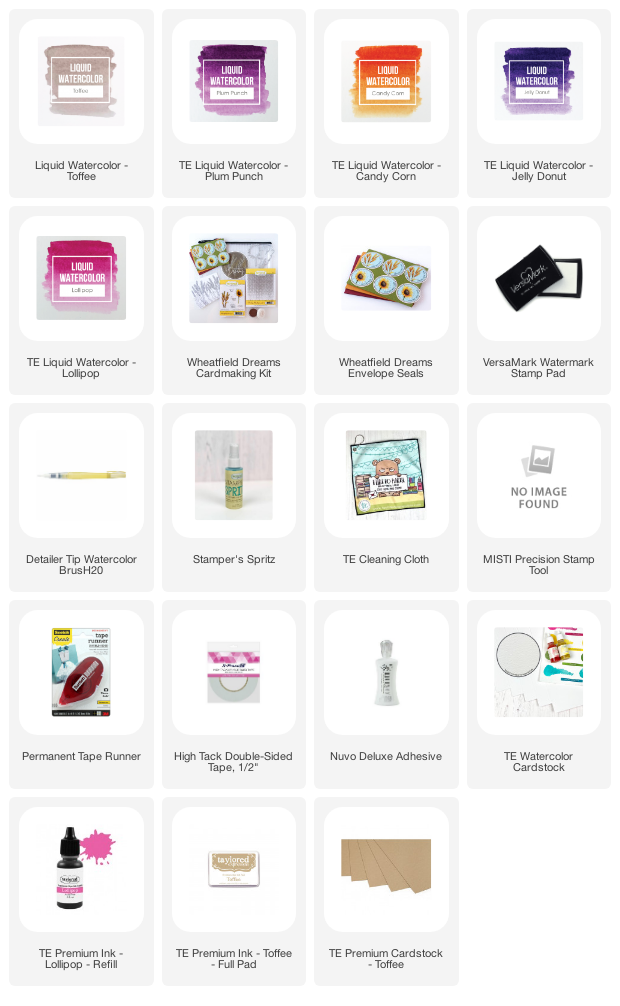
My first card uses the wheat stamp from the kit. I stamped the image using toffee ink and colored it using shades of wheat and brown copic markers. By the time I finished coloring, I realized that the stamped outline faded so I went over the stamped outline using a brown color pencil to make it a bit more visible! For the watercolor background, I simply used TE's liquid watercolors in Lollipop, Jelly Donut, Plum Punch, Candy Corn, Honey and Toffee. There are so many simple youtube videos out there if you aren't sure where to start. A quick search of 'Simple Watercolor Sunset' will yield so many easy tutorials! I then matted it on top of toffee and sugar cube cardstock and stamped a sentiment from the kit using lollipop ink.
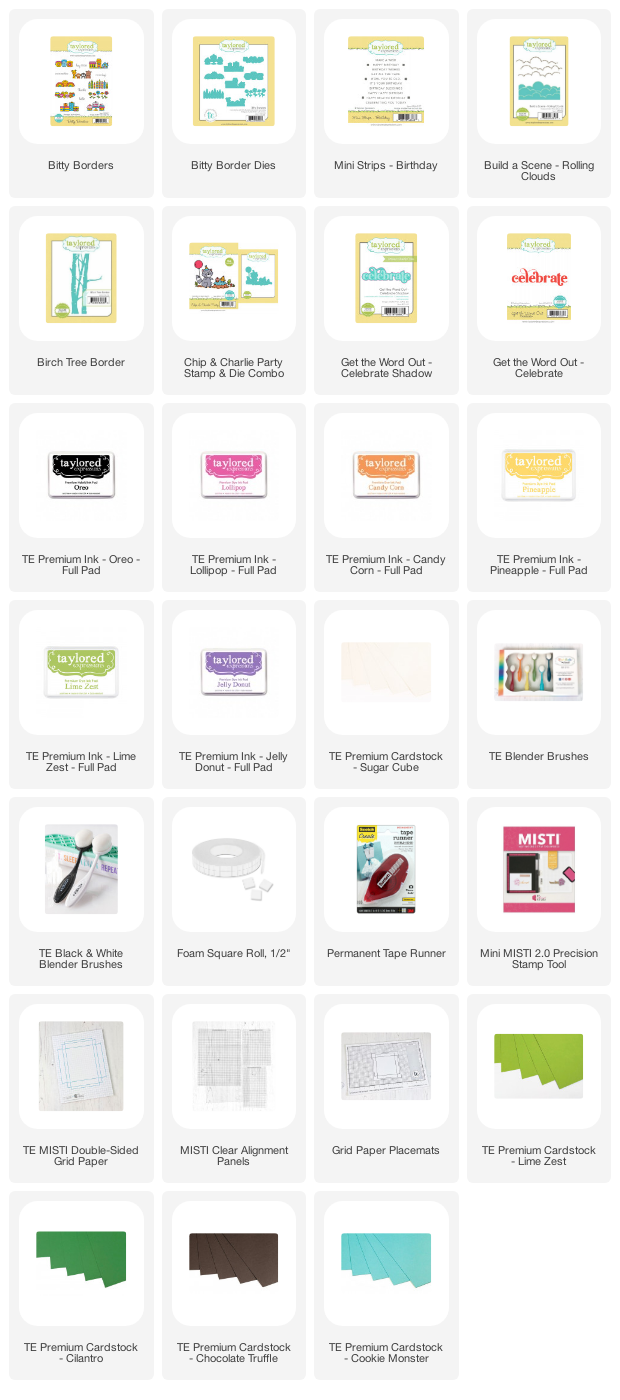
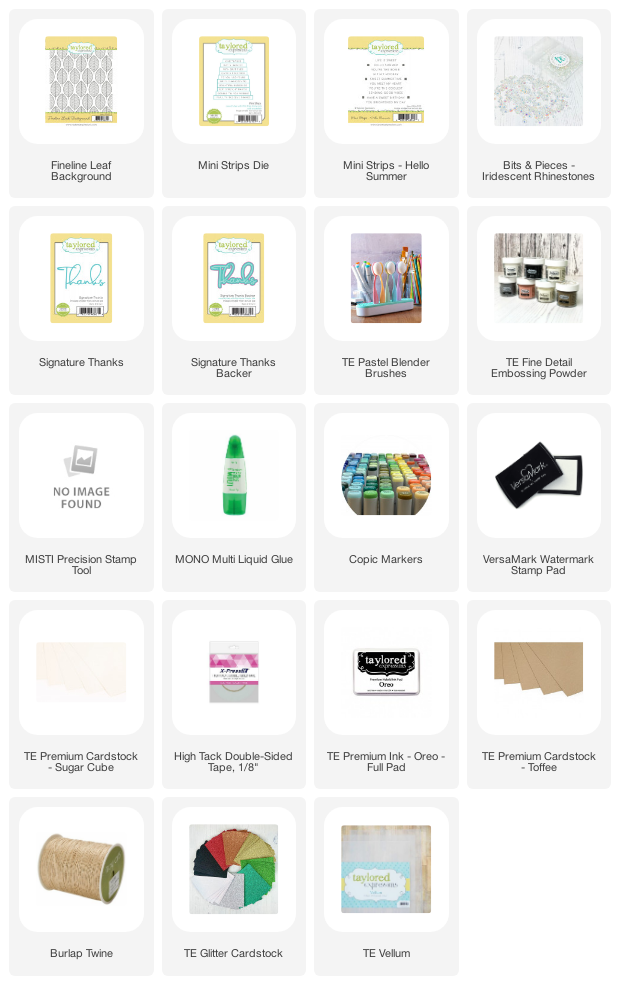
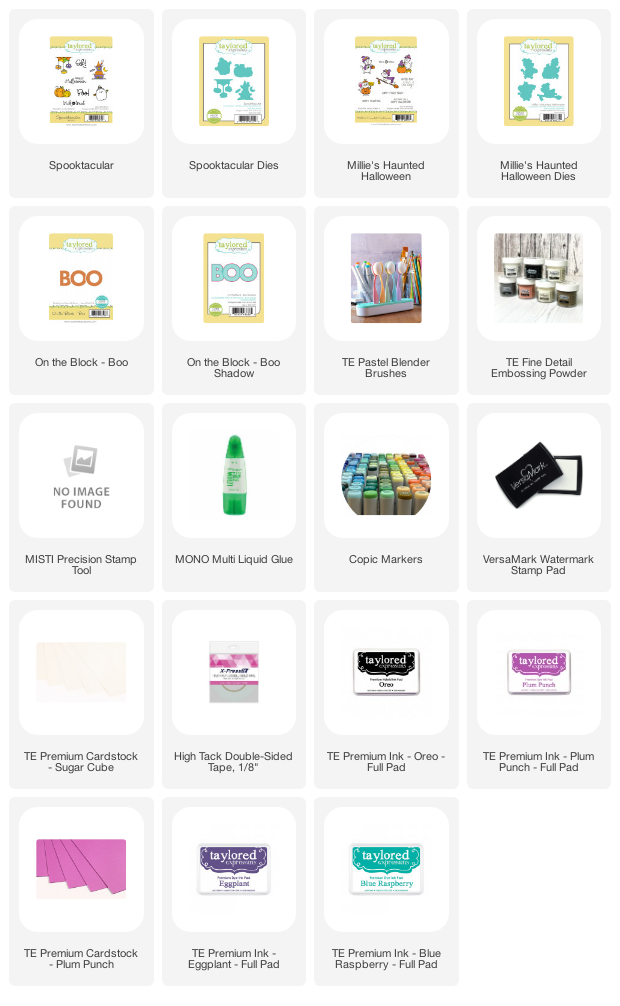
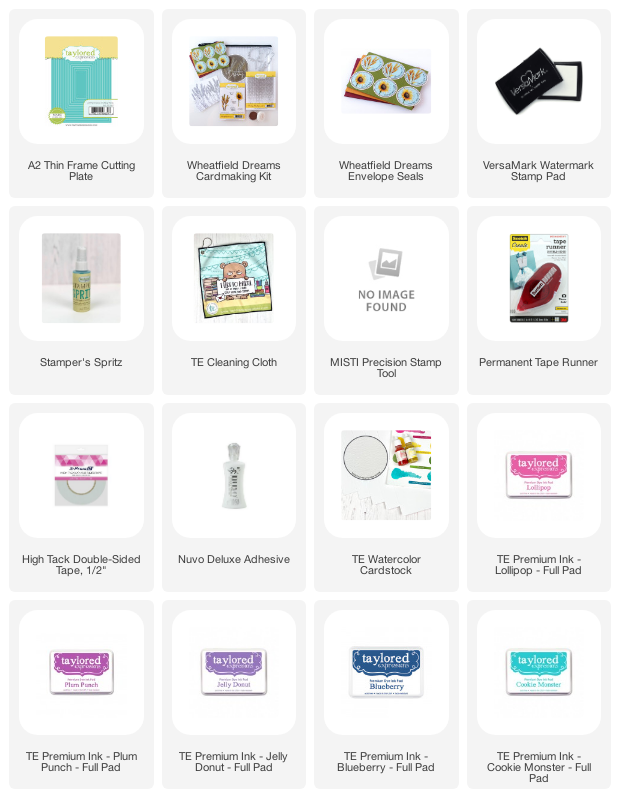

Supply List:


My next card uses a ink blended background and sunflower stamp! I first ink blended the background using Lollipop, Plum Punch, Jelly Donut, Blueberry and Cookie Monster Ink. I then used the same colors to stamp the background image on top. Later, I colored three sunflowers from the kit using copic markers and added extra details using a white gel pen. I didn’t like the  white border of the sunflowers so I ended up using my copic markers to color the white die cut border such that it matches the background. Finally, I added a white border using A2 thin frame cutting plate die and finished it off by heat embossing a sentiment!
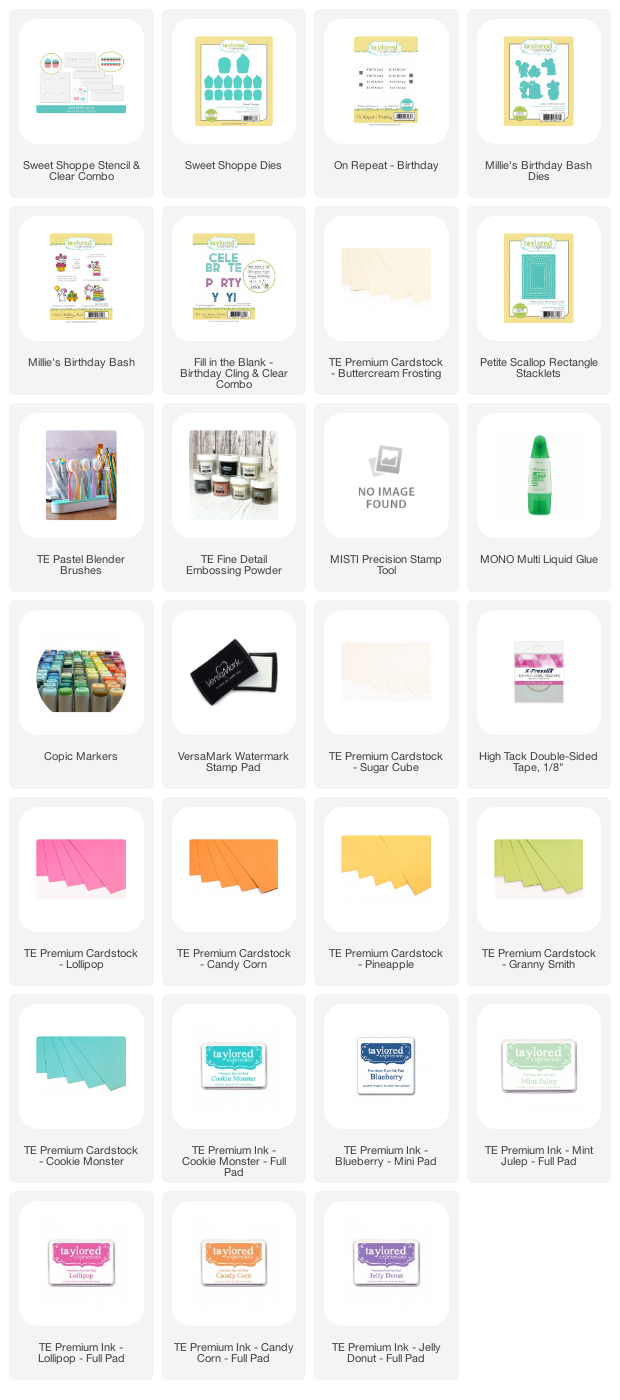
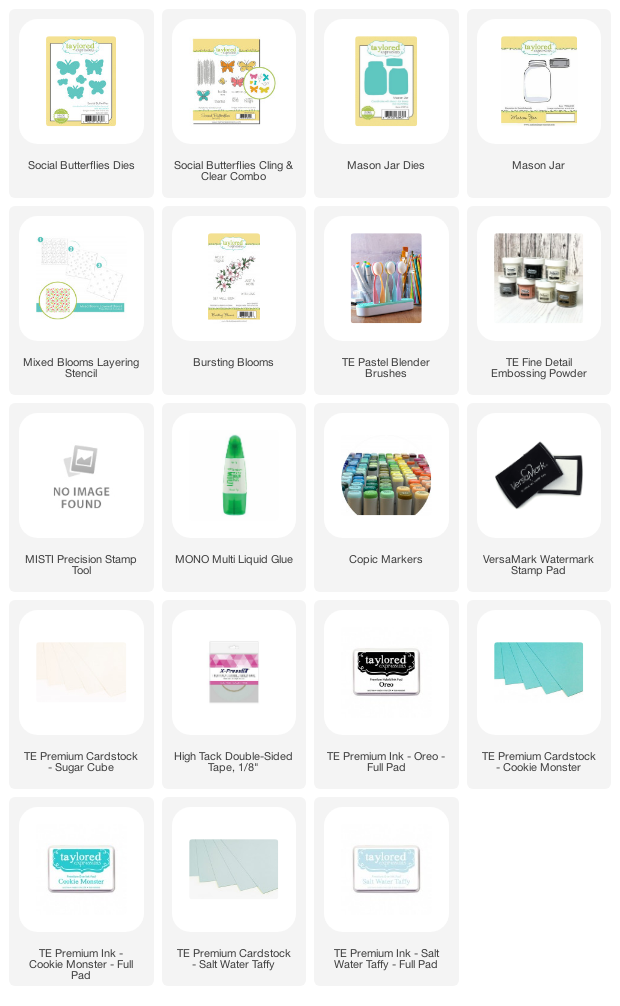
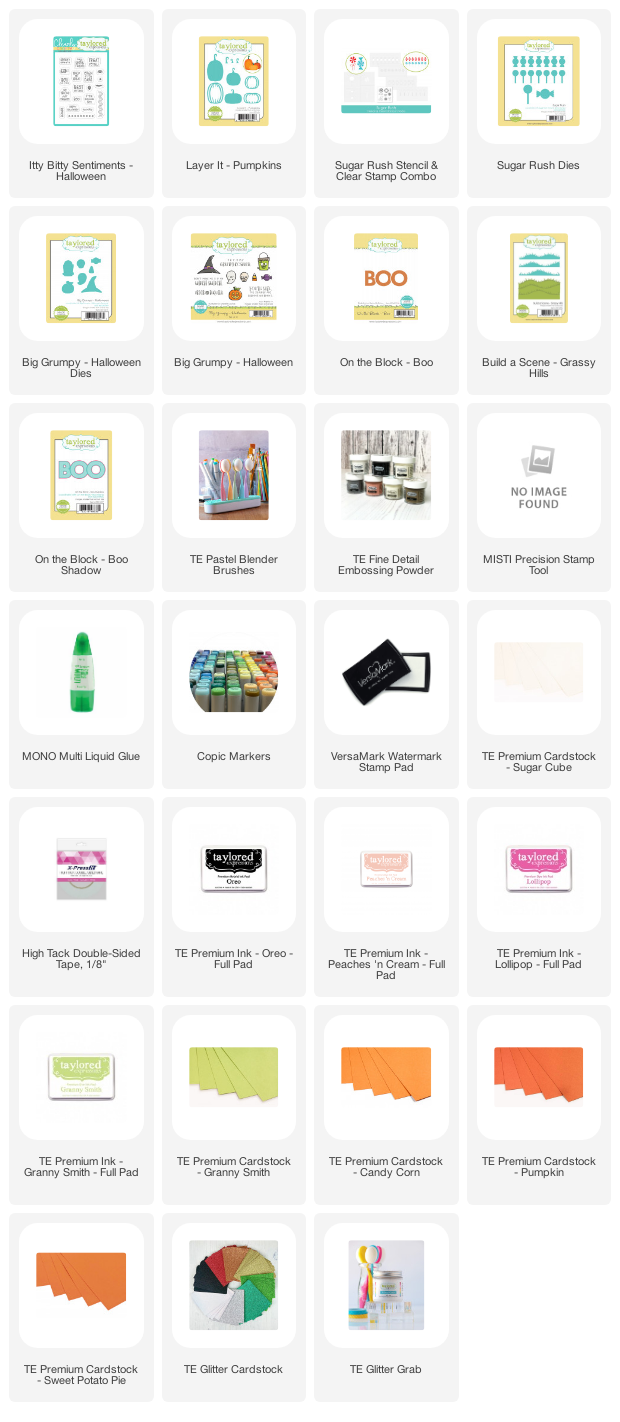

Supply List:


That's it folks. Hope you liked this week's release! Be sure to check back next week for more!

Happy Crafting, 
Kavya


Share
Tweet
Pin
Share
No comments


Hi folks, 

Welcome back to Day 2 of our Stampede Celebration! Today we are celebrating with the wonderful and inspirational winners from our Guest Design Call! Not everyone has a blog so remember to also check our Instagram also! You can start hopping on my IG at www.instagram.com/handmadebykavya

I always love finding innovative ways to combine products so my card todays uses one of my fav ME stamp of all time - Milkshake! I used this stamps set along with the new Little Gnome Girl Agenda and Inside Holiday Messages to create a fun Holiday Drinks themed card. The little gnomes are just the perfect size to hide the bunnies from the original stamp set. I even replaced the heart balloons with strawberries! 


To celebrate the new release, Mama Elephant is picking a few winners to win their choice of stamp set! 
 Here is how you can win!


» 1. Leave a comment on the collective Design Team's Instagram Stampede post
» 2. Leave a comment on our Facebook Stampede post
» 3.  React and enter the giveaway in the #giveaway channel on Discord
» 4. Leave a comment on any of the Introduction videos on YouTube
 
Each action qualifies for one entry, max 4 entries per stampeder please and good luck!
 
Stampede through here for more inspiration from our Guest Designers!

Leontine van Ganswijk-Smit

Kavya Nagalakunta ---> You are here

Maartje Kraaijenhagen ---> Next Blog

Ali Farmer

Asuka Nagahata

Amanda Wilcox


Thank you for celebrating with us! Don't forget ME's 3 day sale + free gifts!


Share
Tweet
Pin
Share
1 comments


Hi folks, 

TE has a new birthday themed release filled with so many creative products (and of course critters!). I have three new projects to share with you today so let's get started...

My first card uses the new Chip and Charlie critter stamp set. I first started off by stamping and coloring the image along with images from Bitty Borders for the treats and presents. Then, I created my background by ink blending Jelly Donut, Lollipop, Candy Corn and Pineapple dye inks. For the tree and grass, I used Birch Tree Border die (Chocolate Truffle cardstock), Build a Scene Rolling Clouds (Cilantro cardstock) and a strip of Lime Zest cardstock. As always, I ink blended the edges using matching dye ink and splattered some paint to make it a bit more dimensional. Finally, I heat embossed sentiments using the new Get the Word Out - Celebrate (Lollipop cardstock) and Mini Strips Birthday (Cookie Monster cardstock).

Supply List:


You must have already seen my next project as a part of TE's Birthday Auction and Challenge. I absolutely love how this card turned out! I first started off by creating a striped background using 1/4" strips of Lollipop, Granny Smith, Pineapple, Candy Corn and Cookie Monster cardstock. For the center portion of the card I created a border using Petite Scallop Rectangles die and buttercream cardstock and ink blended the inner rectangle using Blueberry, Cookie Monster and Mint Julep dye inks. As always, I splattered some paint! I then heat embossed 'Celebrate' using Fill in the Blank - Birthday and filled it in using a cute Millie from Millie's Birthday Bash and surrounded it with Cupcakes stenciled using the new Sweet Shoppe Stencil set and Peaches and Cream, Cookie Monster, Jelly Donut, Candy Corn and Lollipop dye inks. Finally, I added a sentiment from On Repeat - Birthday and lollipop cardstock to finish off my card :) 


Supply List:


My final project uses the new Present Treat Wrap die. I first started off by die cutting the treat wrap using sugar cube cardstock and ink blended it using my go to rainbow colors - Jelly Donut, Lollipop, Candy Corn, Confetti Cake, Granny Smith and Pineapple. I then added a sentiment using Itty Bitty Sentiments and Tags using Blue Raspberry ink. I wanted it to hold two mini Kit Kats so I added two strips of cardstock on the sides to create a holder. For the Reese's wrap, I added some left over cupcakes from my previous projects to the center of a Circle Window Frame die. That's it! 


Supply List:


That's it folks! Hope you liked this fun release :)

Happy Crafting, 
Kavya


Share
Tweet
Pin
Share
No comments


Hi folks, 

I am back with another fun release from TE! It's all about fall here and if you are a fan of modern and abstract designs, this release might just be the one for you! 

My first card shows you a fun way to stretch the new Autumn Array cling and stencil and create a fun floral butterfly! I first stamped, colored and die cut the butterfly. Then, I stamped and stenciled the gorgeous bloom from Autumn Array using the following dye inks:
  • Sunflower - Pineapple and Toffee Ink for the petals and Toffee and Mocha for the center
  • Leaves - Key Lime and Granny Smith
  • Other Flowers - Lollipop, Jelly Donut and Candy Corn 
For the background, I ink blended the edges of a die cut piece of Swirls Pierce and Cut out of Cilantro cardstock using Poblano Pepper and Cilantro dye ink. As always, I splattered green and white paint on the background. I then placed it on top of an A2 sized Poblano Pepper cardstock. Finally, I cut the right wing of the butterfly and replaced it with the stenciled bloom! 


Supply List:


My second is quite simple! It took me less than 2 hours (which says a lot about how slow I am :D). I first started off by creating a watercolor background using shades of green, red, orange, yellow, pink and purple liquid watercolors and placed it on A2 sized Toffee cardstock using foam. Then, I heat embossed the Fineline Leaves background using white embossing powder to create a subtle design! To finish it off, I added a sentiment using Signature Thanks die out of white glitter cardstock & vellum and a sentiment from Mini Strips - Hello Summer. For some extra glam and texture, I added iridescent rhinestones and some twine!


Supply List:


Free envelopes & seals:
With any purchase of Fall products (old and new!) of $75 or more, you will receive a FREE pack of envelopes and custom Autumn Blessings envelope seals. The pack includes 10 envelopes (2 each of Mulled Wine, Pumpkin, Dijon, Sweet Basil and Toffee) and 10 exclusive envelope seals (these seals are not available to purchase). This offer is valid now through 11:59PM Central Time Sunday, September 5th, or while supplies last.

Free class:
When you purchase the Autumn Blessings Collection (Autumn Blessings stamp set, Autumn Blessings die collection, and Swirls Pierce & Cut Plate die) through Sunday, September 5th, you will get a free exclusive 2-card video craft along class with Taylor!

This mini version of our Online Crafty Classes is a great way for you to put your new Fall goodies to use right away making two different cards at your own pace! Watch the videos as often as you like and learn some new cardmaking tips and tricks while discovering inspiration for more designs!


Once you complete your purchase, you will receive an email (separate from your order confirmation email) with links to the class videos on YouTube.


Although Taylor will recommend colors for ink and cardstock, you can use anything you have to make these projects uniquely yours!


Hurry! This offer is only valid through 11:59 pm (CT) on Sunday, September 5th, or while supplies last.


Happy Crafting,
Kavya


Share
Tweet
Pin
Share
No comments


Hi folks, 

Did you have your eye on a few of Taylored Expressions exclusive products that slipped away before you could get your hands on them? (By exclusive, we mean products that you could earn free with a qualifying purchase.) Never fear, because now you will be able to purchase some of these exclusive stamps and stencils this week! Here is some cool inspiration if you are wondering how to use them! 

My card this week was inspired by an image that I saw a while back of a jar of butterflies between yellow flowers! I first started off by ink blending Salt Water Taffy cardstock with Cookie Monster dye ink and also stenciled the leaf stencil from Mixed Blooms using the same dye ink. I then ink blended the edges of A2 cardstock using Cookie Monster and Salt Water Taffy dye ink. Later, I stamped and colored images from Bursting Blooms, Mason Jar, and Social Butterflies stamp set and arranged then on the A2 cardstock as shown in the image below. Finally, I heat embossed a sentiment from Bursting Blooms on Cookie Monster cardstock to finish off the card!


Supply List:


Now, through Sunday, August 29th, save 30% on our select summer favorites! If you have had your eye on some of these stamp sets, die, and stencils, now is the time to add them to your collection and save at the same time!


Happy Crafting, 
Kavya


Share
Tweet
Pin
Share
No comments


Hi folks, 

Welcome to the Sunny Studio Stamps 6th Birthday Blog Hop! This new release is just so much fun! If you love Christmas.. this one if for you! In celebration of SSS's 6th birthday, comment on this blogpost to win one of thirteen $25 gift vouchers to the store :) 


If you have been following my work for a while on this blog or on my Instagram (check it out here), you know that I love stretching my supplies and using bold colors. I challenged myself to do just that and use as many products as I could from this release.. This fun ornament is quite easy to recreate! 


I first started off by stamping and coloring a bunch of images from Deck the Halls and the wreath from Christmas Critters. I then ink blended a mini slimline sized green cardstock using green and navy blue dye ink. I then splattered green and yellow paint for some extra jazz! Later, I diecut various leaves from Winter Greenery from different shades of green cardstock. To make the leaves more realistic, I ink blended the edges using green dye ink and splattered some more green paint! I then added some red berries using the accompanying die and red cardstock. 

I used the wreath as letter 'O'. For 'J' and 'Y',  I wanted some bold alphas so that they could stand out from the busy background. I ended up using my silhouette to cut these alphas out of green and white glitter cardstock. Finally, I arranged all of them as shown in the images, added some details using a white gel pen  and heat embossed a sentiment from Holiday Express on pink cardstock :) 


Our official holiday release date is on August 27th, but in honor of our birthday the new products will available as a PRE-ORDER from today morning! How cool is that? There is more...


That's it from me! Be sure to check out what the rest of the team has in store for you:
  • Sunny Studio
  • Vanessa
  • Anja
  • Ashley
  • Audrey
  • Franci
  • Isha
  • Julia
  • Kavya - -----> You are here 
  • Marine  -----> Next person on the hop! 
  • Mayra
  • Tammy
Happy Crafting,

Kavya
Share
Tweet
Pin
Share
61 comments


Hey folks, 

I am back to feature another fun kit from Taylored Expressions! I am a HUGE fan of endless possibilities especially with craft supplies. I always look for versatile products and this new kit from TE didn't disappoint me! There is no WAY someone might make the same card as you unless you are intentionally trying to CASE it... Now, isn't that amazing? That's the ultimate selling point of this kit! Still not convinced? Let me show you some cards that you could make....


My first card might seem complicated but it is actually quite simple (but might take a while). I took a few photos to show you how to make it step by step coz pictures say a thousand words! By using the stencil and matching masking portion of the stencil, I was able to 'layer' the abstract shapes quite easily... Bitty Blending brushes definitely come in handy when you are working with this kit. I also used it to heat emboss the clear stamps and finally added more details using a white gel pen! 


Supply List:


My second card uses the Subtle Sprigs Die to create a bold foliage look. I simply die cut multiple leaves using Pineapple, Poblano Pepper, Blueberry and Lollipop cardstock. I then used the diecut inlay technique and some Diecut'N Bond to hold the inside portion of each leaf (is there a technical term for this part?? I am blanking lol!). If you aren't lazy like me, you can use darker colored cardstock and diecut the leaves again for this part. I simply used my copic markers to color them a shade darker. Then, I just arranged them on a piece of Bluecorn cardstock ink blended with Oreo at the bottom so that the colors stand out. Feel free to cut the leaves short from the top so that they seem like that they are 'peeking' from the behind! I also splattered some blue and white paint to make the background more dramatic... Finally, heat emboss a sentiment and you are done! 


Supply List:


Here’s everything included in the In the Abstract Kit – which is available for $72:
  • Abstract Accents Stencil & Clear Stamp Combo set
  • Bitty Blender Brushes – set of 2
  • Subtle Sprigs die collection
  • Clearly Crafty Beautiful Soul stamp set
  • Bits & Pieces – Black Rhinestones
  • 6 A2 Envelopes: 1 each of Toffee, Poppy Seed, Sweet Basil, Avocado, Salt Water Taffy, and Oreo
  • Packaged in a zippered pouch with a custom kit label

Limited quantity available. Most items are not available to purchase individually.

Happy Crafting,
Kavya


Share
Tweet
Pin
Share
No comments

 
Hi folks, 

I am back with another fun release from TE... if you love, Halloween this is for you! There are so many ways in which you can combine this release with all past releases.. that's how versatile this release is! 


My first card is for all the critter lovers out there! I first stamped and colored a bunch of images from Spooktacular and the new Millie's Haunted Halloween stamp sets. I then stamped On the Block - Boo using Blue Raspberry dye ink and cut the last 'O' so that I could place a cute ghost in between. Later, I ink blended the top half of an A2 sized Plum Punch cardstock using Eggplant and Plum Punch Dye inks. As always, I splattered some white paint! Finally, arrange all the images around the 'Boo' and heat emboss a sentiment from  Millie's Haunted Halloween to finish it off!


Supply List:


My next card is another fun Halloween scene using a bunch of Halloween products – old and new! The pumpkins are put together with the Layer It – Pumpkins dies... I used different shades of orange cardstock and also used the orange glitter cardstock! The sentiments from Itty Bitty Sentiments - Halloween set fit perfectly inside the pumpkins! The candies were created with the Sugar Rush Stamp & Stencil Combo set and I also used the pearl glitter instead of just leaving it white :) The ‘Boo’ is stamped with the On the Block – Boo stamp using Lollipop dye ink and the ghost and witch hat are from the Big Grumpy - Halloween stamp set! I then ink blended the edges of A2 cardstock using Peaches and Cream dye ink and also stamped the ‘ghostly greetings’ sentiment from the Full Circle – Halloween stamp set, using the same ink! I finally added some grass using Build A Scene - Grassy Hills using Granny Smith dye inks and cardstock and finally arranged all the pumpkins and candy!


Supply List:


My next card uses the new Spiderweb background cling stamp. I first stamped the spider web on gumball cardstock and ink blended the edges using oreo and and eggplant dye ink. Then, I stamped and colored a bunch of images from Zombies stamp set. Then, I created a background using Ghost Town border uisng black glitter cardstock and added two strips underneath it using Candy Corn and green glitter cardstock. I finally finished it off by heat embossing a sentiment from Full Circle - Halloween! 


Supply List:


That's it folks! Hope you liked the projects!

Happy Crafting,
Kavya


Share
Tweet
Pin
Share
No comments
Newer Posts
Older Posts

About me


Hello! I am Kavya. Welcome to my blog where I share my love for all things papercrafting and cardmaking. I am excited that you decided to stop by and look around.

Follow me on Social Media

  • Instagram
  • YouTube

Cards by Brand

Alex Syberia altenew Heffy Doodle Mama Elephant MFT newton's nook Pear Blossom Press Reverse Confetti SugarPea Designs Sunny Studio Stamps Taylored Expressions Wow Embossing

Blog Archive

  • ▼  2024 (11)
    • ▼  October (1)
      • Bear Hugs ft Taylored Expressions
    • ►  September (1)
    • ►  August (1)
    • ►  July (1)
    • ►  June (1)
    • ►  May (2)
    • ►  April (1)
    • ►  March (1)
    • ►  February (1)
    • ►  January (1)
  • ►  2023 (15)
    • ►  December (1)
    • ►  November (2)
    • ►  September (3)
    • ►  August (1)
    • ►  July (1)
    • ►  June (1)
    • ►  May (1)
    • ►  April (2)
    • ►  March (1)
    • ►  February (1)
    • ►  January (1)
  • ►  2022 (34)
    • ►  November (4)
    • ►  October (1)
    • ►  September (3)
    • ►  August (1)
    • ►  July (1)
    • ►  June (5)
    • ►  May (5)
    • ►  April (2)
    • ►  March (5)
    • ►  February (3)
    • ►  January (4)
  • ►  2021 (47)
    • ►  December (1)
    • ►  October (3)
    • ►  September (6)
    • ►  August (5)
    • ►  July (2)
    • ►  June (4)
    • ►  May (3)
    • ►  April (4)
    • ►  March (4)
    • ►  February (6)
    • ►  January (9)
  • ►  2020 (28)
    • ►  December (7)
    • ►  November (7)
    • ►  October (2)
    • ►  September (11)
    • ►  August (1)

Popular Posts

  • Sunny Studio Stamps 6th Birthday Blog Hop!
      Hi folks,  Welcome to the Sunny Studio Stamps 6th Birthday Blog Hop! This new release is just so much fun! If you love Christmas.. this on...
  • Sunny Studio Stamps 7th Birthday Blog Hop
      Hi folks,  I am back on the blog with another fun card! I know it's been weeks since I have posted but life's been crazy :) But, I...
  • Heffy Doodle + Sunny Studio Stamps blog hop!
    Hi folks,  Welcome to the Heffy Doodle and Sunny Studio Stamps Collaboration Blog Hop! Design Team members from both companies are sharing i...
  • New Gel Printing Kit from TE
      Hi folks,  TE has a new kit and it's all about gel printing! I have never tried it before so I was excited to get my hands on it and t...
  • You are my Best-Tea! : MFT Dec Release!
    Hi folks! I am super excited to be a part of MFT's December release! This new release has so many adorable and versatile products just l...
  • Go Cray-zy! It’s the Pear Blossom + Heffy Doodle blog hop!!
      Hi folks,  Today, we’re kicking off a CRAFTY Collaboration Blog Hop with Pear Blossom Press and Heffy Doodle !  Come hop along with us and...
  • Toy Story ft. MFT Stamps!
    Hi folks,  I am back on the blog with another fun project for MFT’s Cardmaking Superstar competition. I always love taking part in every yea...
  • Christmas Gifting Kit from TE!
      Hi folks,  TE has a new Christmas Gifting Kit that has many unique products that make packaging and decoration super adorable! As always, ...
  • TE - Happy Father's Day!
      Hi folks,  I am back on the blog with another fun release from Taylored Expressions - Father's Day! I love this release... it's so...
  • Mass produce Christmas cards easily with TE!
      Hi folks,  I am back on the blog with another fun release from TE! I love how the new Create in Quad stencils make it super easy to mass p...

Followers

Check out more cards on my Instagram here Watch Cardmaking videos on my YouTube channel here

Created with by BeautyTemplates | Distributed By Gooyaabi Templates