Instagram YouTube

Handmade by Kavya

  • Home
  • Creative Resume
  • Contact Me


Hi folks, 

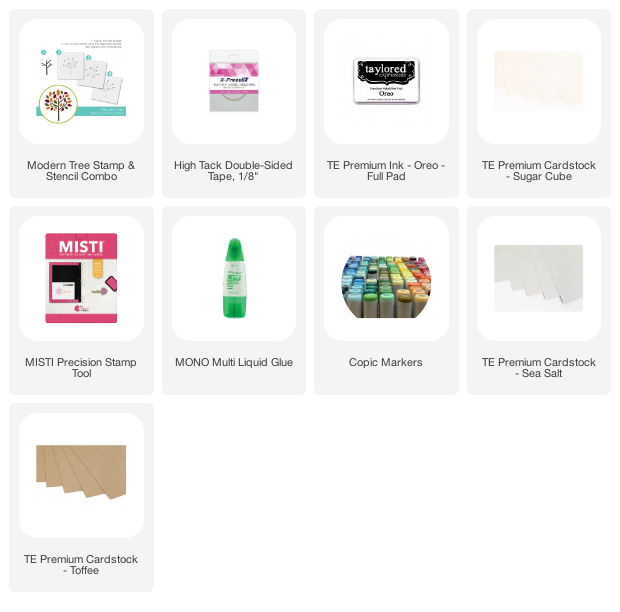
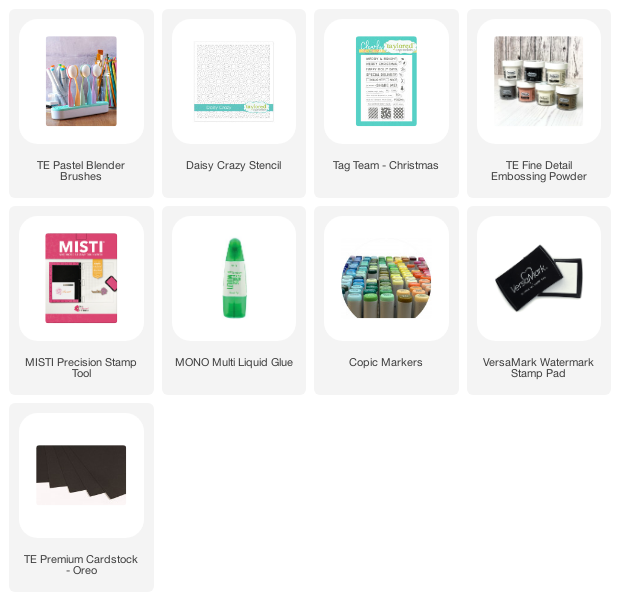
There is a new release that I am super excited about! Taylored Expressions has some new stencils and pastel blender brushes! First of all, how gorgeous are these brushes? I love mine and I can't wait to use them for my distress inks so that I don't contaminate them with my hybrid inks! I also switched over to the new Tool Tray as its much more convenient and saves space on my tiny craft desk. If you are looking for a compact holder for your brushes and other tools, this one is for you!


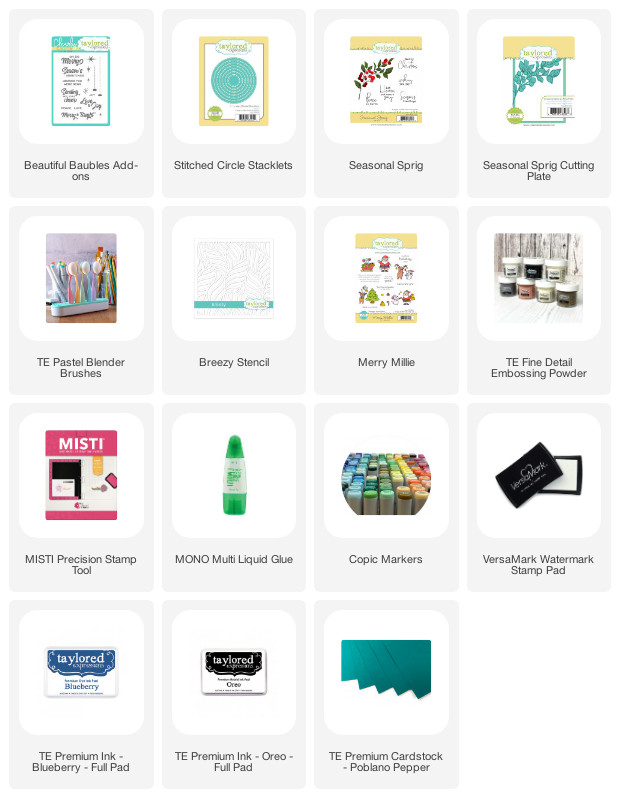
I am super excited about the new stencil release as well and I have a bunch of cards to share with you all. My first card uses the Breezy stencil. I first stenciled using blueberry ink on poblano pepper cardstock and then dry embossed it to give a subtle dimension. I then assembled the seasonal sprigs and then die cut them using the circle stacklet die to create an ornament. I finally used white embossing powder to heat emboss the sentiment from Merry Millie and Beautiful Baubles Add on and added some 'sparkles' by splatting some paint using TE Shimmer liquid watercolor! 


Supply list: 


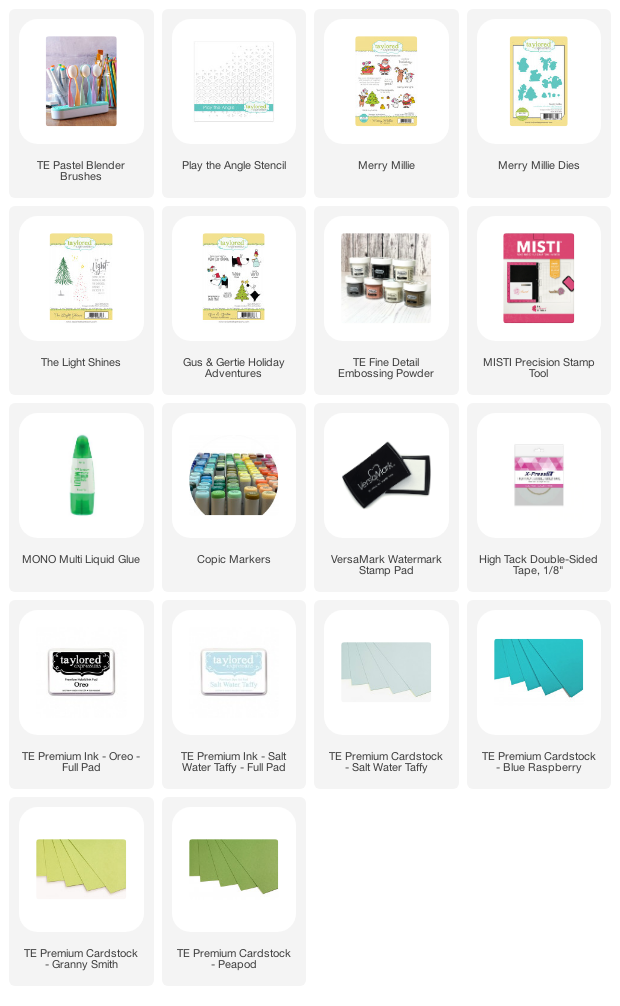
For my next card, I used the Play the Angle stencil to create a fun geometric themed Christmas card. I first stenciled on salt water taffy cardstock using salt water taffy ink. I then cut some triangles out of granny smith, peapod and blue raspberry cardstock in various sizes and heat embossed the white dots using the 'light' stamp from the light shines on stamp set. I finished it off by adding the Santa and some presents from Merry Millie and a sentiment from Gus & Gertie Holiday Adventures.

Supply List:


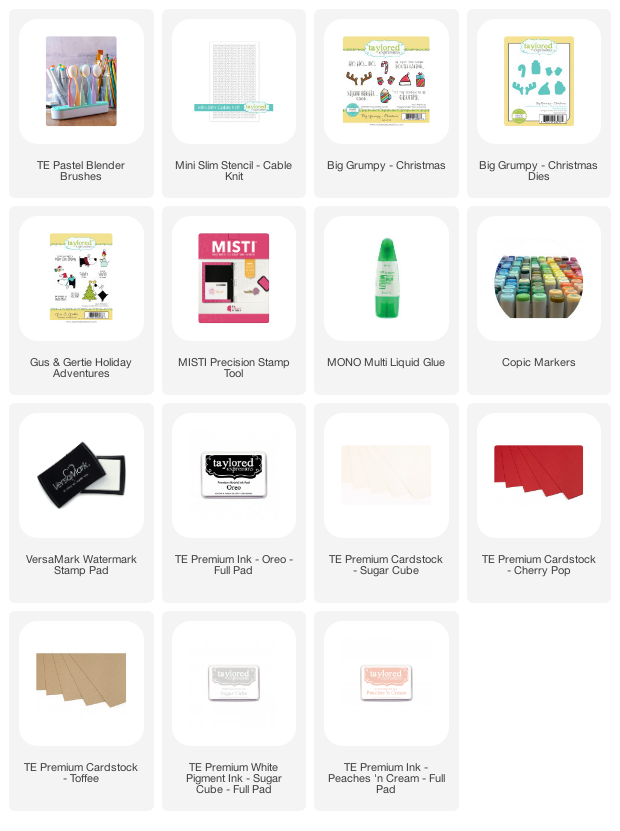
My next card is super simple to recreate and is just adorable! I first stenciled on Cherry Pop cardstock using the new Cable Knit stencil and Sugar Cube Ink. I then stenciled on a smaller Sugar cube cardstock using Peaches and Cream. I used Toffee cardstock to mat the Sugar Cube panel on the Cherry Pop Cardstock. I finished it off by adding reindeer antlers from Big Grumpy Christmas and a sentiment from Gus & Gertie Holiday Adventures. I added the red nose using a marker! 


Supply List: 


My final card is a super quick and elegant Christmas card! I first masked off a large tringle aka minimalist Christmas tree on Oreo cardstock. I then stenciled using the Daisy Crazy stencil by directly dabbing Versamark embossing ink. I then heat embossed this and some sentiments from Tag Team - Christmas in gold! How simple is that? Love the minimalist look of this card! 


Supply List:


Thanks for stopping by! Be sure to check out some more inspiring cards from the rest of the design team!
 

Share
Tweet
Pin
Share
No comments

Hi folks!

It's release day at Taylored Expressions and I have so many awesome cards to share with some of the latest products. This is their biggest release yet with more than 40 products and I can truly say that I LOVE critters now! Without further ado.. let's get started!

My first card uses a bunch of new products along with the new Gus and Gertie Christmas themed stamp set. I first stamped and colored multiple images from the stamp set using alcohol markers. I then added highlights and shadows using colored pencils and a white gel pen. For the word "Merry', I masked and stamped each letter in Fruit Punch, Pumpkin, Peapod, Cilantro and Lime Zest Ink. I added highlights and shadows to the words as well just like my stamped images. For the background, I used the newly released Candy Cane Stripes stencil and ink blended using Lime Zest and Guava. I then lightly ink blended on top using the same colors and added splatters using white paint. Although this stencil is meant for a mini slimline card, it's still great for A2 cards! I then finished my card by adding a 'Christmas' sentiment from the new on-repeat stamp set.


Supply List:


My next card shows you another way to use the Pennant Parade stamp set with a critter by stamping the top 3/4  of the card so that you have space at the bottom to add sentiments, critters etc. I stamped the banners using Sprinkles, Mint Julep and Granny Smith ink and ink blended the bottom half of the panel using Cookie Monster and Granny Smith. As always, I added splattered some white paint. I finished it off with a critter from the new Merry Millie stamp set and added a sentiment from Tag Team - Christmas to make a mini Christmas Party scene! 


Supply List:


My next card is probably one of my favorites so far! I assembled the Santa Clauses from St Nick's Background Cling and Clear stamp set to form a Christmas tree. I added 'shadows' and a tree stump to the Santa Clauses using gold glitter cardstock. For the background, I ink blended Poblano Pepper and Cilantro inks and used the Bokeh Stencil with Sugar Cube, Granny Smith and Lemon Meringue inks. I stamped the caps using Sprinkles, Pink Champagne and Granny Smith and finished it off by adding some Gold Coast Nuvo drops. The sentiment was heat embossed using white embossing powder on watermelon cardstock.


Supply List:


I love all things vintage and the new Beautiful Baubles stencil and stamp set is just gorgeous! I first stenciled the baubles on Sugar Cube cardstock using Strawberry Milkshake, Blue Raspberry, Peapod, Dijon, Sprinkles and Granny Smith inks. I then fuzzy cut and placed them on a Blueberry cardstock. I ink blended the edges of the cardstock using Bluecorn ink and added white and blue paint splatters. I then finished it off by heat embossing elements from the add on set.


Supply List:


If you follow me on Instagram, you must know by now that I am a huge fan of typography! Imagine my excitement when I saw the Fill in the Blanks - Christmas stamp set! It's something that I would totally do :) I first ink blended the top and bottom edges of Sugar Cube cardstock using Sprinkles and Lavender Glaze using the Let it Snow Layering stencil. I wanted a light Teal color for the letters so I first stamped them in Gumball and then stamped again using Confetti Cake. I fuzzy cut the alphabets and then placed them on the ink blended panel along with a Santa Claus from St Nick's Background stamp and some elements from Big Grumpy - Christmas. I added 'shadows' using silver cardstock. I finished it off with a sentiment from On-Repeat Christmas.

Supply List:


My last card is simple to recreate and uses the new mini slimline masking stencil and Seasonal Sprig stamp set. I ink blended the center portion of the card using Poblano Pepper and Bluecorn and added elements from the Seasonal Sprig stamp set. I added paint splatters and added some gold drip drops to finish off the card! 


Supply List:

Here is an extra card using a bunch of different products from the new release!


That's all I have got to share! I hope you enjoyed this release as much as I did. Be sure to checkout what the rest of the team created!

Thanks,
Kavya 


Share
Tweet
Pin
Share
1 comments


Hey folks!  

Its release day at Taylored Expressions and we have a brand new kit that's perfect for making quick cards for all occasions!  My favorite product from the kit is this innovate stencil, stamp and die combo that can be used in many different ways! 

To make this card, I first embossed the 'Hey There' sentiment using white embossing powder and then ink blended the panel using Plum Punch, Lollipop and Candy Corn Ink. I wanted to try something different so I die-cut the shadow on another panel instead of the one without the sentiment. I then stenciled the die-cut panel using the coordinating sunshine stencil and Deco Transfer Duo Gel. I then applied the Deco Foil Transfer sheets in Silver Shattered Glass to add some brilliant metallic finish to the rays! I then placed this panel on top of the sentiment panel and the placed the entire thing on some Sea Salt cardstock! Doesn't the foil add some extra magic to this card? I love how this turned and can't wait to send it to a friend! 


Supply List:


My next card is a simple CAS card made using a stamp set that is perfect for both inside and outside your cards. I stamped the sentiment repeatedly at an angle using Sea Salt Ink and stamped one of it in Oreo. I then ink blended in Granny Smith and Cookie monster using the dotted ray stencil to draw attention to the sentiment stamped in Oreo! I then placed this panel on a Granny Smith and Cookie Monster ink blended panel to finish it off! How quick and simple is that? 


Supply List:

Here’s everything included the Hey There Kit – which retails for $70:
  • Hey There Stamp & Stencil Combo set
  • Hey There Shadow die
  • Hey There Sunshine stencil
  • Dotty Ray stencil
  • Good Vibes stamp set
  • 6 Custom Envelope Seals
  • 6 Colored Envelopes
  • Packaged in a zippered pouch with a custom kit label

Grab yours before they are out of stock! 

Happy Crafting,
Kavya 


Share
Tweet
Pin
Share
No comments

Hi folks! 
I am back at Newton's Nook for my last guest design post for September. I cannot believe how quickly this month flew by! For my last card, I decided to share a technique or rather layout that I enjoy - using large words with stamped images! Newton's Nook makes so many standalone images that are perfect for this technique and I constantly find myself swapping the 'Os' in 'Love', 'OMG" etc with a cute Newton. Here is one that I made a while back:
For a Christmas card, I decided to use some cute christ-mouses from the Naughty or Mice Stamp set along with some large alphabets that read "Fa La La La...". I first started out with a plan to use three mice and the words 'Fa La La' but I quickly realized how big the mice were! So I cut it down to a single 'La' and decided to channel the inner math nerd in me and and add eighth power to 'La'! I think that fixed it? It definitely makes a super cute card for another math nerd! All of the alphabets were cut using my silhouette cameo in 'Rockwell' font. Any large alphabet die works too. The images were colored using alcohol markers and colored pencils. I then finished the card with a sentiment from the same set.

I hope you try this super easy and cute technique for some of your cards. You can use words like Joy, Jolly, Noel, Snow etc. and make the sentiment the focal point of your card along with an adorable stamped image from Newton's Nook!

Thank you so much for having me as your Guest Designer this month! I hope I inspired you in some way.. I definitely had so much fun!

Thanks and Happy Crafting,
Kavya 


Share
Tweet
Pin
Share
No comments
Hi folks, 

I am back with another card to share witu you! CAS is not my style but I love working with typography and sentiments! If you follow me on Instagram, you would know it by now! 

This card was a result of trying to come up with some typographical elements. If you look closer, the animals actually form the word 'HI' !!!

I love CAS cards that use products cleverly and I think I did so? For this card, I used MFT Double the Fun and MFT All the encouragement for the sentiment. Any additional elements were all hand-drawn. 

This is how I put this together:
  • I first stamped the images

  • I then drew the additional elements. No non-MFT stamps, sentiments, dies, and stencils were used. 

And that's it! How simple is that? I added a blue shadow so that people can quickly realize it says 'HI'. I think this counts as CAS.... What do you think? 


Thanks,
Kavya 


Share
Tweet
Pin
Share
No comments

Hello everyone, 

Can you imagine its Fall already? Taylored Expressions has a mini fall theme release and I cannot wait to share it with you all! 

First up... we have these super adorable pumpkin pouches perfect for some candy and tiny toys! I embroidered some veins to the felt leaves and added cute tags made from Pretty Packages die set released earlier this month and newly released Tag Team - Thanksgiving. How easy is that?


Supplies Used:

Next up is my favorite stamp set from the release.. Modern Tree Stamp and Stencil Combo! This stamp set can be stretched to create cards not just for fall but for any occasion! I ended up creating two super quick birthday cards. Simply stamp the tree at different angles and color the leaves using a color combination of your choice. I used a fall combo of green, pink and yellow for one card and a classic grey, teal and pink for another. I finished both the cards by stamping sentiments from this month's free stamp and adhered them to a larger panel of Sea Salt and Toffee cardstock! 


Supplies Used:

Be sure to check out other amazing cards from the rest of the team! 

Thanks for stopping by!
- Kavya
 

Share
Tweet
Pin
Share
No comments
Newer Posts
Older Posts

About me


Hello! I am Kavya. Welcome to my blog where I share my love for all things papercrafting and cardmaking. I am excited that you decided to stop by and look around.

Follow me on Social Media

  • Instagram
  • YouTube

Cards by Brand

Alex Syberia altenew Heffy Doodle Mama Elephant MFT newton's nook Pear Blossom Press Reverse Confetti SugarPea Designs Sunny Studio Stamps Taylored Expressions Wow Embossing

Blog Archive

  • ▼  2024 (11)
    • ▼  October (1)
      • Bear Hugs ft Taylored Expressions
    • ►  September (1)
    • ►  August (1)
    • ►  July (1)
    • ►  June (1)
    • ►  May (2)
    • ►  April (1)
    • ►  March (1)
    • ►  February (1)
    • ►  January (1)
  • ►  2023 (15)
    • ►  December (1)
    • ►  November (2)
    • ►  September (3)
    • ►  August (1)
    • ►  July (1)
    • ►  June (1)
    • ►  May (1)
    • ►  April (2)
    • ►  March (1)
    • ►  February (1)
    • ►  January (1)
  • ►  2022 (34)
    • ►  November (4)
    • ►  October (1)
    • ►  September (3)
    • ►  August (1)
    • ►  July (1)
    • ►  June (5)
    • ►  May (5)
    • ►  April (2)
    • ►  March (5)
    • ►  February (3)
    • ►  January (4)
  • ►  2021 (47)
    • ►  December (1)
    • ►  October (3)
    • ►  September (6)
    • ►  August (5)
    • ►  July (2)
    • ►  June (4)
    • ►  May (3)
    • ►  April (4)
    • ►  March (4)
    • ►  February (6)
    • ►  January (9)
  • ►  2020 (28)
    • ►  December (7)
    • ►  November (7)
    • ►  October (2)
    • ►  September (11)
    • ►  August (1)

Popular Posts

  • Sunny Studio Stamps 6th Birthday Blog Hop!
      Hi folks,  Welcome to the Sunny Studio Stamps 6th Birthday Blog Hop! This new release is just so much fun! If you love Christmas.. this on...
  • Sunny Studio Stamps 7th Birthday Blog Hop
      Hi folks,  I am back on the blog with another fun card! I know it's been weeks since I have posted but life's been crazy :) But, I...
  • Heffy Doodle + Sunny Studio Stamps blog hop!
    Hi folks,  Welcome to the Heffy Doodle and Sunny Studio Stamps Collaboration Blog Hop! Design Team members from both companies are sharing i...
  • New Gel Printing Kit from TE
      Hi folks,  TE has a new kit and it's all about gel printing! I have never tried it before so I was excited to get my hands on it and t...
  • You are my Best-Tea! : MFT Dec Release!
    Hi folks! I am super excited to be a part of MFT's December release! This new release has so many adorable and versatile products just l...
  • Go Cray-zy! It’s the Pear Blossom + Heffy Doodle blog hop!!
      Hi folks,  Today, we’re kicking off a CRAFTY Collaboration Blog Hop with Pear Blossom Press and Heffy Doodle !  Come hop along with us and...
  • Toy Story ft. MFT Stamps!
    Hi folks,  I am back on the blog with another fun project for MFT’s Cardmaking Superstar competition. I always love taking part in every yea...
  • Christmas Gifting Kit from TE!
      Hi folks,  TE has a new Christmas Gifting Kit that has many unique products that make packaging and decoration super adorable! As always, ...
  • TE - Happy Father's Day!
      Hi folks,  I am back on the blog with another fun release from Taylored Expressions - Father's Day! I love this release... it's so...
  • Mass produce Christmas cards easily with TE!
      Hi folks,  I am back on the blog with another fun release from TE! I love how the new Create in Quad stencils make it super easy to mass p...

Followers

Check out more cards on my Instagram here Watch Cardmaking videos on my YouTube channel here

Created with by BeautyTemplates | Distributed By Gooyaabi Templates