Hi folks!
It's release day at Taylored Expressions and I have so many awesome cards to share with some of the latest products. This is their biggest release yet with more than 40 products and I can truly say that I LOVE critters now! Without further ado.. let's get started!
My first card uses a bunch of new products along with the new Gus and Gertie Christmas themed stamp set. I first stamped and colored multiple images from the stamp set using alcohol markers. I then added highlights and shadows using colored pencils and a white gel pen. For the word "Merry', I masked and stamped each letter in Fruit Punch, Pumpkin, Peapod, Cilantro and Lime Zest Ink. I added highlights and shadows to the words as well just like my stamped images. For the background, I used the newly released Candy Cane Stripes stencil and ink blended using Lime Zest and Guava. I then lightly ink blended on top using the same colors and added splatters using white paint. Although this stencil is meant for a mini slimline card, it's still great for A2 cards! I then finished my card by adding a 'Christmas' sentiment from the new on-repeat stamp set.

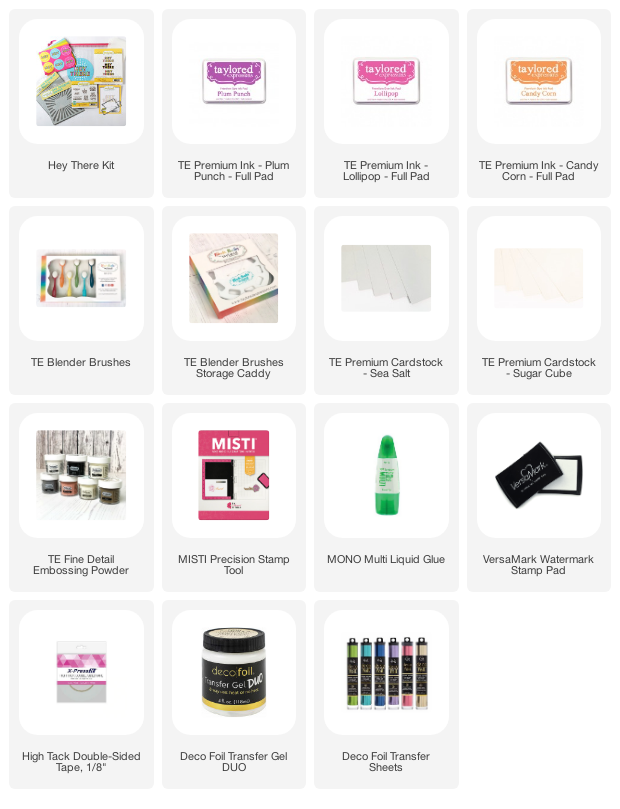
Supply List: 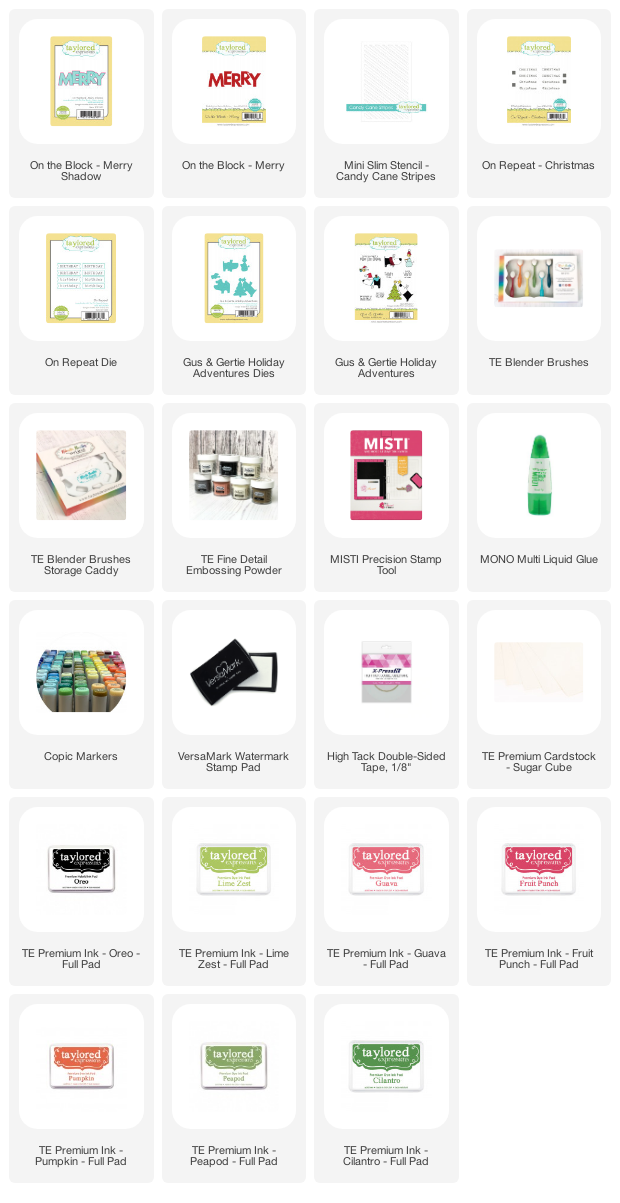

My next card shows you another way to use the Pennant Parade stamp set with a critter by stamping the top 3/4 of the card so that you have space at the bottom to add sentiments, critters etc. I stamped the banners using Sprinkles, Mint Julep and Granny Smith ink and ink blended the bottom half of the panel using Cookie Monster and Granny Smith. As always, I added splattered some white paint. I finished it off with a critter from the new Merry Millie stamp set and added a sentiment from Tag Team - Christmas to make a mini Christmas Party scene!

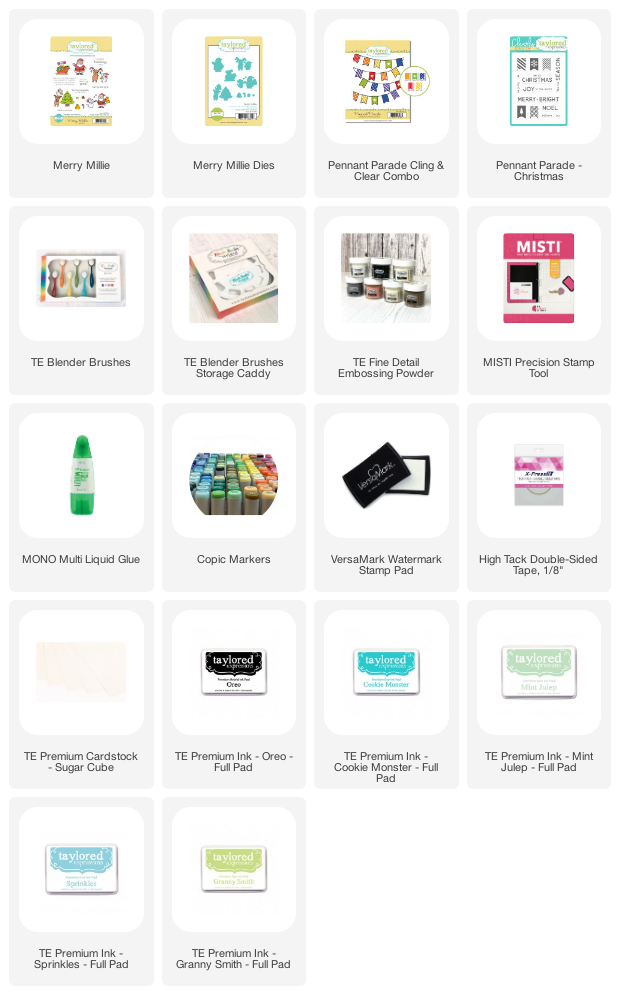


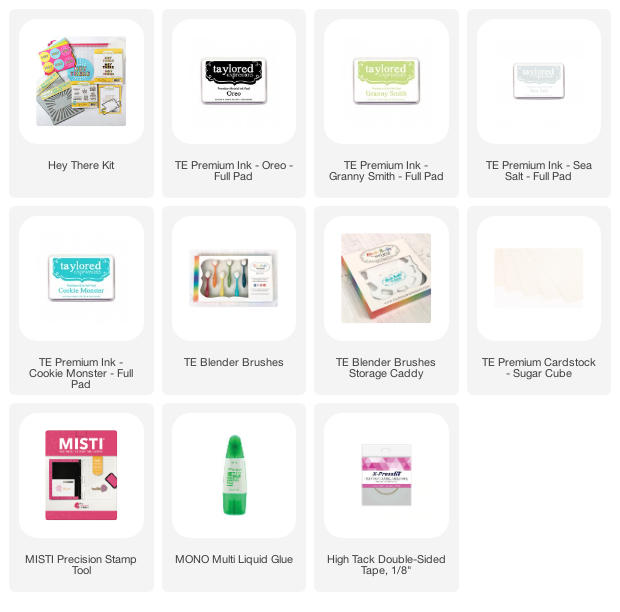
Supply List: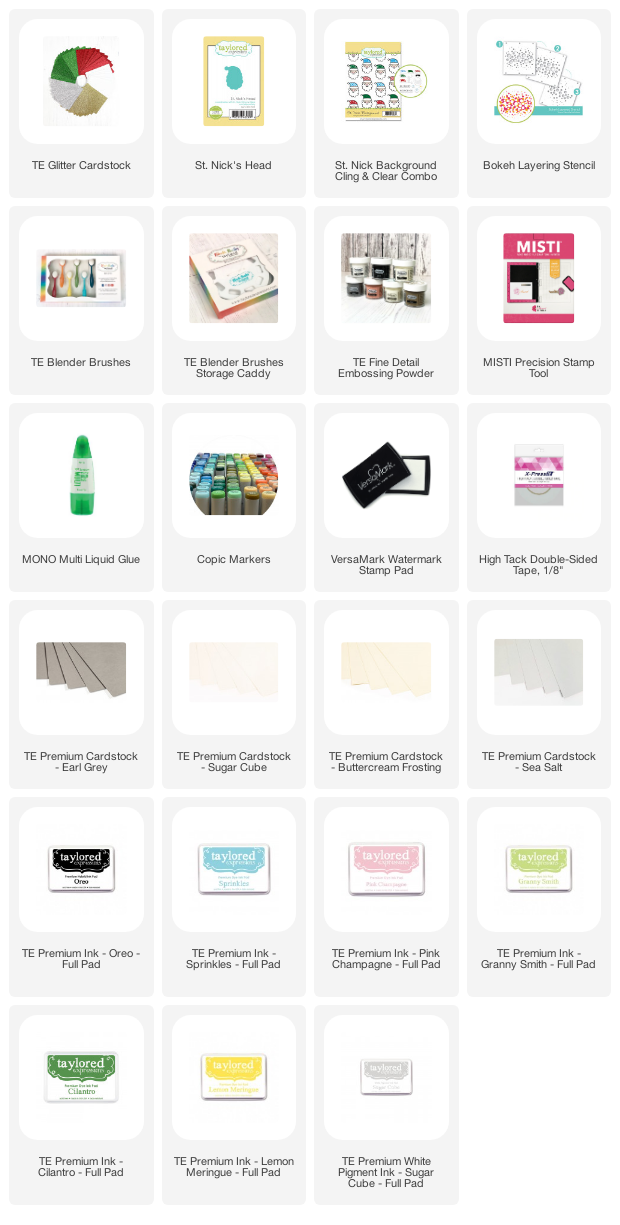

I love all things vintage and the new Beautiful Baubles stencil and stamp set is just gorgeous! I first stenciled the baubles on Sugar Cube cardstock using Strawberry Milkshake, Blue Raspberry, Peapod, Dijon, Sprinkles and Granny Smith inks. I then fuzzy cut and placed them on a Blueberry cardstock. I ink blended the edges of the cardstock using Bluecorn ink and added white and blue paint splatters. I then finished it off by heat embossing elements from the add on set.


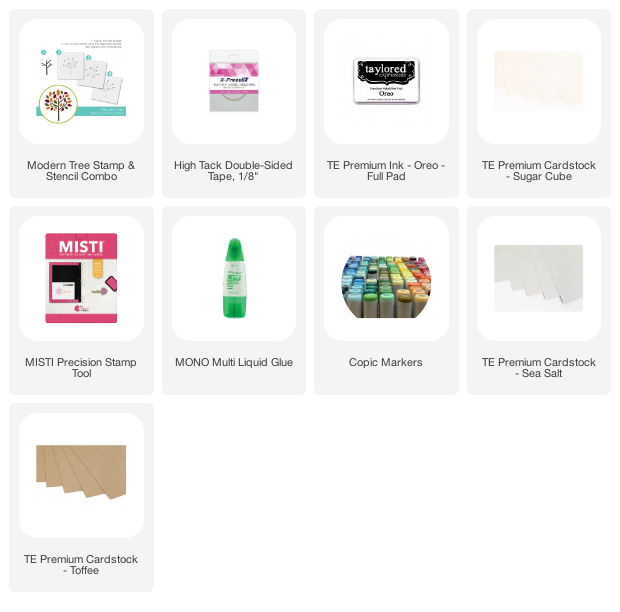
Supply List: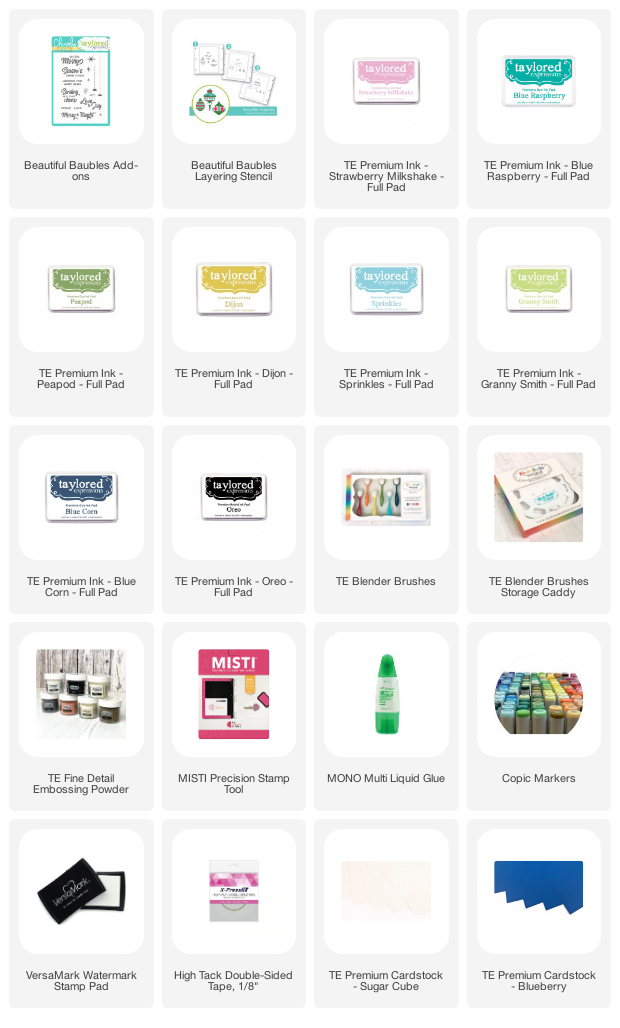

If you follow me on Instagram, you must know by now that I am a huge fan of typography! Imagine my excitement when I saw the Fill in the Blanks - Christmas stamp set! It's something that I would totally do :) I first ink blended the top and bottom edges of Sugar Cube cardstock using Sprinkles and Lavender Glaze using the Let it Snow Layering stencil. I wanted a light Teal color for the letters so I first stamped them in Gumball and then stamped again using Confetti Cake. I fuzzy cut the alphabets and then placed them on the ink blended panel along with a Santa Claus from St Nick's Background stamp and some elements from Big Grumpy - Christmas. I added 'shadows' using silver cardstock. I finished it off with a sentiment from On-Repeat Christmas.

Supply List: 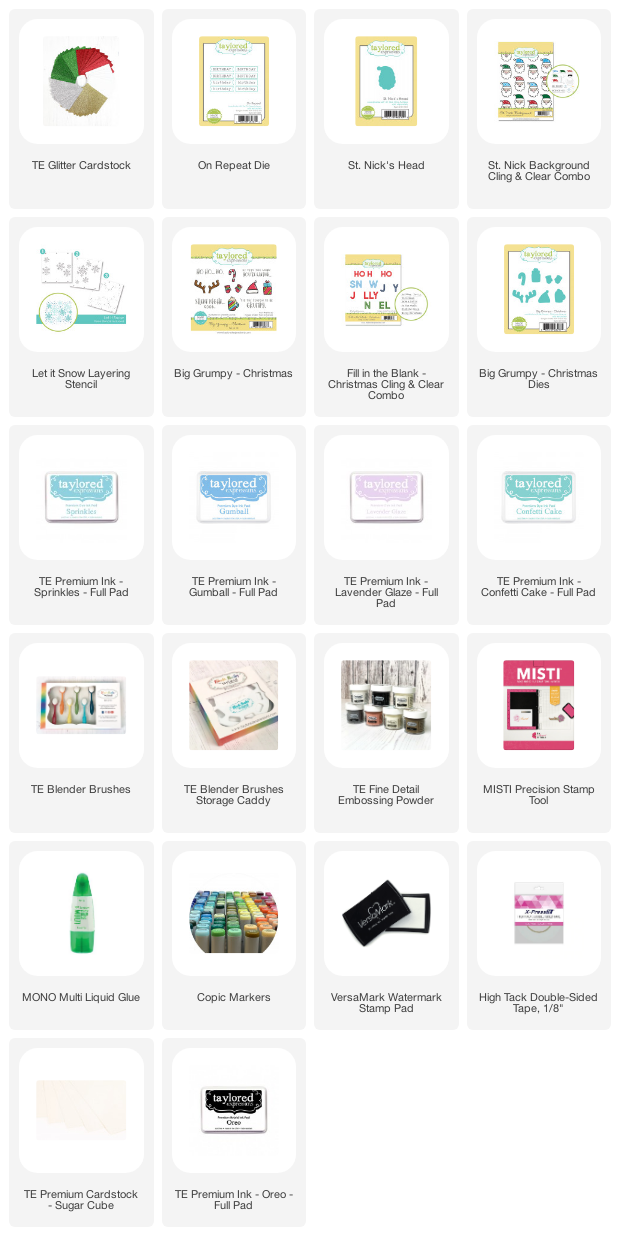


Supply List: 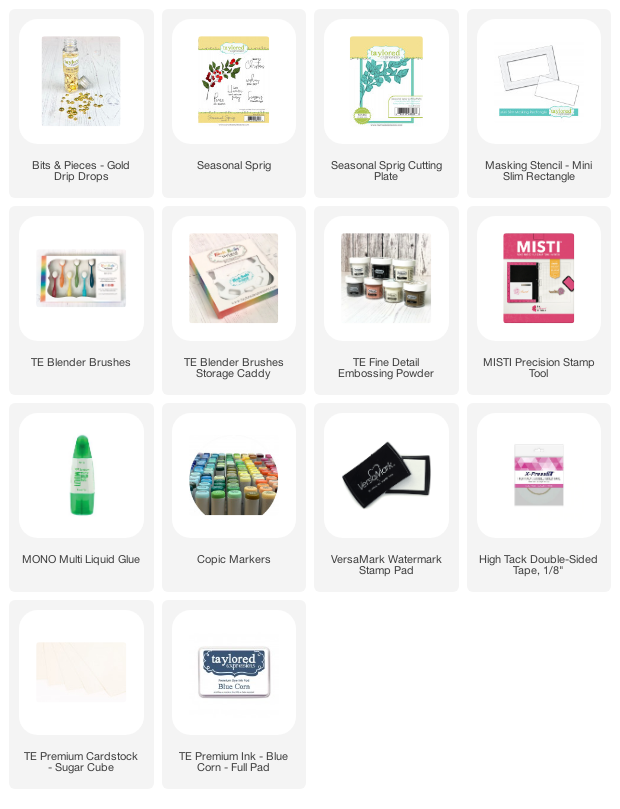
Here is an extra card using a bunch of different products from the new release!


That's all I have got to share! I hope you enjoyed this release as much as I did. Be sure to checkout what the rest of the team created!
Thanks,
Kavya