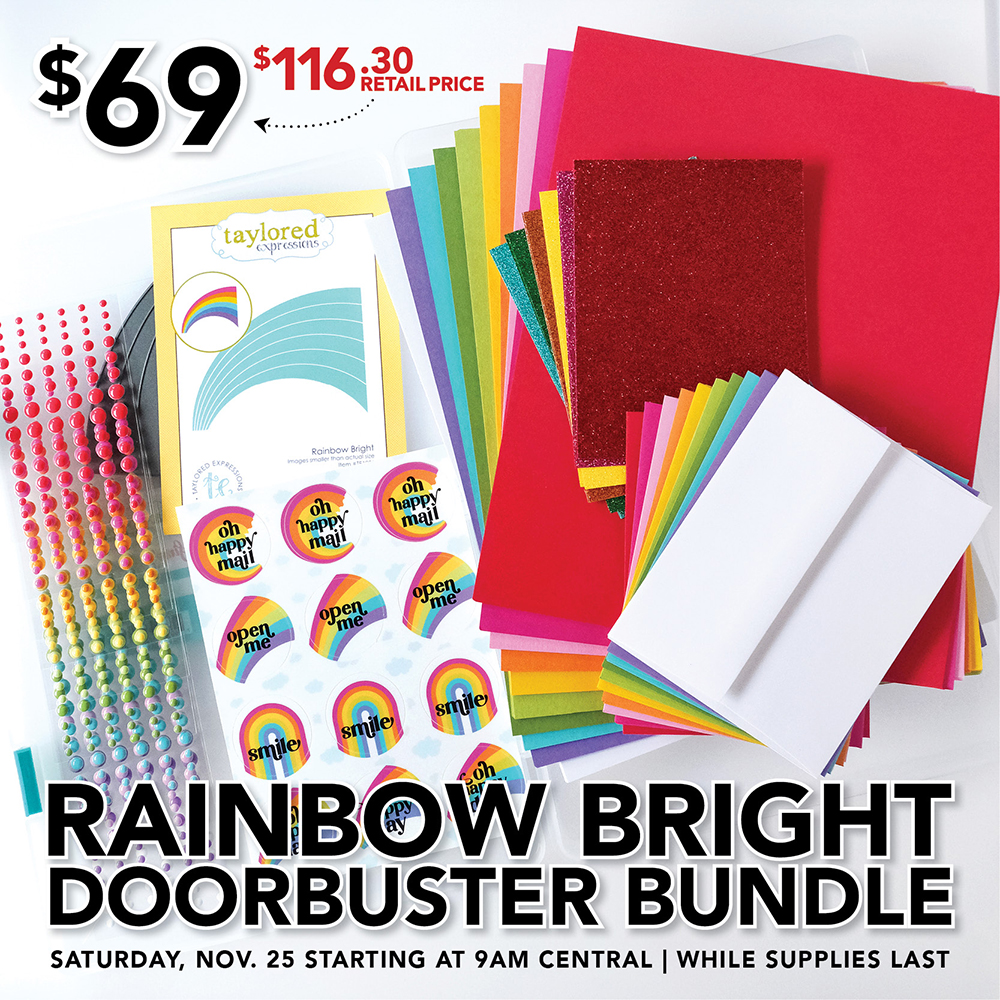
Instagram YouTube

Handmade by Kavya

  • Home
  • Creative Resume
  • Contact Me


Hi folks, 

Kavya here with some inspiration for this month's newest kit from Taylored Expressions - Scattered Blooms. This one is filled with awesome goodies - dies, stencils and foil sheets! But, I decided to try two new layouts using the dies and I love how they turned out. 

First off, die cut a bunch of flowers and leaves using the cutting plate. I used Candy Corn, Pineapple, Granny Smith, Peapod, Dragon Fruit, Bubblegum and Strawberry Milkshake.

Blue Card: 

For the Blue card, I started off by die cutting flowers again using Blue Corn cardstock. I didn't use the flowers this time around. I used the negative. I placed the negative on Tropical Punch cardstock and added some die cut Blue corn flowers. I then placed the colorful flowers and leaves all over and added some gel pen details and Enamel dots for the floral centers. I finished off my hard by adding a die cut sentiment out of Blue Corn and Buttercream frosting cardstock!


Brown Card: 

For the brown card, I die cut a bunch of 'hugs' sentiment out of Cinnamon and arranged it all over my Cinnamon card base. Then, I arranged the flowers and leaves on one corner of the card and I was done!
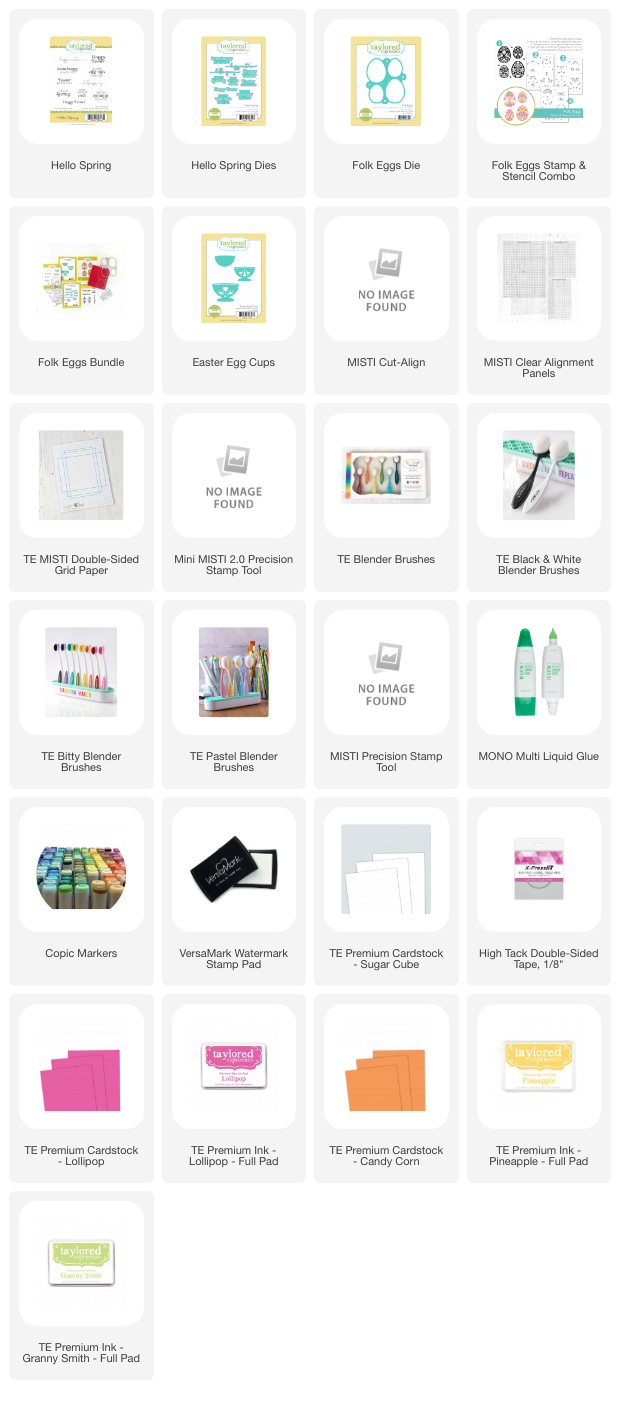
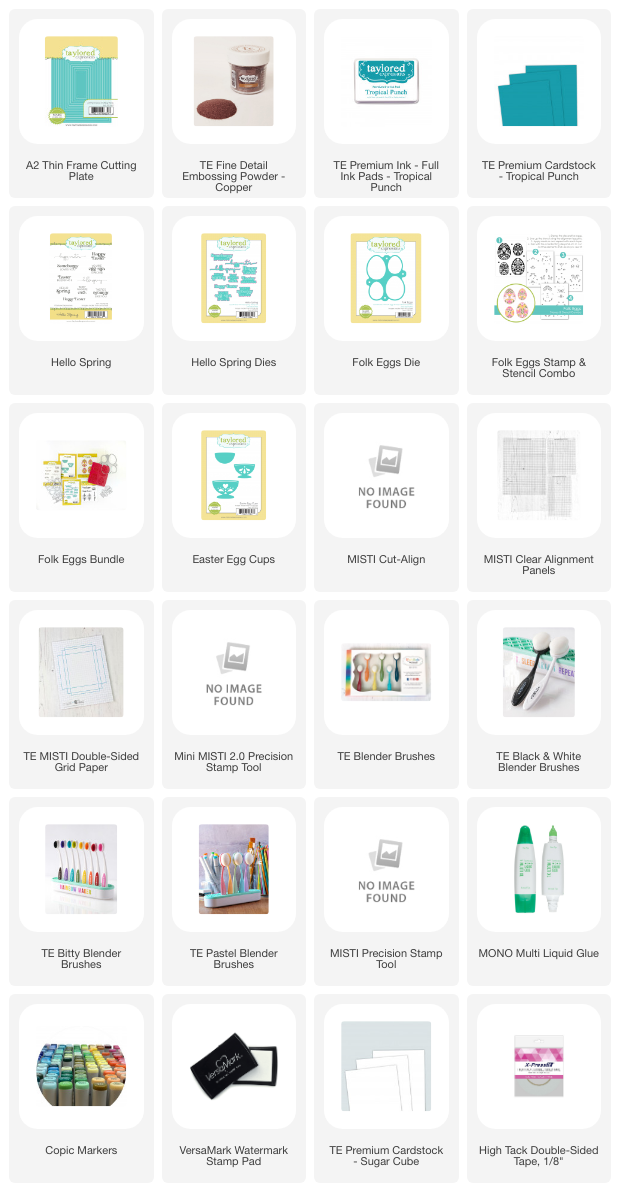
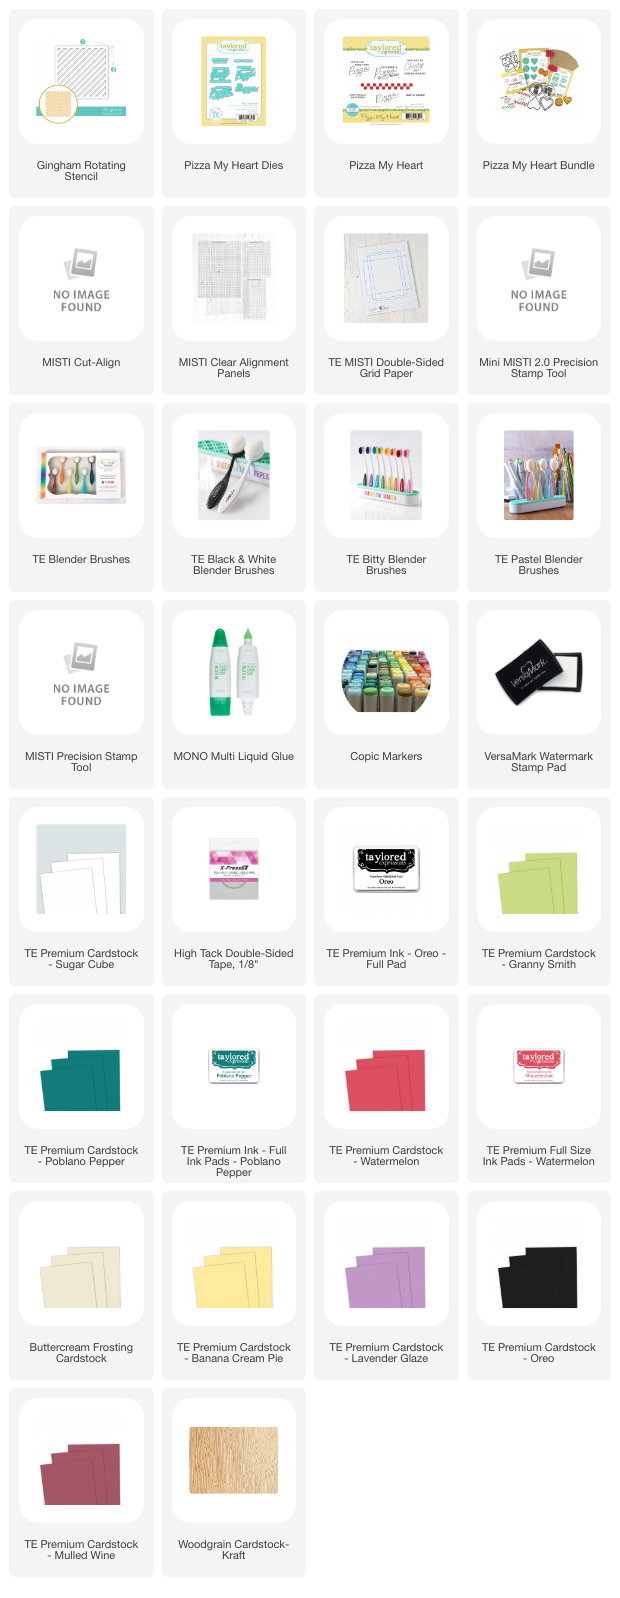
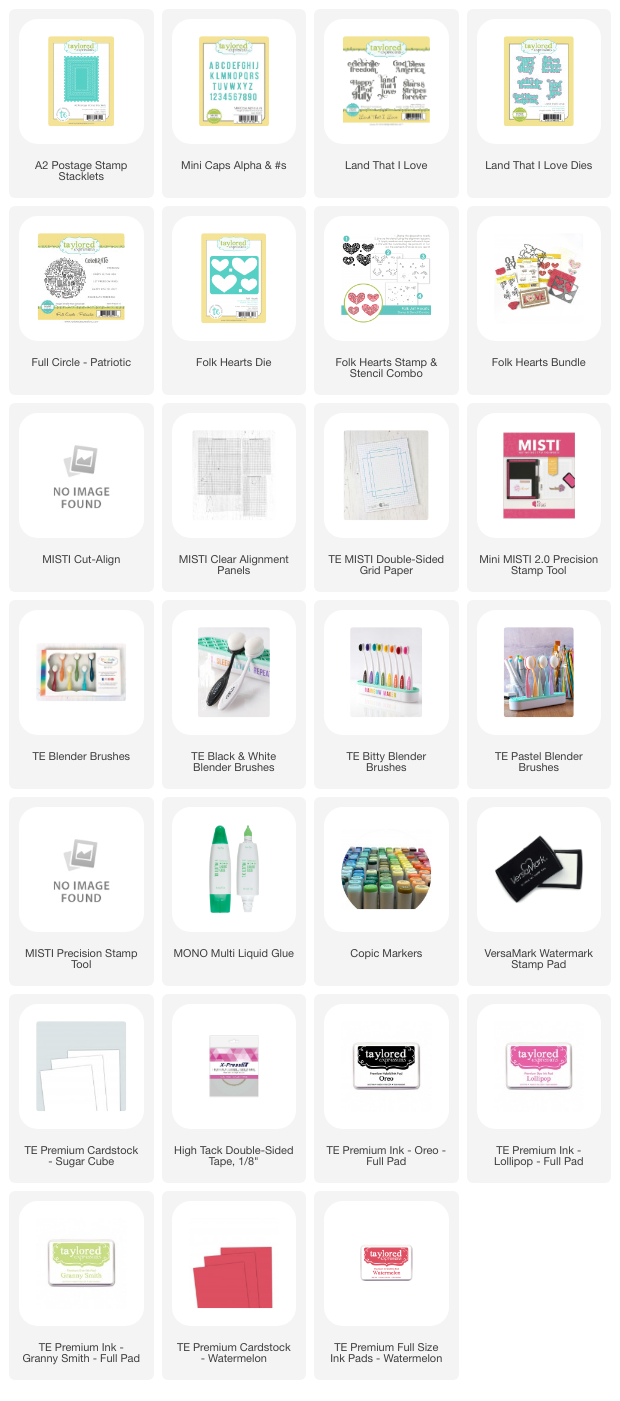
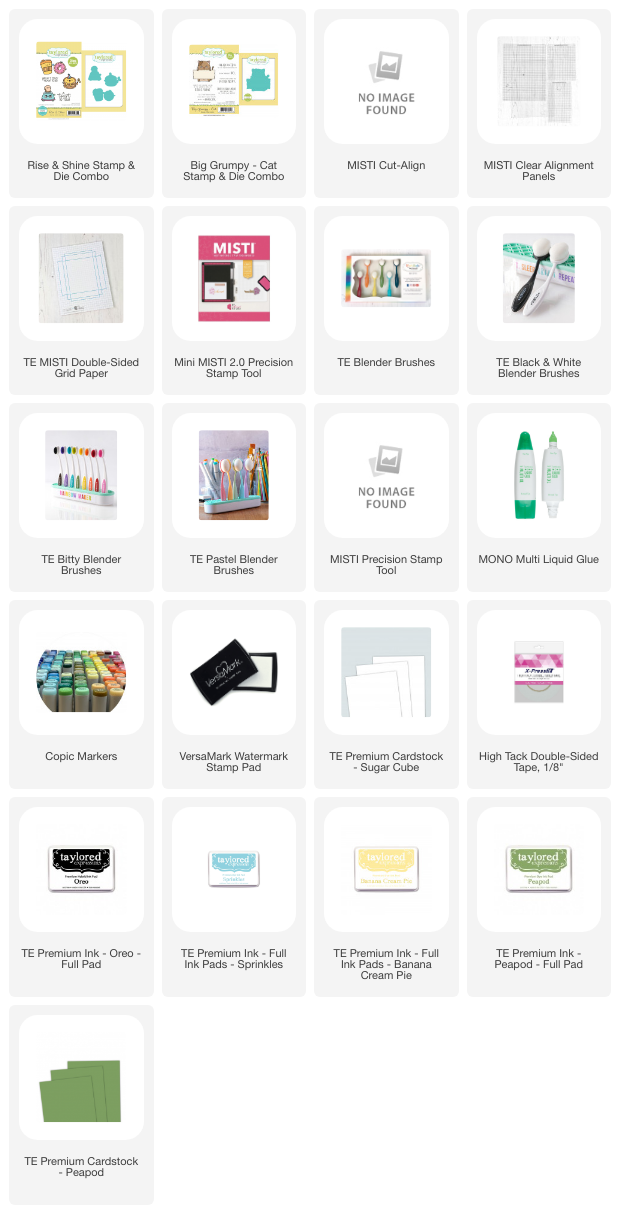
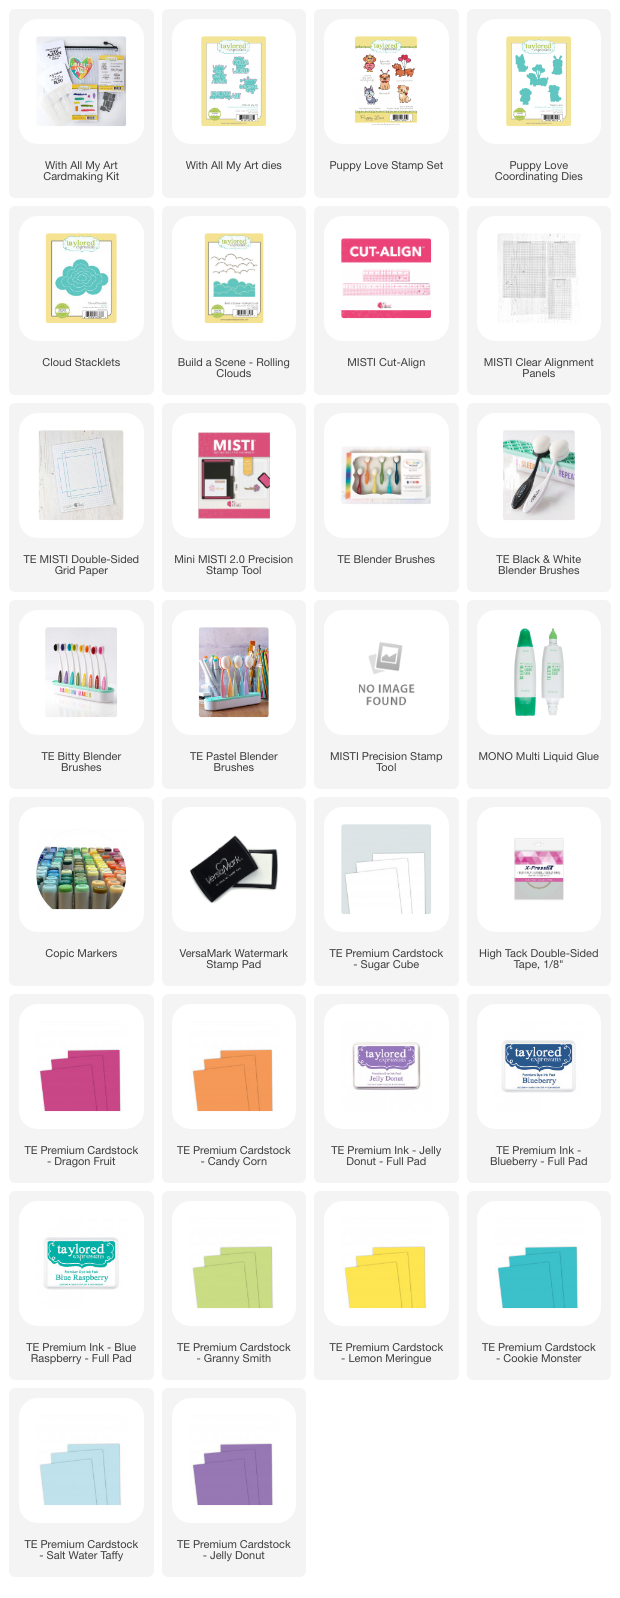
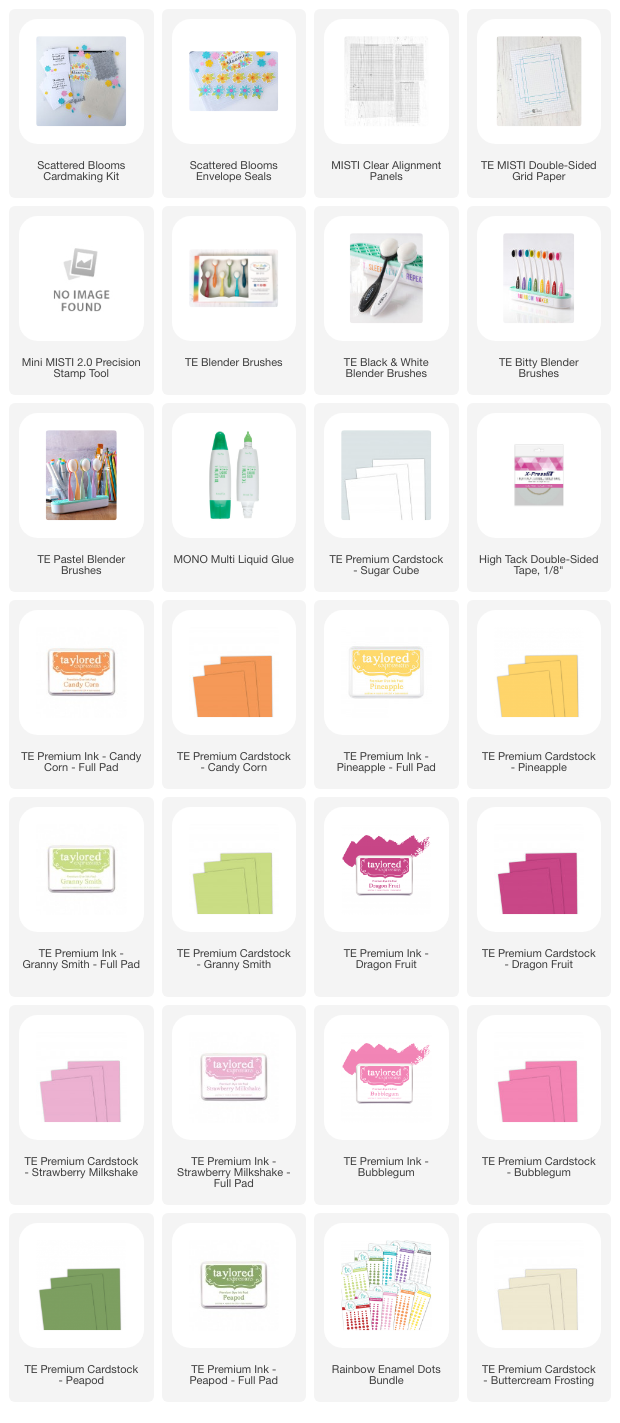


Supply List:

That's it! I hope this inspires you! 

Happy Crafting,
Kavya


Share
Tweet
Pin
Share
No comments


Hi folks, 

Kavya here with another fun release from Taylored Expressions! This one is absolutely adorable with a bunch of products that can be used in so many different ways!

My first card is a fun Easter Egg card using Folk Eggs stamp, stencil and die set. I started off by ink blending using just the stencil from the kit on Sugar Cube cardstock. I used Pineapple, Lollipop and Granny Smith dye ink. I filled in the 'white spaces' in the egg using a pale blue Copic marker. I used Lollipop and Strawberry Milkshake cardstock to make the Easter Egg cups. For the background, I recreated a scene that made in a previous card. I finished off my card using a sentiment from the new Hello Spring stamp set and Candy Corn cardstock. 


Supply List:


My next card is pretty simple to recreate but looks absolutely fascinating! I started off with some Tropical Punch cardstock. I then stamped some Folk Eggs using Tropical Punch ink. I then stamped a larger egg and a sentiment from Hello Spring using copper embossing powder. Cut the large embossed egg in half to insert the sentiment in between. Arrange the other eggs around the main focal egg and finish off the card by adding a thin frame!


Supply List:


That's it! I hope you like these fun projects :)

Happy Crafting,
Kavya


Share
Tweet
Pin
Share
No comments


Hi folks, 

Happy New Year! I hope you all had a good holiday :) I am back with another fun release from TE! Valentine's Day is one of the releases that I look forward to eagerly from TE and I was not disappointed. This release is filled with products that can be used all year long for all your gals as well.


My first card is this fun pizza box themed card. When I first saw the die, I knew I had to made a faux pizza box and I love how this all came together with the help of the Pizza My Heart stamp set. I first started off by ink blending my Poblano Pepper cardbase with coordinating dye ink. I then made my table cloth by first scrunching some copy paper and then ink blending the Gingham Stencil with Cherry Pop dye ink. Then, I created a box using Kraft Woodgrain cardstock. For the pizza base, I used Buttercream cardstock ink blended with Toffee ink.  I used Watermelon cardstock for the sauce, Banana Cream Pie for the cheese, Granny Smith for the peppers, Lavendar Glaze for the Onions, Sugar Cube for the mushrooms, Oreo for the olives and Mulled Wine for the pepperoni. Love how this one turned out! 


Supply List:


My next card was inspired by the Forever stamps that you find in USA. I ink blended the top of Watermelon cardbase with Watermelon dye ink for my cardbase. I then created a postage stamp base using the new postage stamp dies and Sugar Cube cardstock. I then added a square piece of Rosewater cardstock at the top of the postage die. For the Folk Art Hearts, I used Lollipop, Watermelon and Granny Smith inks. To make them more interesting, I added more details to the hearts using white gel pen. The 'X's are from Fill In the Blanks - Love stamp set. The 'forever' sentiment is from Land That I Love stamp set, 'USA' is from Full Circle Patriotic stamp set and '14' is from Mini Caps Alpha dies. Love how this one turned out!


Supply List:


I hope these projects inspire you! 

Happy Crafting,
Kavya


Share
Tweet
Pin
Share
No comments


Hi folks, 

I am back on the blog with another fun release from TE! I love finding unique ways to combine products. So, this latest release is right up my alley! All of these new stamps can be combined with previous releases in unique ways, and I am all for it! 

My first card is based on my love for lemon tea! I started off by die cutting a Sea Salt cardstock with Diamonds Piercing Plate. Then, I added an arched die cut using Oyster card stock. For the teacups, I used Sugar Cube, Tropical Punch and Saltwater Taffy cardstock to make them look like Blue China cups. I heat embossed the teacup patterns on Tropical Punch cardstock and cut them into strips. I also added additional details using a white gel pen. I finished off my card with some lemons from Squeeze the Day and florals from Ever in Bloom. For the lemons and florals, I sued Pineapple, Granny Smith and Buttercream cardstock. Love how this one turned out!


Supply List:


My next card uses the new Rise and Shine stamp set! I am NOT a morning person and I hate breakfast unless it's so sweet that it could be considered a dessert. While searching for inspo, this Grumpy Cat sentiment caught my eye and I knew it would be perfect! For the card base, I ink blended Sprinkles and Banana Cream Pie to create a warm sunny morning sky. For the grass, I used Peapod cardstock. Stamped, colored and adhered all the images to the card base and I was done!


Supply List:
 

Hope these projects inspire you! 

Happy Crafting, 
Kavya


Share
Tweet
Pin
Share
No comments


Hi folks, 

I am back with more inspiration for today's doorbuster deal! 

The Rainbow Bright Doorbuster Bundle is available NOW for $69 – regular retail $116.30! The bundle includes:

  • Rainbow Bright die
  • Sticker to it – Rainbow Bright stickers
  • A2 Envelopes (set of 10: Watermelon, Dragonfruit, Strawberry Milkshake, Candy Corn, Lemon Meringue, Granny Smith, Peapod, Cookie Monster, Jelly Donut, and Sugar Cube)
  • Glitter Cardstock (set of 12 – 2 each of 6 colors: red, orange, green, hot pink, yellow, teal)
  • Cardstock Sampler (50 sheets – 5 each of 10 colors: Watermelon, Dragonfruit, Strawberry Milkshake, Candy Corn, Lemon Meringue, Granny Smith, Peapod, Cookie Monster, Jelly Donut, and Sugar Cube)
  • Enamel Dots (10 packages – 1 each of 10 colors)
  • Simple Storage – Large Case

The Rainbow Bright Doorbuster Bundle is only available while supplies last.


My first card uses the new Rainbow bright die as the focal image. I started off by ink blending using Blue Raspberry, Jelly Donut and Blueberry dye inks on Salt water taffy cardstock. Then, I added some clouds using the build a scene - rolling cloud and cloud sticklet dies. I also ink blended the edges of these clouds using Lavender Glaze and Sprinkles dye ink. For the rainbow, I used the new Rainbow Bright die along with the cardstock (Dragonfruit, Candy Corn, Lemon Meringue, Granny Smith, Cookie Monster and Jelly Donut) that came with the bundle. Added critters Puppy Love stamp set and a sentiment from With All my Art and I was done! 


Supplies:


My next card uses the Create in Quads Poster Print stencil set released on Friday which is now sadly out of stock but will be back in a  few months! I ink blended the flowers using shades of Plum Punch, Lollipop and Eggplant. I used Jalapeño, Poblano Pepper and Peapod for the leaves. I added details to the flowers using a white gel pen and some enamel dots that came with the Rainbow bright bundle. I finished off the card by adding a sentiment from All Together Occasions 2 stamp and die! 


That's it folks! Hope these projects inspire you :)

Happy Crafting,
Kavya


Share
Tweet
Pin
Share
No comments


Hi folks, 

Kavya here with another fun blog hop celebrating Alex Syberia's latest holiday release. I absolutely love all the new products and I can't wait to show you all my projects over the next few days on my IG and blog. 


To celebrate the release, Alex Syberia Designs is giving away a £85 ($100) gift certificate to 1 lucky winner and a £15 ($18) gift card to 5 winners. Open internationally. All 6 winners will be drawn from the entrants that have played along with this Blog hop by midnight BST November 26th, 2023. Winners will be announced on the Alex Syberia Designs blog 'Giveaway Winners' page on November 27th, 2023.


Blog Hop Order:
Alex Syberia Designs
Amanda
Anne
Bobbi
Bonnie
Brenda
Colleen
Emelie
Emily
Erica
Hannelie
Ilda
Jo
Kavya -- You are here! 
Lien -- Next!
Lisa
Nicoletta
Sandi
Sheila
Sylvie
Virginia

I made a fun New Year's day card by using the new Brilliant Burst hot foil plate (which I interpreted as fire works) and Happy New Year die. I haven't used my glimmer machine in over a year so I enjoyed taking it out. I usually don't take it out much since I hate photographing foil. Dumb reason... I know! I added some additional details to the fireworks using Prismacolor color pencils and I love how this one turned out!


Hope you were inspired by this! 

Happy Crafting,
Kavya


Share
Tweet
Pin
Share
18 comments


Hi folks, 

I am back on the blog with another fun project for MFT’s Cardmaking Superstar competition. I always love taking part in it every year. I am not a huge fan of CAS cards since I am not a huge fan of the color 'white' and also 'white space' but I like finding alternative ways to make a card CAS! 

This card measures A4 and includes one of my favorite themes - Space! I started off by stamping an image from Blastoff Buddies on gray cardstock. Then, I masked the 'blast' using post it notes and I ink blended it using distress inks to make it look like a galaxy. Splattered some paint, added a few colored images and colored the spaceship in monochrome. By keeping the 'blast' in color, I am trying to draw attention to it! Love how this one turned out :)

Masked cardbase

Ink blended 'blast'


Happy Crafting, 
Kavya
Share
Tweet
Pin
Share
1 comments


Hi folks, 

I am back on the blog with another fun project for MFT’s Cardmaking Superstar competition. I always love taking part in every year. It’s gives me an opportunity to justify spending hours and hours planning and making a card. My project today is my entry for the Coloring Virtuoso category. I spent over 20 hours over 5 days stamping, coloring and fussy cutting so many elements from 12 stamps sets…. mostly because I do not own ANY coordinating dies for the stamps I used so I had to fussy cut all the images by hand! Nevertheless, I love how this turned out and this is definitely one of my fav card till date!

This card measures A5 and is inspired by one of my favorite movies as a kid - Toy Story! No non-MFT product was used in the making of the card. I used all MFT stamps as bases for the characters and added a few extra details to make them as close as possible to the characters. I used cardstock and ink to make the card base. 

Stamped Images

Altered Images 

Altered Images

Coloring in progress

Fussy Cutting in Progress


Making the speech bubble for the sentiment

Cloud dies for the background

Assembling all the pieces of the card

I have used the following stamp sets:
  • BB Saddle Up and Celebrate for Woody and Jessie
  • BB Space Explorer for Buzz
  • BB Whole Herd for Hamm, chicks and Bullseye
  • BB Old Friends for Stinky Pete
  • A-roar-able Friends for Rex
  • Bitty Bears for Aliens
  • BB Woof Pack for Slinky Dog
  • BB Happy Hippos for Lots-o-Huggin’ Bear
  • BB Magical Creatures for Sarge and Green Army Men
  • All the Encouragement for the Speech Bubble
  • Blastoff Buddies for the clouds in the iconic wallpaper 
  • Birdie Brown Alphabet dies


I hope you liked this card! 

Happy Crafting, 
Kavya


Share
Tweet
Pin
Share
2 comments
Newer Posts
Older Posts

About me


Hello! I am Kavya. Welcome to my blog where I share my love for all things papercrafting and cardmaking. I am excited that you decided to stop by and look around.

Follow me on Social Media

  • Instagram
  • YouTube

Cards by Brand

Alex Syberia altenew Heffy Doodle Mama Elephant MFT newton's nook Pear Blossom Press Reverse Confetti SugarPea Designs Sunny Studio Stamps Taylored Expressions Wow Embossing

Blog Archive

  • ▼  2024 (11)
    • ▼  October (1)
      • Bear Hugs ft Taylored Expressions
    • ►  September (1)
    • ►  August (1)
    • ►  July (1)
    • ►  June (1)
    • ►  May (2)
    • ►  April (1)
    • ►  March (1)
    • ►  February (1)
    • ►  January (1)
  • ►  2023 (15)
    • ►  December (1)
    • ►  November (2)
    • ►  September (3)
    • ►  August (1)
    • ►  July (1)
    • ►  June (1)
    • ►  May (1)
    • ►  April (2)
    • ►  March (1)
    • ►  February (1)
    • ►  January (1)
  • ►  2022 (34)
    • ►  November (4)
    • ►  October (1)
    • ►  September (3)
    • ►  August (1)
    • ►  July (1)
    • ►  June (5)
    • ►  May (5)
    • ►  April (2)
    • ►  March (5)
    • ►  February (3)
    • ►  January (4)
  • ►  2021 (47)
    • ►  December (1)
    • ►  October (3)
    • ►  September (6)
    • ►  August (5)
    • ►  July (2)
    • ►  June (4)
    • ►  May (3)
    • ►  April (4)
    • ►  March (4)
    • ►  February (6)
    • ►  January (9)
  • ►  2020 (28)
    • ►  December (7)
    • ►  November (7)
    • ►  October (2)
    • ►  September (11)
    • ►  August (1)

Popular Posts

  • Sunny Studio Stamps 6th Birthday Blog Hop!
      Hi folks,  Welcome to the Sunny Studio Stamps 6th Birthday Blog Hop! This new release is just so much fun! If you love Christmas.. this on...
  • Sunny Studio Stamps 7th Birthday Blog Hop
      Hi folks,  I am back on the blog with another fun card! I know it's been weeks since I have posted but life's been crazy :) But, I...
  • Heffy Doodle + Sunny Studio Stamps blog hop!
    Hi folks,  Welcome to the Heffy Doodle and Sunny Studio Stamps Collaboration Blog Hop! Design Team members from both companies are sharing i...
  • New Gel Printing Kit from TE
      Hi folks,  TE has a new kit and it's all about gel printing! I have never tried it before so I was excited to get my hands on it and t...
  • You are my Best-Tea! : MFT Dec Release!
    Hi folks! I am super excited to be a part of MFT's December release! This new release has so many adorable and versatile products just l...
  • Go Cray-zy! It’s the Pear Blossom + Heffy Doodle blog hop!!
      Hi folks,  Today, we’re kicking off a CRAFTY Collaboration Blog Hop with Pear Blossom Press and Heffy Doodle !  Come hop along with us and...
  • Toy Story ft. MFT Stamps!
    Hi folks,  I am back on the blog with another fun project for MFT’s Cardmaking Superstar competition. I always love taking part in every yea...
  • Christmas Gifting Kit from TE!
      Hi folks,  TE has a new Christmas Gifting Kit that has many unique products that make packaging and decoration super adorable! As always, ...
  • TE - Happy Father's Day!
      Hi folks,  I am back on the blog with another fun release from Taylored Expressions - Father's Day! I love this release... it's so...
  • Mass produce Christmas cards easily with TE!
      Hi folks,  I am back on the blog with another fun release from TE! I love how the new Create in Quad stencils make it super easy to mass p...

Followers

Check out more cards on my Instagram here Watch Cardmaking videos on my YouTube channel here

Created with by BeautyTemplates | Distributed By Gooyaabi Templates