Instagram YouTube

Handmade by Kavya

  • Home
  • Creative Resume
  • Contact Me


Hi folks, 

I am back on the blog with another fun project for MFT’s Cardmaking Superstar competition. I always love taking part in it every year. I am not a huge fan of CAS cards since I am not a huge fan of the color 'white' and also 'white space' but I like finding alternative ways to make a card CAS! 

This card measures A4 and includes one of my favorite themes - Space! I started off by stamping an image from Blastoff Buddies on gray cardstock. Then, I masked the 'blast' using post it notes and I ink blended it using distress inks to make it look like a galaxy. Splattered some paint, added a few colored images and colored the spaceship in monochrome. By keeping the 'blast' in color, I am trying to draw attention to it! Love how this one turned out :)

Masked cardbase

Ink blended 'blast'


Happy Crafting, 
Kavya
Share
Tweet
Pin
Share
1 comments


Hi folks, 

I am back on the blog with another fun project for MFT’s Cardmaking Superstar competition. I always love taking part in every year. It’s gives me an opportunity to justify spending hours and hours planning and making a card. My project today is my entry for the Coloring Virtuoso category. I spent over 20 hours over 5 days stamping, coloring and fussy cutting so many elements from 12 stamps sets…. mostly because I do not own ANY coordinating dies for the stamps I used so I had to fussy cut all the images by hand! Nevertheless, I love how this turned out and this is definitely one of my fav card till date!

This card measures A5 and is inspired by one of my favorite movies as a kid - Toy Story! No non-MFT product was used in the making of the card. I used all MFT stamps as bases for the characters and added a few extra details to make them as close as possible to the characters. I used cardstock and ink to make the card base. 

Stamped Images

Altered Images 

Altered Images

Coloring in progress

Fussy Cutting in Progress


Making the speech bubble for the sentiment

Cloud dies for the background

Assembling all the pieces of the card

I have used the following stamp sets:
  • BB Saddle Up and Celebrate for Woody and Jessie
  • BB Space Explorer for Buzz
  • BB Whole Herd for Hamm, chicks and Bullseye
  • BB Old Friends for Stinky Pete
  • A-roar-able Friends for Rex
  • Bitty Bears for Aliens
  • BB Woof Pack for Slinky Dog
  • BB Happy Hippos for Lots-o-Huggin’ Bear
  • BB Magical Creatures for Sarge and Green Army Men
  • All the Encouragement for the Speech Bubble
  • Blastoff Buddies for the clouds in the iconic wallpaper 
  • Birdie Brown Alphabet dies


I hope you liked this card! 

Happy Crafting, 
Kavya


Share
Tweet
Pin
Share
2 comments


Hey folks, 

It's TE's 15th birthday and I cannot wait to show you all the awesome products in store for this new release. Here are the two offers for this release:


While supplies last, we are giving our party favors to celebrate our 15th birthday to the first 1500 customers placing orders of $50 or more! The party favor bag has a fun assortment of goodies to inspire your crafting including TE swag, a sweet treat, an exclusive freebie die, and more! Offer valid while supplies last.


While supplies last during our 15th birthday celebration, you can get the Birthday Blowout Layering Stencil set for FREE with purchases of $100+! Purchase $175+ and you’ll also get the coordinating Birthday Blowout 3D Embossing Folder FREE! Use the stencil set and embossing folder together or on their own to create one of a kind birthday cards, tags, and more! Offer valid while supplies last.

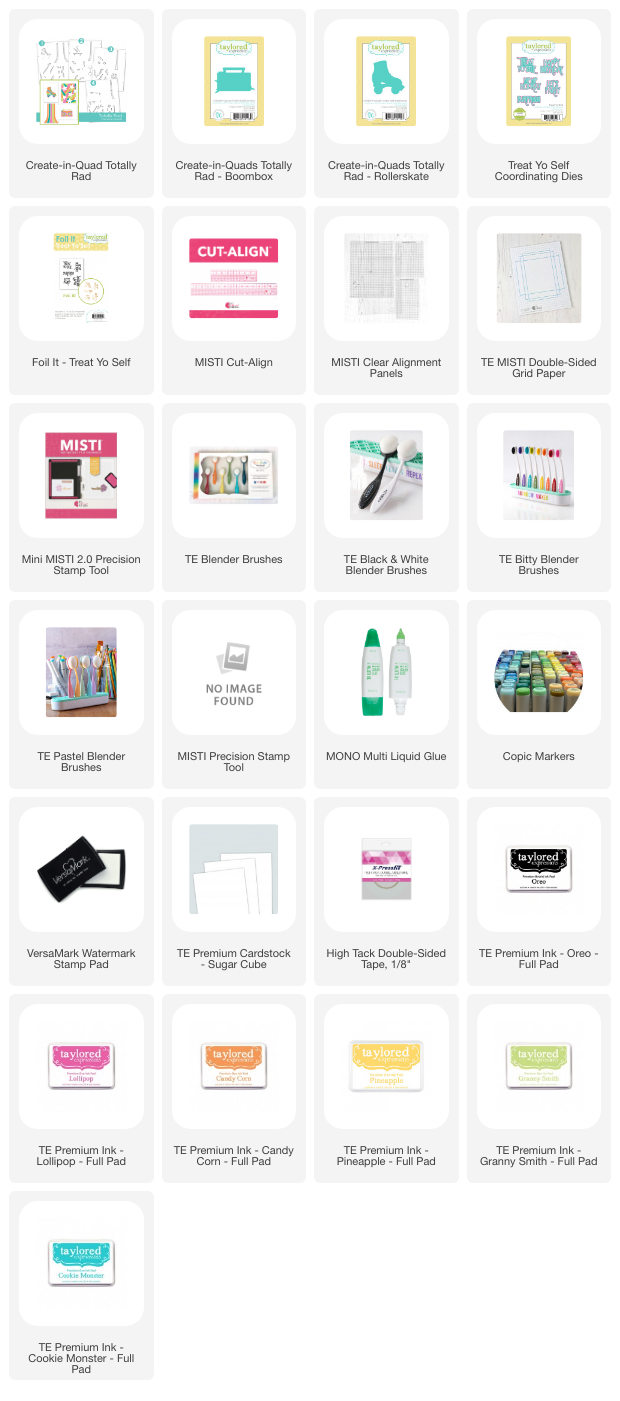
Now on to my first project! For this fun ink blended card, I started off by ink blending my card base using Pineapple, Candy Corn, Lollipop, Granny Smith and Sprinkles dye ink. Then, I stamped the Ticks and Tacks background in the same color. Then, I ink blended the Create in Quads - Totally Rad stencil using the same colors and used Butter Cream and Peaches and Cream for the 'body' of the juke box and skates. Added a sentiment from Treat Yo-self and I was done! 


Supply List:


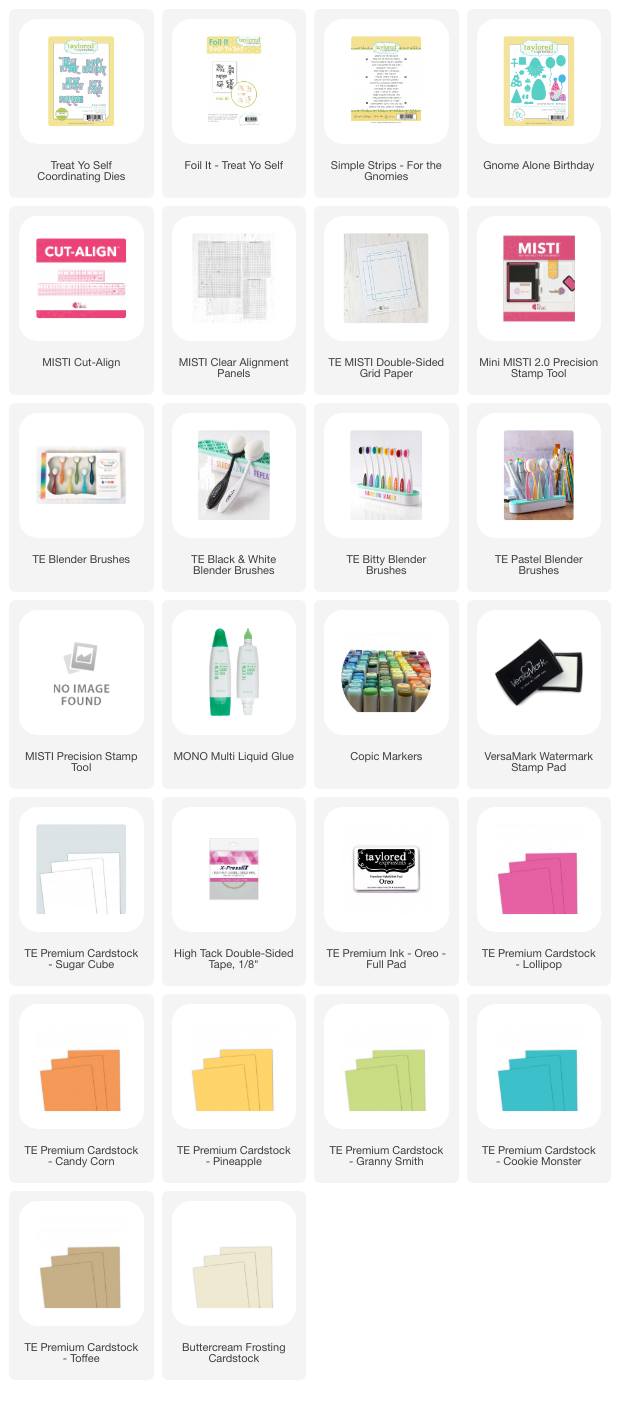
For my next card, I used Buttercream and Toffee for the cardbase and diecut the rest of the Gnome Alone - Birthday using Pineapple, Candy Corn, Granny Smith, Sprinkles and Guava cardstock. Added a sentiment from Treat Yo-self and Simple Strips - For the Gnomes and I was done! Wasn't that simple?


Supply List:


That's it! I hope these projects inspired you :)

Happy Crafting,
Kavya


Share
Tweet
Pin
Share
No comments


Hi folks, 

Taylored Expressions has a new release  out and it’s all about Halloween! If you love cute critters, this one is for you! 

For my card today, I started off with a Cookie Monster cardbase and ink blended the sky using Blue Raspberry and Blueberry dye inks. Then, I added a strip of Peapod at the bottom for the grass. For the haunted house, I used the new Haunted Mansion cutting plate and added critters from Little Critters Halloween. For the house, I used Earl Gray, Plum Punch and Toffee cardstock. Finally, I added sentiments using Exclamation Points stamp and die set and I was done! 


That’s it folks, 

Happy Crafting! 

Kavya 

Share
Tweet
Pin
Share
No comments


Hi folks, 

Kavya here with another fun kit from TE! The Wreathed in Joy Cardmaking Kit retails for $65, is packaged in a zippered pouch with a custom sticker, and includes:

  • Wreathed in Joy Stamp & Stencil Combo set
  • Wreathed in Joy die collection
  • The Insiders – Wreathed in Joy panels
Most kit items are not available to purchase individually. Additional products available to purchase outside of the kit: The Insiders – Wreathed in Joy panels, Wreathed in Joy envelope seals, Foil it – Wreathed in Joy panels, Fly Your Flag 2 Die & Clear Combo set, and Vintage Sprigs Background stamp. Limited quantity available! 


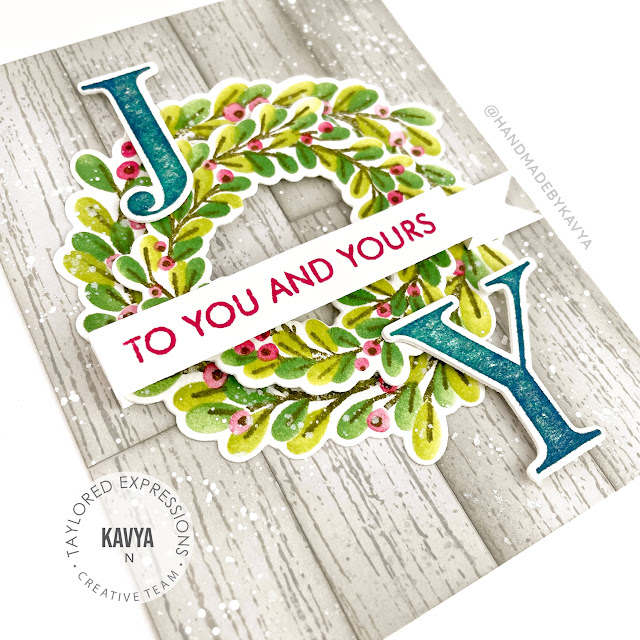
For my first project, I have a fun rustic card made using the Wreathed in Joy stamp and stencil combo. I started off by stamping the wreath in Peapod dye ink and the letters in Blue Raspberry and Tropical Punch dye ink. Then, I stenciled the wreath using Dill Pickle, Kiwi, Granny Smith and Watermelon dye ink. For the background, I stamped the Wood Plank background on Sea Salt cardstock using Mushroom and Oyster dye ink. I splattered some coordinating paint to make it a bit more rustic and cut the background into 1 inch strips. Ink blended the edges of the strips and adhered them to a cardbase like shown below. Added a quick sentiment and adhered all the elements to finish off my card! 


I was trying something new with my next project and I am not sure if I executed it properly LOL. I started off by making an All Tucked In Box using Toffee cardstock and added a stenciled wreath on top. I used the same colors as above. I added a quick sentiment and used some Cherry Pop and Buttercream with the Decorative Borders die set to make some faux ribbon that I then wrapped around the box. 


I hope these projects inspire you :)

Happy Crafting! 
Kavya


Share
Tweet
Pin
Share
No comments


Hi folks, 

TE has a new kit out and it's perfect for creating cards for all occasions and even masculine cards! The Seaside Escape Cardmaking Kit retails for $60, is packaged in a zippered pouch with a custom sticker, and includes:


  • Triple Slim – At the Beach Layering Stencil & Clear Combo set
  • Triple Slim – At the Beach Accessories die collection
  • You’re a Treasure stamp set
  • The Insiders – Seaside Escape panels
Most kit items are not available to purchase individually.

Additional products available to purchase outside of the kit: You’re a Treasure die collection, Triple Slim – At the Beach Seashells Cutting Platedie, Mini Slim Layer Stacklets die collection, Additional Mini Slim Layer Stacklets die collection, The Insiders – Seaside Escape panels, and Seaside Escape envelope seals.

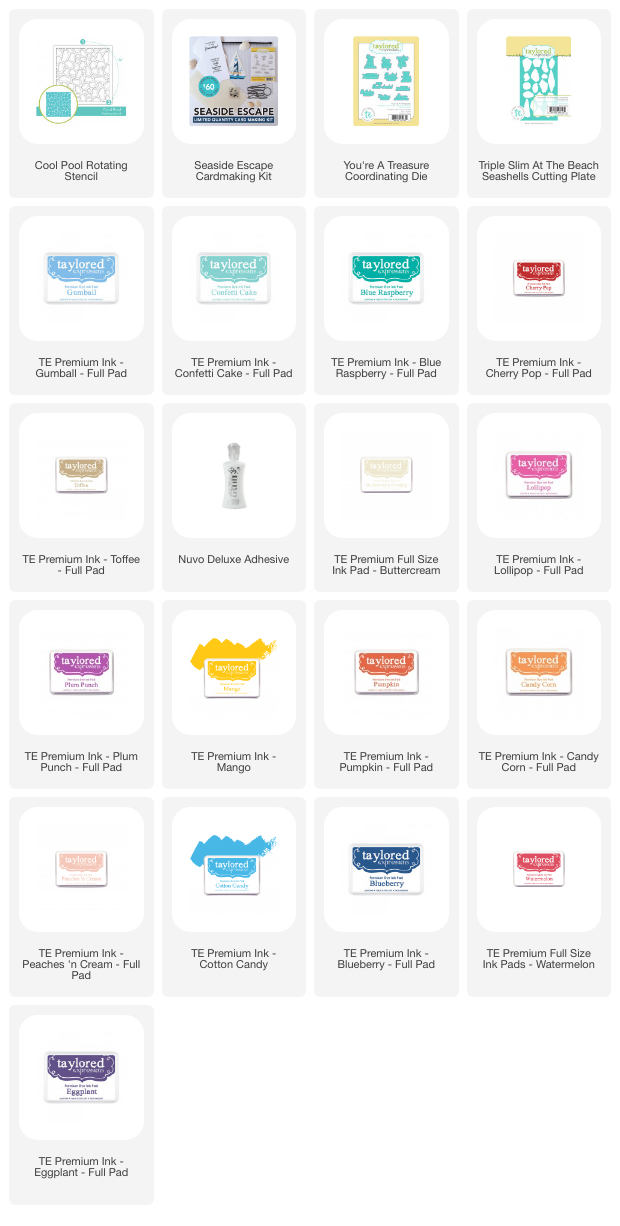
For my first card, I started off by ink blending a water and sand background by using the Cool Pool Stencil and Blue Raspberry and Cotton Candy dye inks. Checkout the latest tutorial on my IG to see how I made the faux water look. For the sand, I used Butter cream and Toffee dye inks. Then, I ink blended all the sea shells using a combination of Blue Raspberry, Confetti Cake, Lollipop, Plum Punch, Mango and Pumpkin dye inks. Later, I added additional details using copic markers and white gel pen and added a stamped sentiment to finish off the card :)


For my next card, I started off by ink blending a cloudy sky using Candy Corn and Lollipop dye inks (check out the tutorial on my IG page for creating a cloudy background!). Then, I ink blended the stencil using Blue Raspberry, Gumball and Cotton Candy dye inks. For the sail boat, I used Plum Punch, Peaches and Cream and Lavendar dye inks. Fuzzy cut the scene and then add additional details using the clear stamps and finish it off with a sentiment! 


My final card is one of my favorites! I started off by ink blending the scene using Blue Raspberry, Gumball and Blueberry for the water. For the Light house and boat, I used Watermelon, Mango and Candy Corn dye inks. Then, I inkblended the background using Eggplant, Plum Punch and Lollipop dye inks. Fuzzy cut the scene and added some die cut clouds and stamped some birds to finish off the card! 


Supply List:


That's it folks! Hope this release inspires you :)

Happy Crafting,
Kavya


Share
Tweet
Pin
Share
1 comments


Hi folks, 

I am back on the blog with another fun kit from TE. The Love Grows Here Cardmaking Kit retails for $65, is packaged in a zippered pouch with a custom sticker, and includes:
  • Let Love Grow Layering Stencil & Clear Combo set
  • Let Love Grow die collection
  • Shelf Control stamp set
  • The Insiders – Love Grows Here panels
Most kit items are not available to purchase individually.

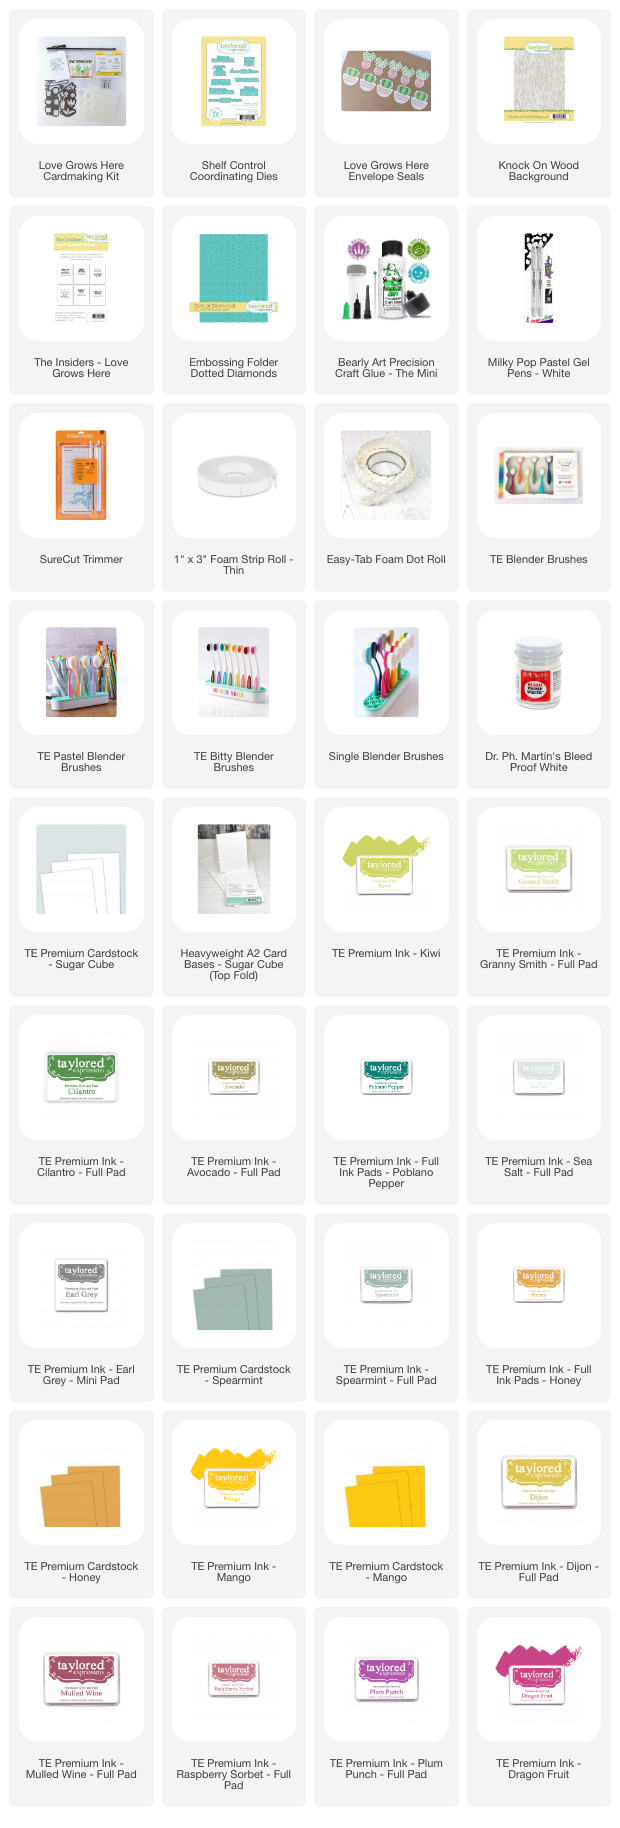
Additional products available to purchase outside of the kit: Shelf Control die collection, Knock on Wood Background stamp, Love Grows Here envelope seals, Dotted Diamonds embossing folder, Foil it – Essential Patterns panels, and The Insiders – Love Grows Here panels.

For my first card, I started off with embossing a card base of Spearmint using the Dotted Diamonds embossing folder and then ink blended the edges with spearmint dye ink. Then I stamped a piece of Honey cardstock with the Wood background stamp and ink blended the edges using Honey dye ink. Later, I Ink blended and die cut some plants using shades of green (Kiwi, Granny Smith, Cilantro and Avocado) and pots using Poblano Pepper, Earl Gray and Sea Salt dye ink. Adhered all the elements on the card base and added a sentiment and I was done! 


For my next card, I started off with a panel from Foil It Essential Patterns as card base and added a piece of ink blended mango cardstock for the ground. Then, I stamped a sentiment using Dijon ink. Finally, I ink blended and die cut some plants using shades of green (Kiwi, Granny Smith, Cilantro and Avocado) and pots using Mulled Wine, Raspberry Sorbet, Plum Punch and Dragon Fruit dye ink.


Supply List:


That’s it folks! I hope these projects inspire you! 

Happy Crafting, 
Kavya
Share
Tweet
Pin
Share
No comments

Hi folks, 

I am back on the blog with another fun spring release from TE! Is it just me or is it still colder in the PNW right now? It’s still raining and I am not happy :( But my craft room is filled with bright florals and butterflies and I could not be happier! 

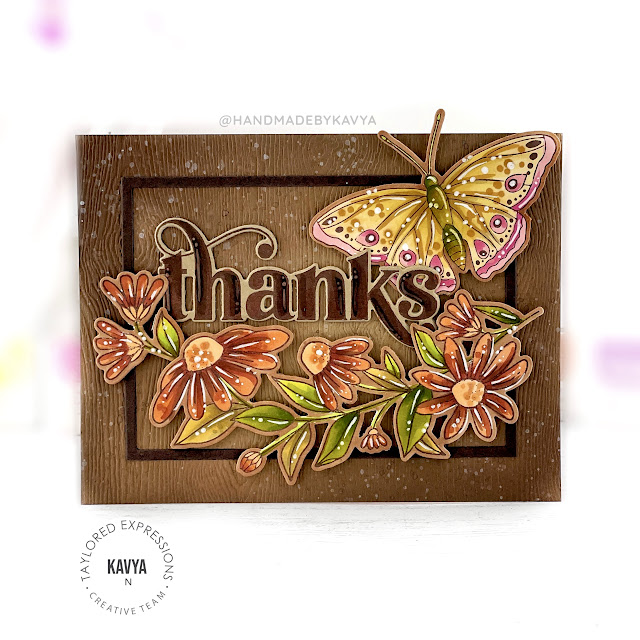
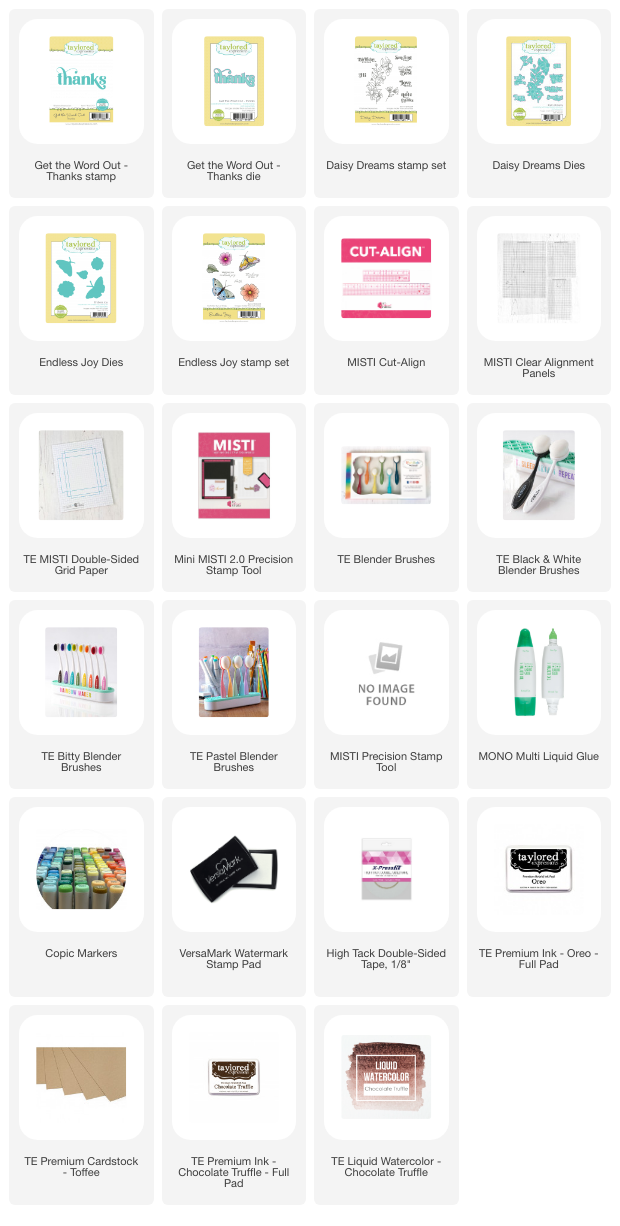
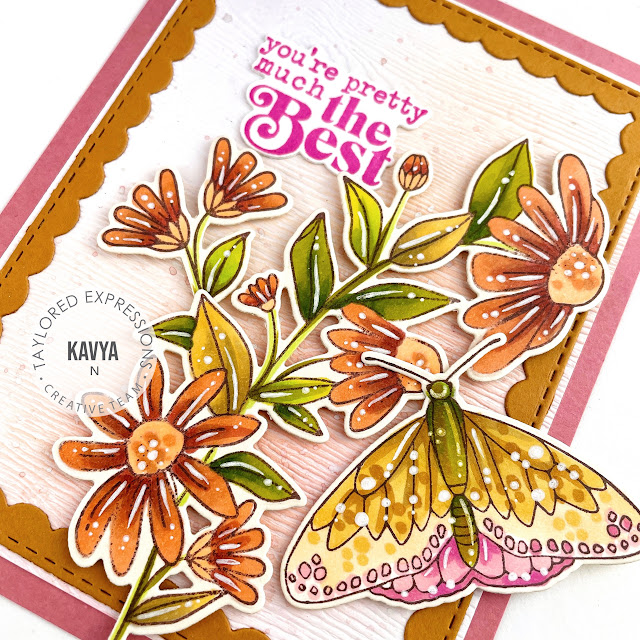
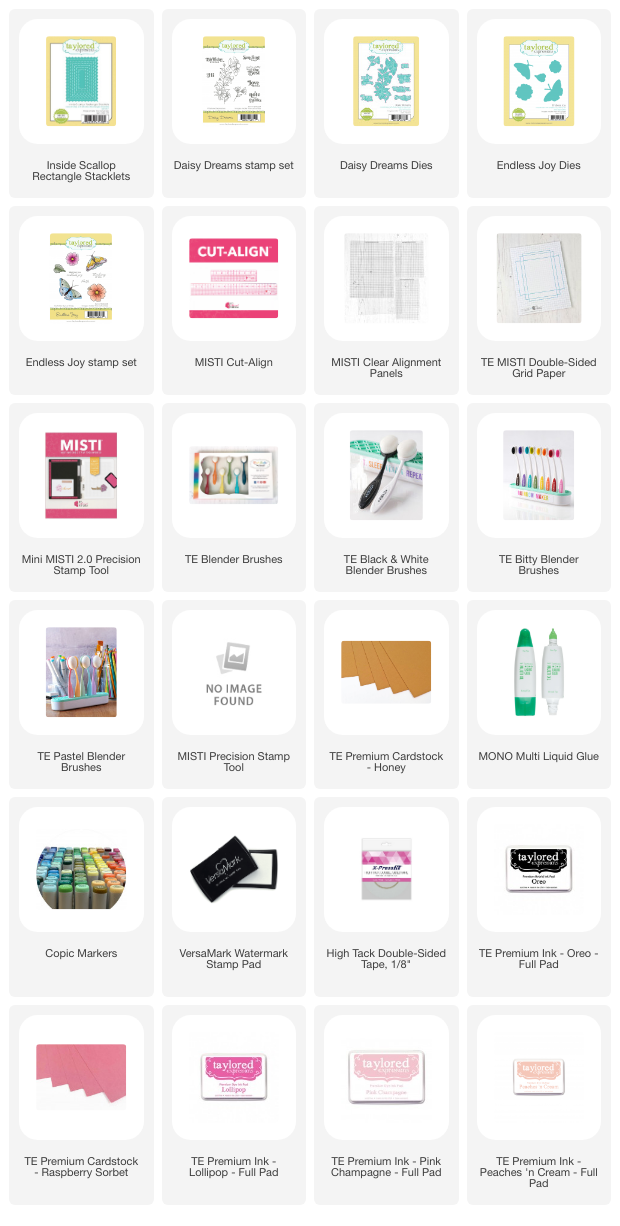
Are you ready for some creative inspiration? Check out these two cards that started out with the same floral and butterfly design, but ended up completely unique! By experimenting with different background colors and textures, I was able to create two totally different cards and I love how they both turned out :) I first started off by coloring and die cutting images from the new Endless Joy and Daisy Dreams die and stamp set. 

For the first card, I ink blended the edges of Kraft Woodgrain cardstock (to be released soon!) with Chocolate truffle dye ink and splattered some paint. Then, I die cut a thin frame from A2 Thin Frame Cutting Plate from Chocolate Truffle cardstock. Finally, I colored the edges of the images using brown copic marker and added the Get the Word Out - Thanks sentiment and I was done! 


Supply List:


For my second card, I ink blended the white woodgrain card base underneath the stamped images using Pink Champagne and Peaches and Cream dye ink. I also splattered some white paint. Then, I added a frame die cut from Honey and Inside Scallop Rectangle Stacklets and matted it on top of Raspberry Sorbet. Added a sentiment from Daisy Dreams stamped in Lollipop and I was done :)


Supply List:

That's it folks! 

I hope these projects inspire you :)

Happy Spring,
Kavya


Share
Tweet
Pin
Share
No comments
Newer Posts
Older Posts

About me


Hello! I am Kavya. Welcome to my blog where I share my love for all things papercrafting and cardmaking. I am excited that you decided to stop by and look around.

Follow me on Social Media

  • Instagram
  • YouTube

Cards by Brand

Alex Syberia altenew Heffy Doodle Mama Elephant MFT newton's nook Pear Blossom Press Reverse Confetti SugarPea Designs Sunny Studio Stamps Taylored Expressions Wow Embossing

Blog Archive

  • ▼  2024 (11)
    • ▼  October (1)
      • Bear Hugs ft Taylored Expressions
    • ►  September (1)
    • ►  August (1)
    • ►  July (1)
    • ►  June (1)
    • ►  May (2)
    • ►  April (1)
    • ►  March (1)
    • ►  February (1)
    • ►  January (1)
  • ►  2023 (15)
    • ►  December (1)
    • ►  November (2)
    • ►  September (3)
    • ►  August (1)
    • ►  July (1)
    • ►  June (1)
    • ►  May (1)
    • ►  April (2)
    • ►  March (1)
    • ►  February (1)
    • ►  January (1)
  • ►  2022 (34)
    • ►  November (4)
    • ►  October (1)
    • ►  September (3)
    • ►  August (1)
    • ►  July (1)
    • ►  June (5)
    • ►  May (5)
    • ►  April (2)
    • ►  March (5)
    • ►  February (3)
    • ►  January (4)
  • ►  2021 (47)
    • ►  December (1)
    • ►  October (3)
    • ►  September (6)
    • ►  August (5)
    • ►  July (2)
    • ►  June (4)
    • ►  May (3)
    • ►  April (4)
    • ►  March (4)
    • ►  February (6)
    • ►  January (9)
  • ►  2020 (28)
    • ►  December (7)
    • ►  November (7)
    • ►  October (2)
    • ►  September (11)
    • ►  August (1)

Popular Posts

  • Sunny Studio Stamps 6th Birthday Blog Hop!
      Hi folks,  Welcome to the Sunny Studio Stamps 6th Birthday Blog Hop! This new release is just so much fun! If you love Christmas.. this on...
  • Sunny Studio Stamps 7th Birthday Blog Hop
      Hi folks,  I am back on the blog with another fun card! I know it's been weeks since I have posted but life's been crazy :) But, I...
  • Heffy Doodle + Sunny Studio Stamps blog hop!
    Hi folks,  Welcome to the Heffy Doodle and Sunny Studio Stamps Collaboration Blog Hop! Design Team members from both companies are sharing i...
  • New Gel Printing Kit from TE
      Hi folks,  TE has a new kit and it's all about gel printing! I have never tried it before so I was excited to get my hands on it and t...
  • You are my Best-Tea! : MFT Dec Release!
    Hi folks! I am super excited to be a part of MFT's December release! This new release has so many adorable and versatile products just l...
  • Go Cray-zy! It’s the Pear Blossom + Heffy Doodle blog hop!!
      Hi folks,  Today, we’re kicking off a CRAFTY Collaboration Blog Hop with Pear Blossom Press and Heffy Doodle !  Come hop along with us and...
  • Toy Story ft. MFT Stamps!
    Hi folks,  I am back on the blog with another fun project for MFT’s Cardmaking Superstar competition. I always love taking part in every yea...
  • Christmas Gifting Kit from TE!
      Hi folks,  TE has a new Christmas Gifting Kit that has many unique products that make packaging and decoration super adorable! As always, ...
  • TE - Happy Father's Day!
      Hi folks,  I am back on the blog with another fun release from Taylored Expressions - Father's Day! I love this release... it's so...
  • Mass produce Christmas cards easily with TE!
      Hi folks,  I am back on the blog with another fun release from TE! I love how the new Create in Quad stencils make it super easy to mass p...

Followers

Check out more cards on my Instagram here Watch Cardmaking videos on my YouTube channel here

Created with by BeautyTemplates | Distributed By Gooyaabi Templates