Instagram YouTube

Handmade by Kavya

  • Home
  • Creative Resume
  • Contact Me


Hi folks, 

I am back on the blog with another fun kit from TE. The Love Grows Here Cardmaking Kit retails for $65, is packaged in a zippered pouch with a custom sticker, and includes:
  • Let Love Grow Layering Stencil & Clear Combo set
  • Let Love Grow die collection
  • Shelf Control stamp set
  • The Insiders – Love Grows Here panels
Most kit items are not available to purchase individually.

Additional products available to purchase outside of the kit: Shelf Control die collection, Knock on Wood Background stamp, Love Grows Here envelope seals, Dotted Diamonds embossing folder, Foil it – Essential Patterns panels, and The Insiders – Love Grows Here panels.

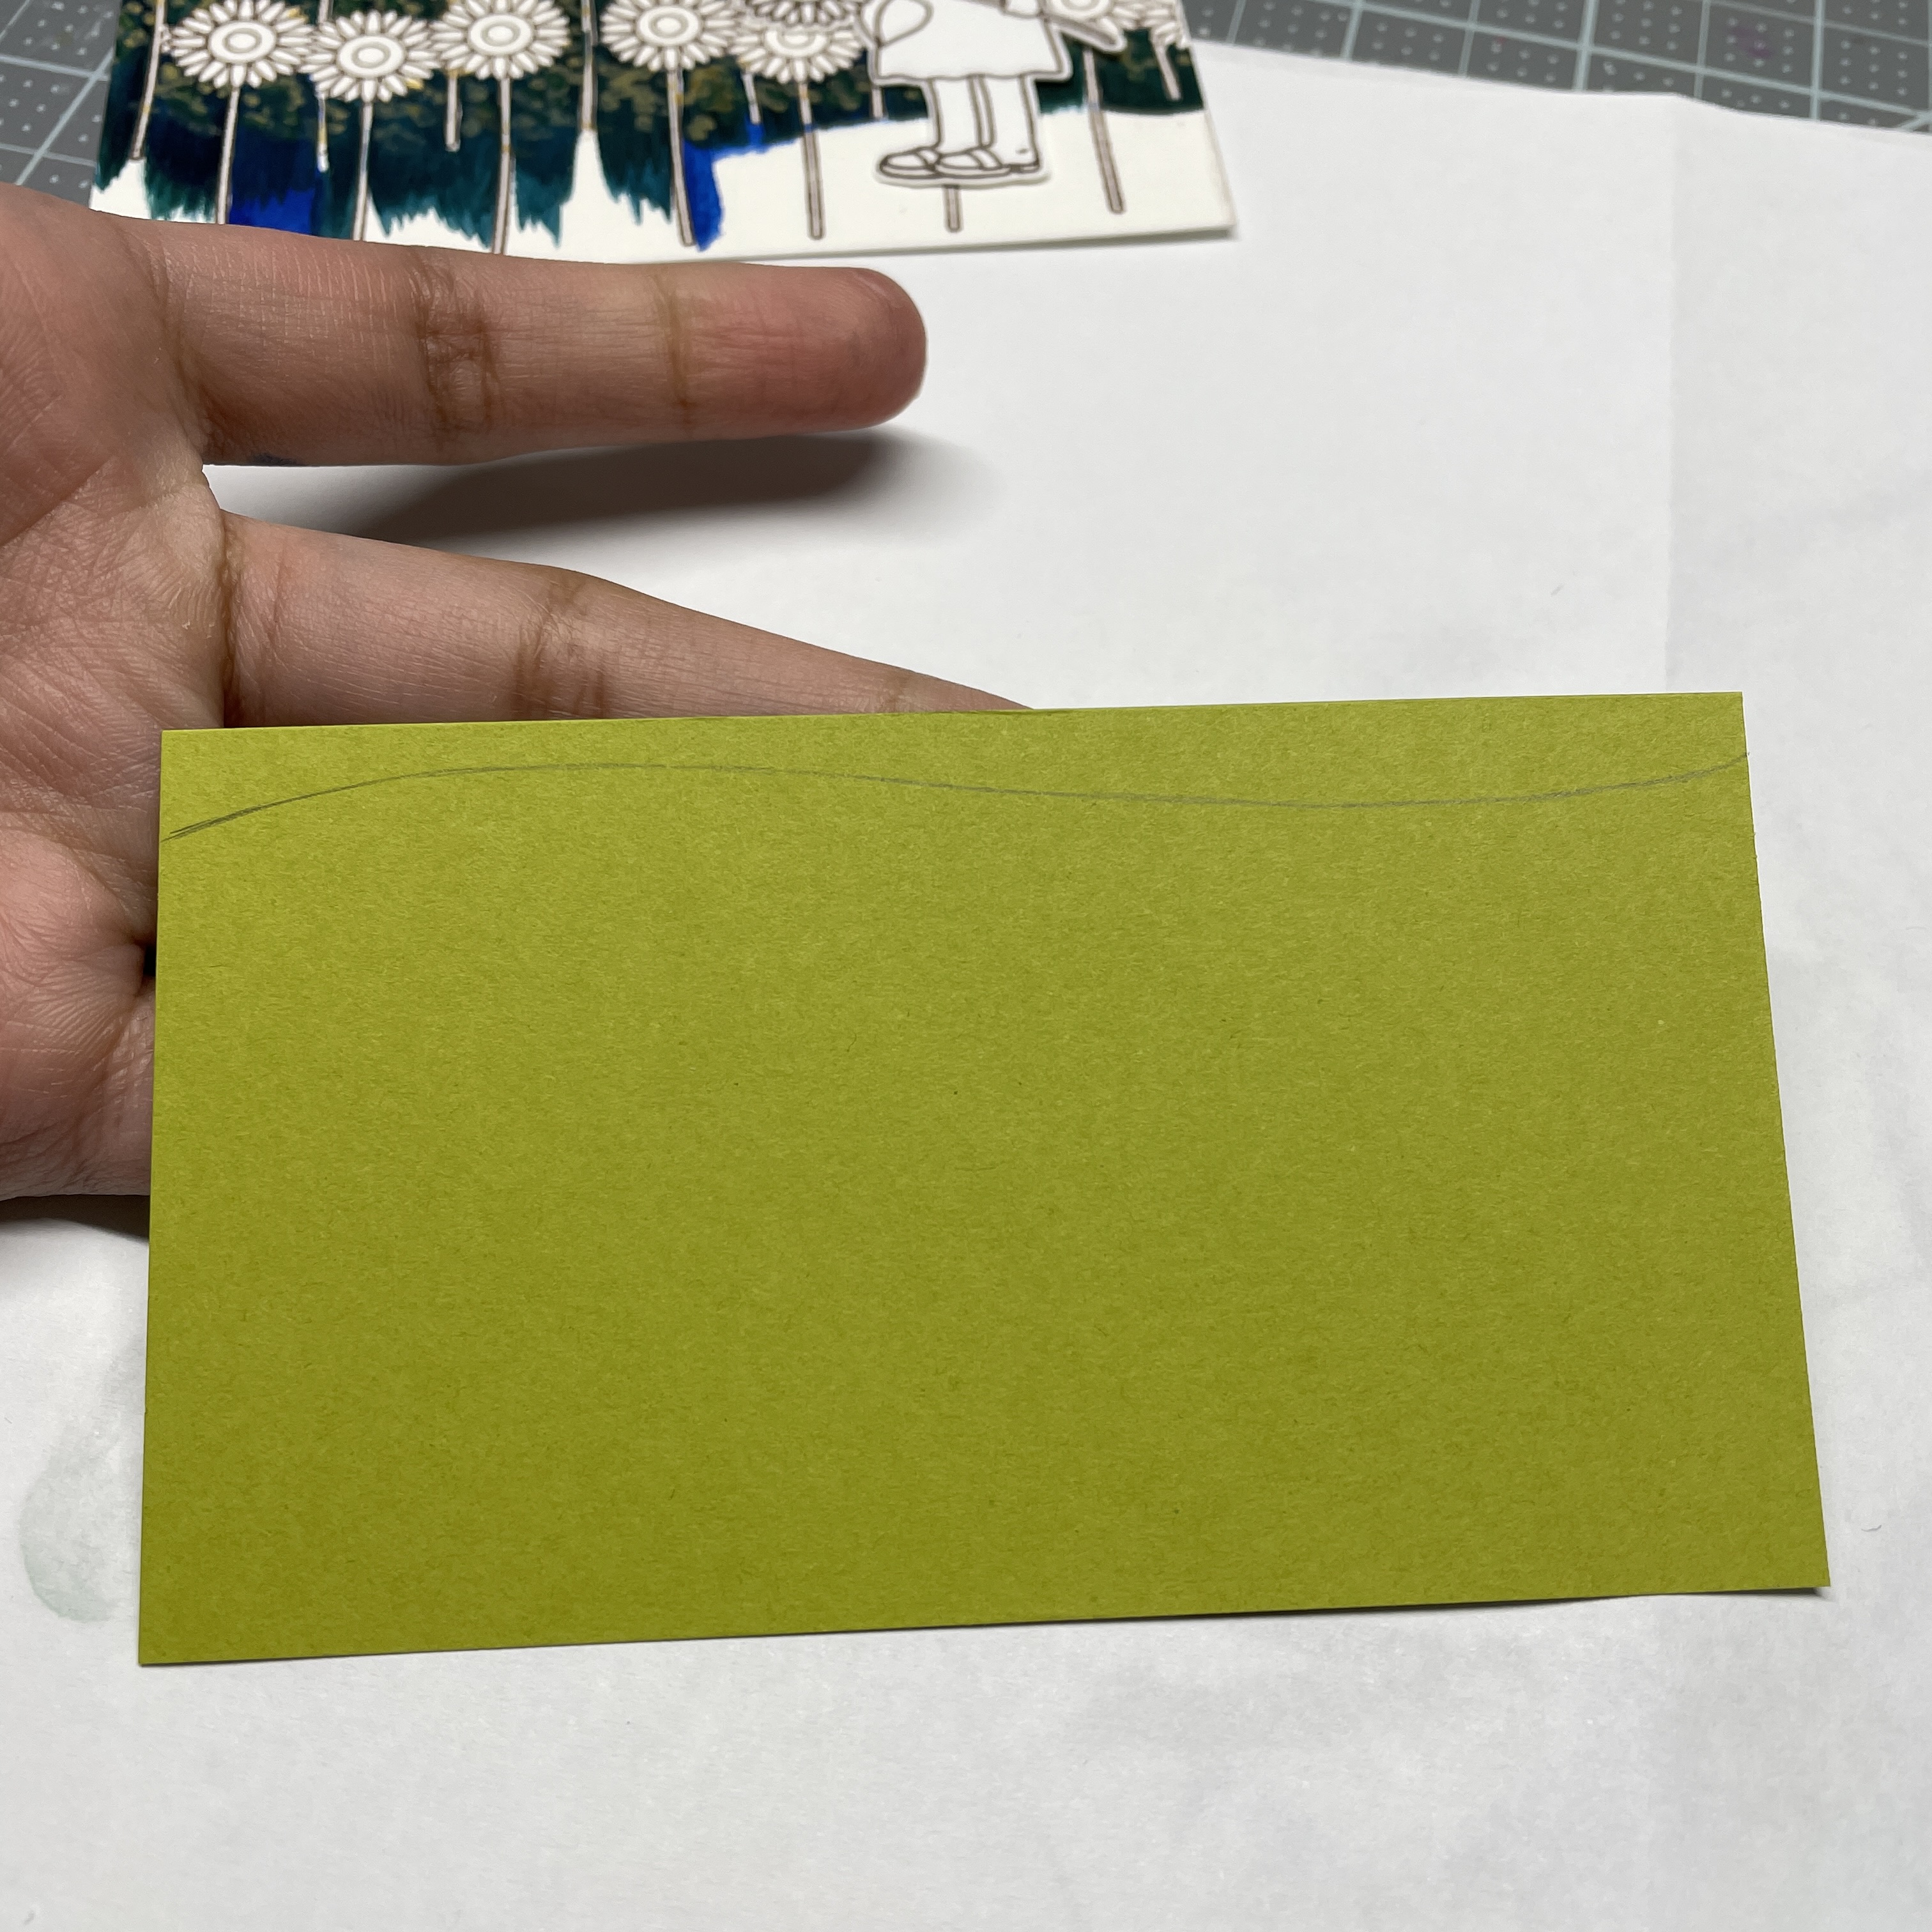
For my first card, I started off with embossing a card base of Spearmint using the Dotted Diamonds embossing folder and then ink blended the edges with spearmint dye ink. Then I stamped a piece of Honey cardstock with the Wood background stamp and ink blended the edges using Honey dye ink. Later, I Ink blended and die cut some plants using shades of green (Kiwi, Granny Smith, Cilantro and Avocado) and pots using Poblano Pepper, Earl Gray and Sea Salt dye ink. Adhered all the elements on the card base and added a sentiment and I was done! 


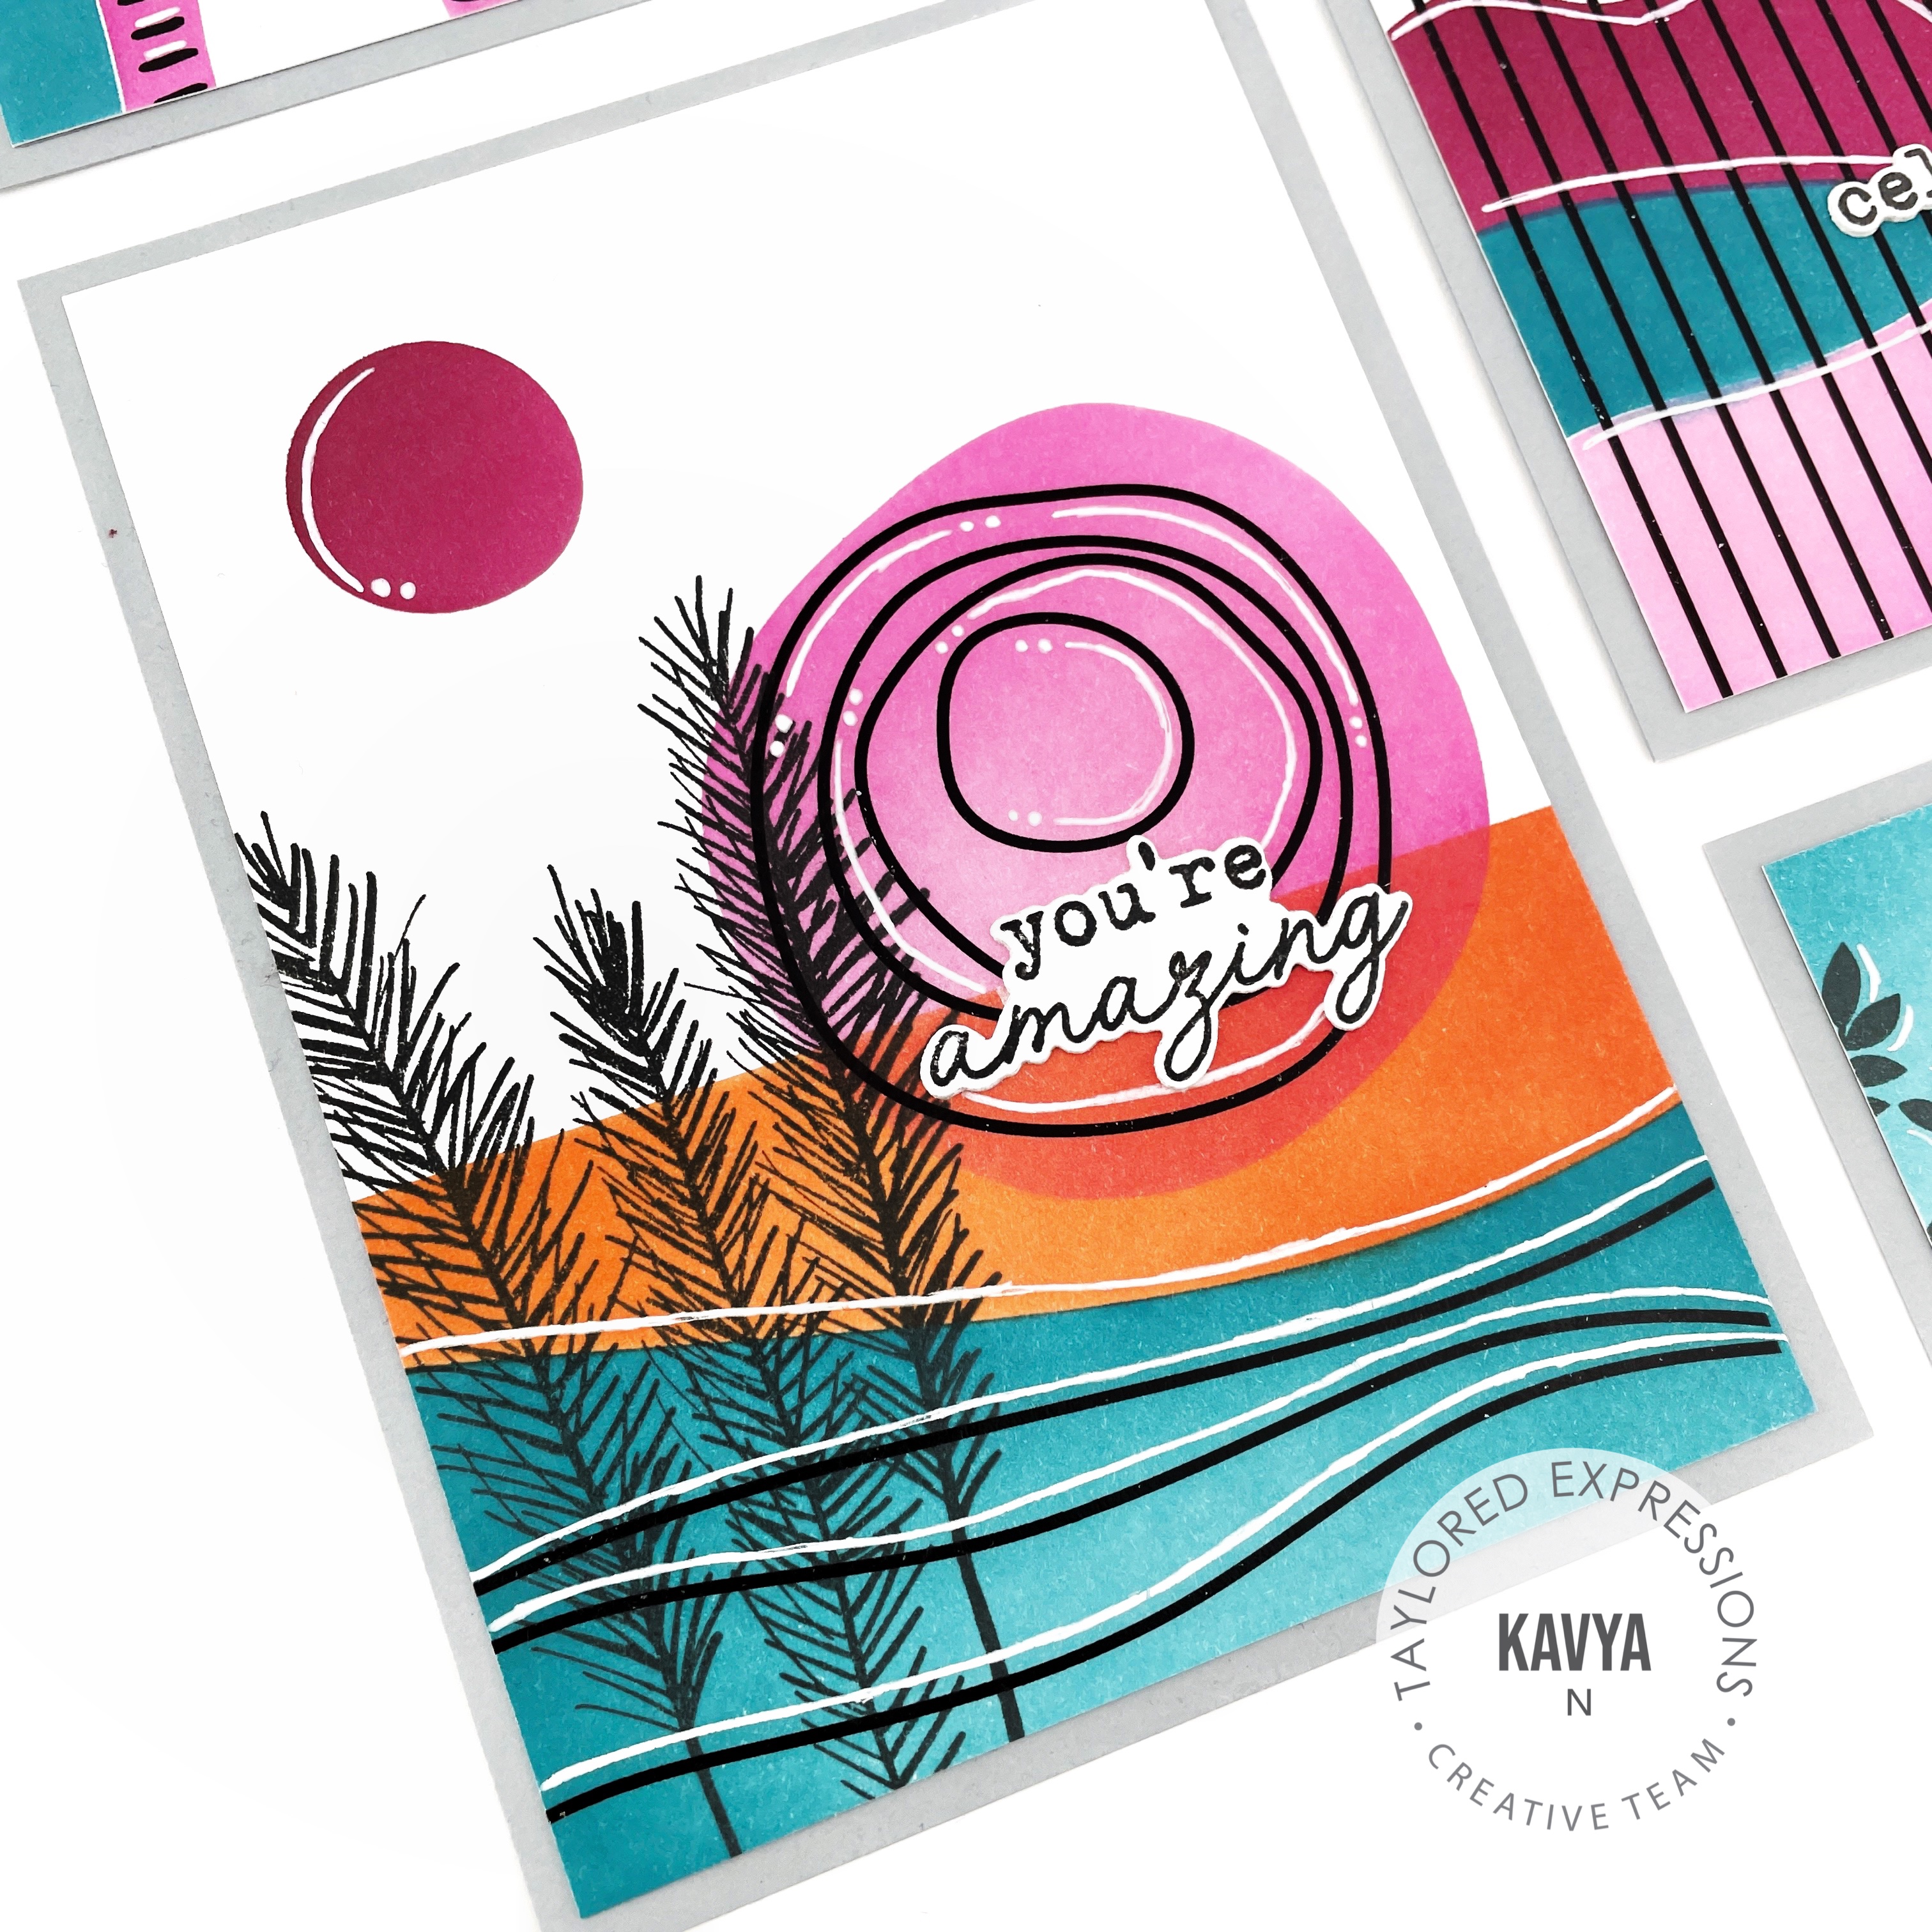
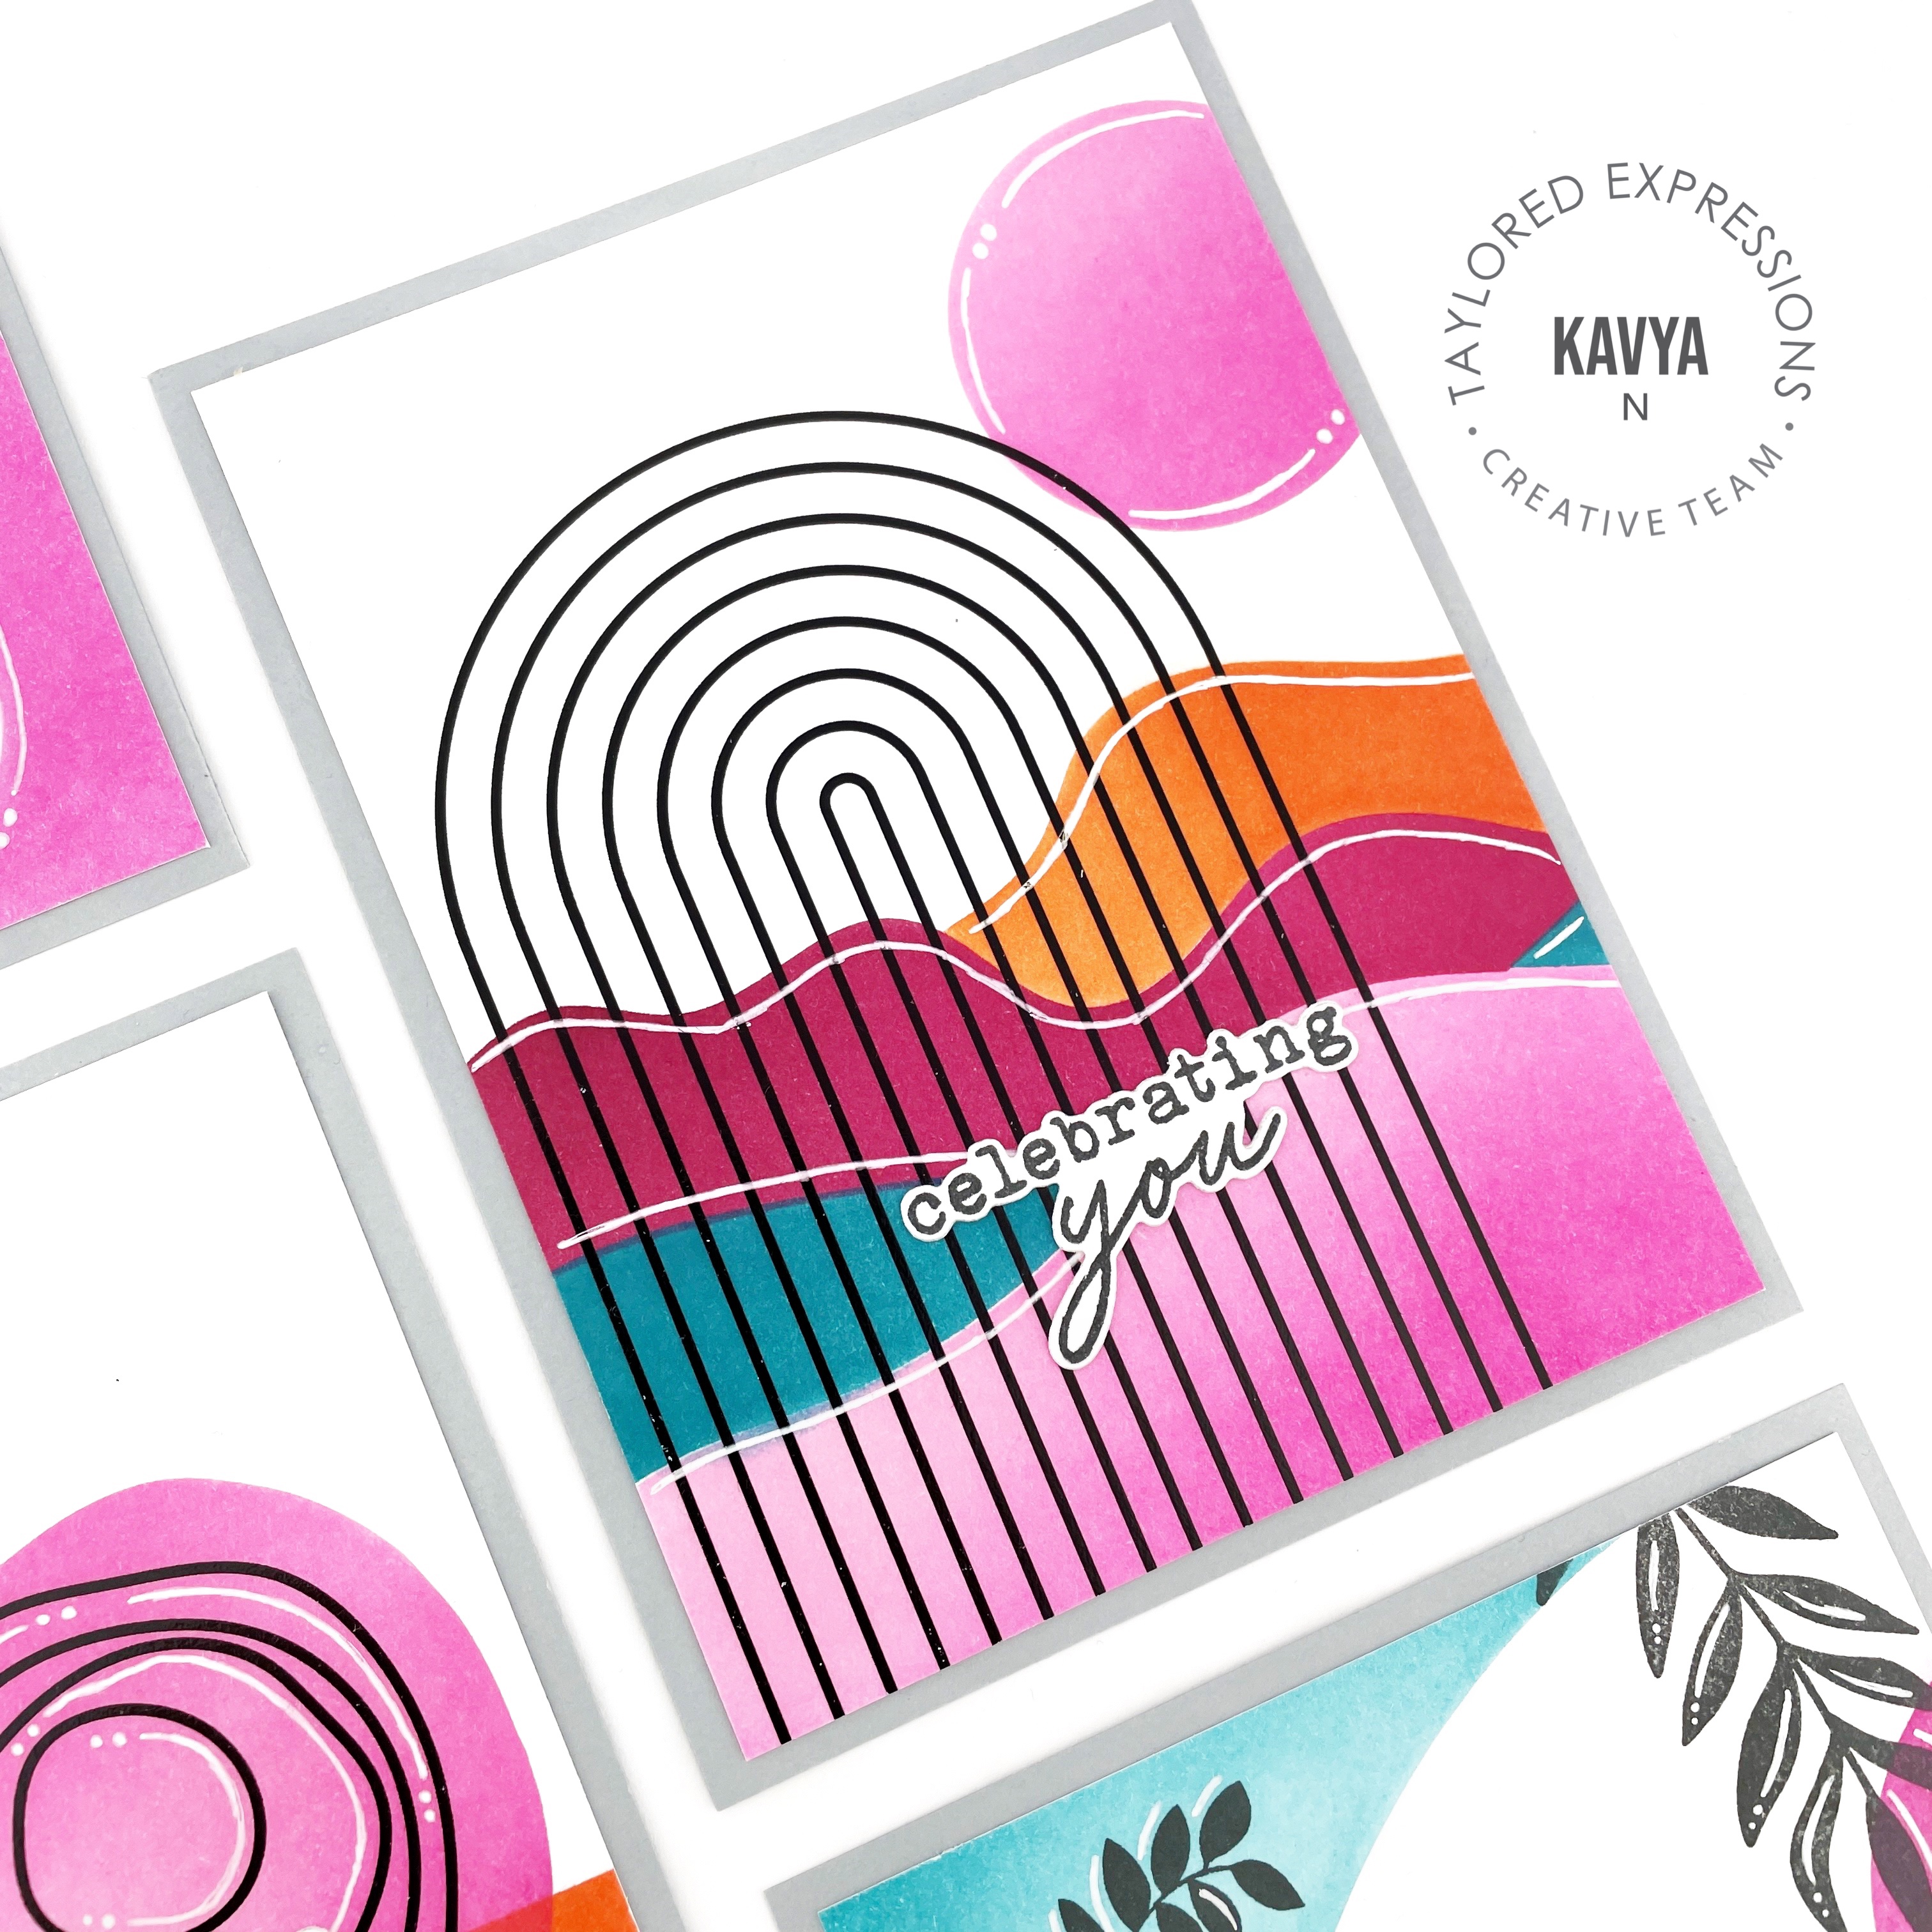
For my next card, I started off with a panel from Foil It Essential Patterns as card base and added a piece of ink blended mango cardstock for the ground. Then, I stamped a sentiment using Dijon ink. Finally, I ink blended and die cut some plants using shades of green (Kiwi, Granny Smith, Cilantro and Avocado) and pots using Mulled Wine, Raspberry Sorbet, Plum Punch and Dragon Fruit dye ink.
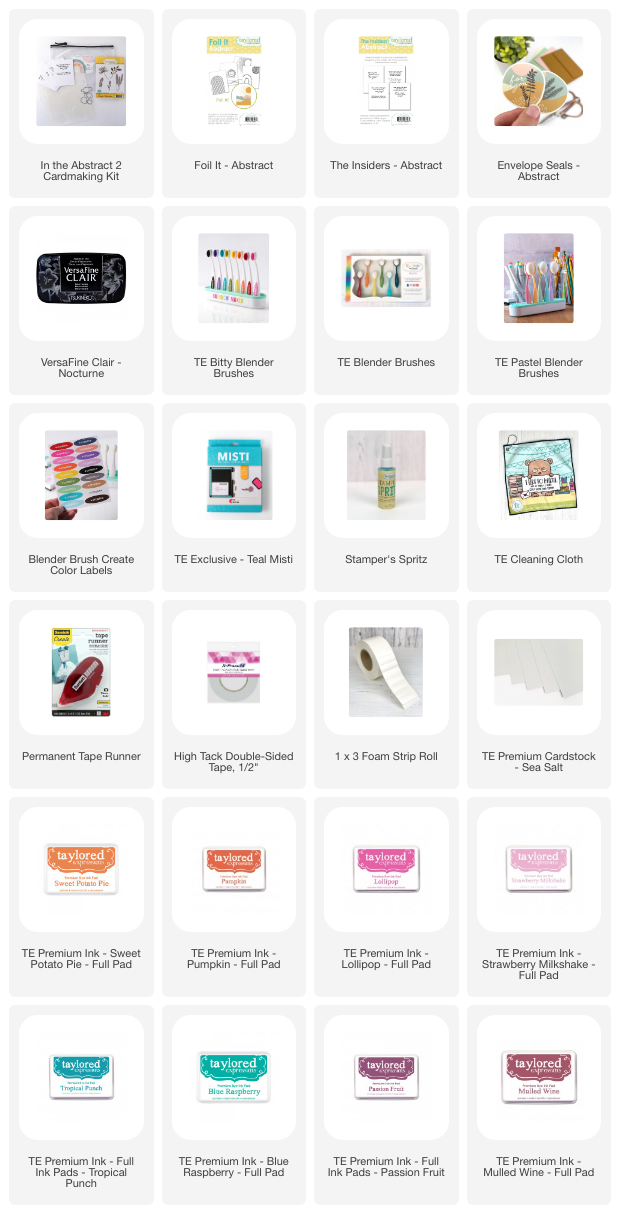
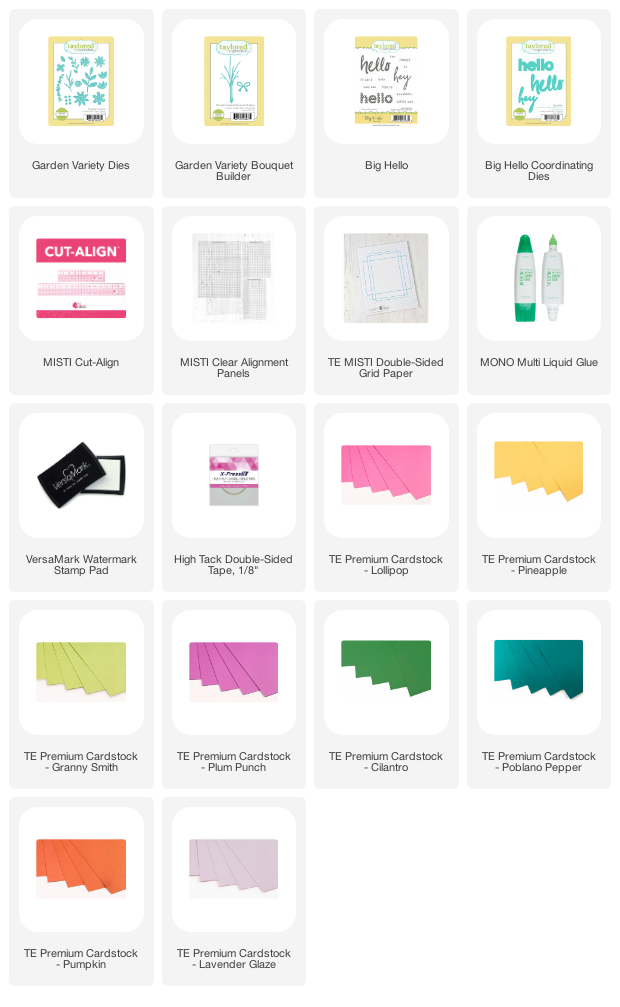
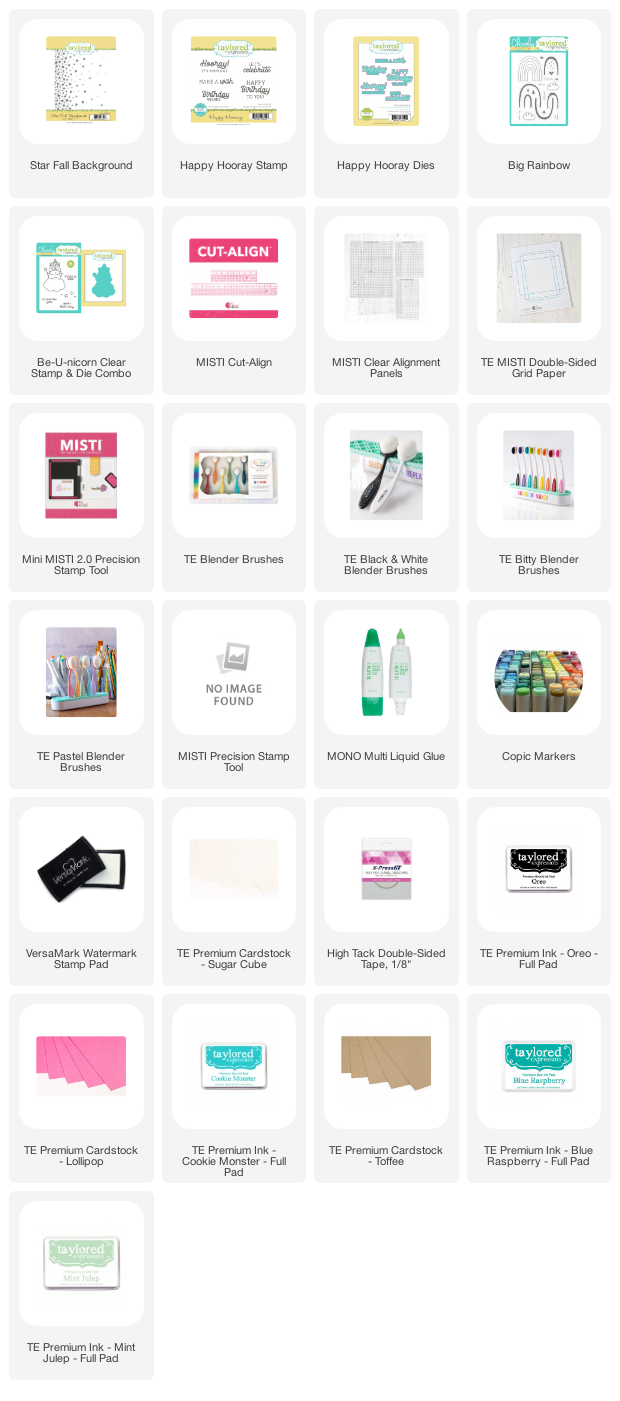
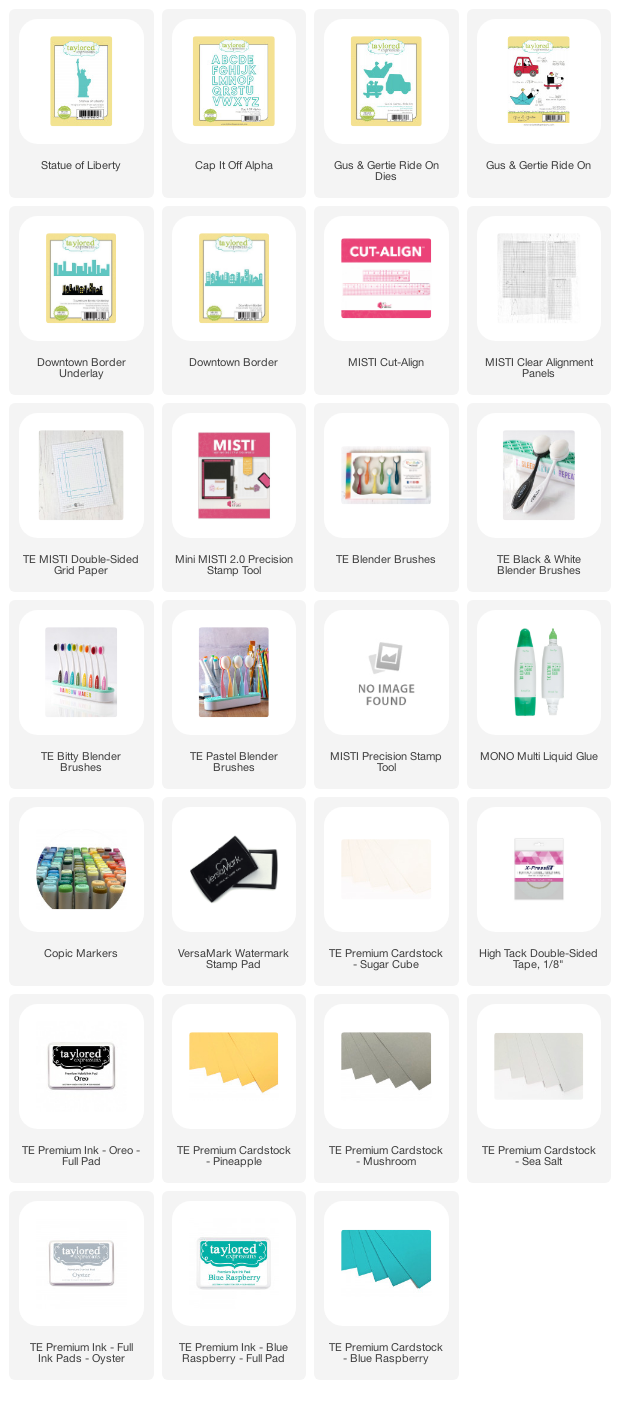
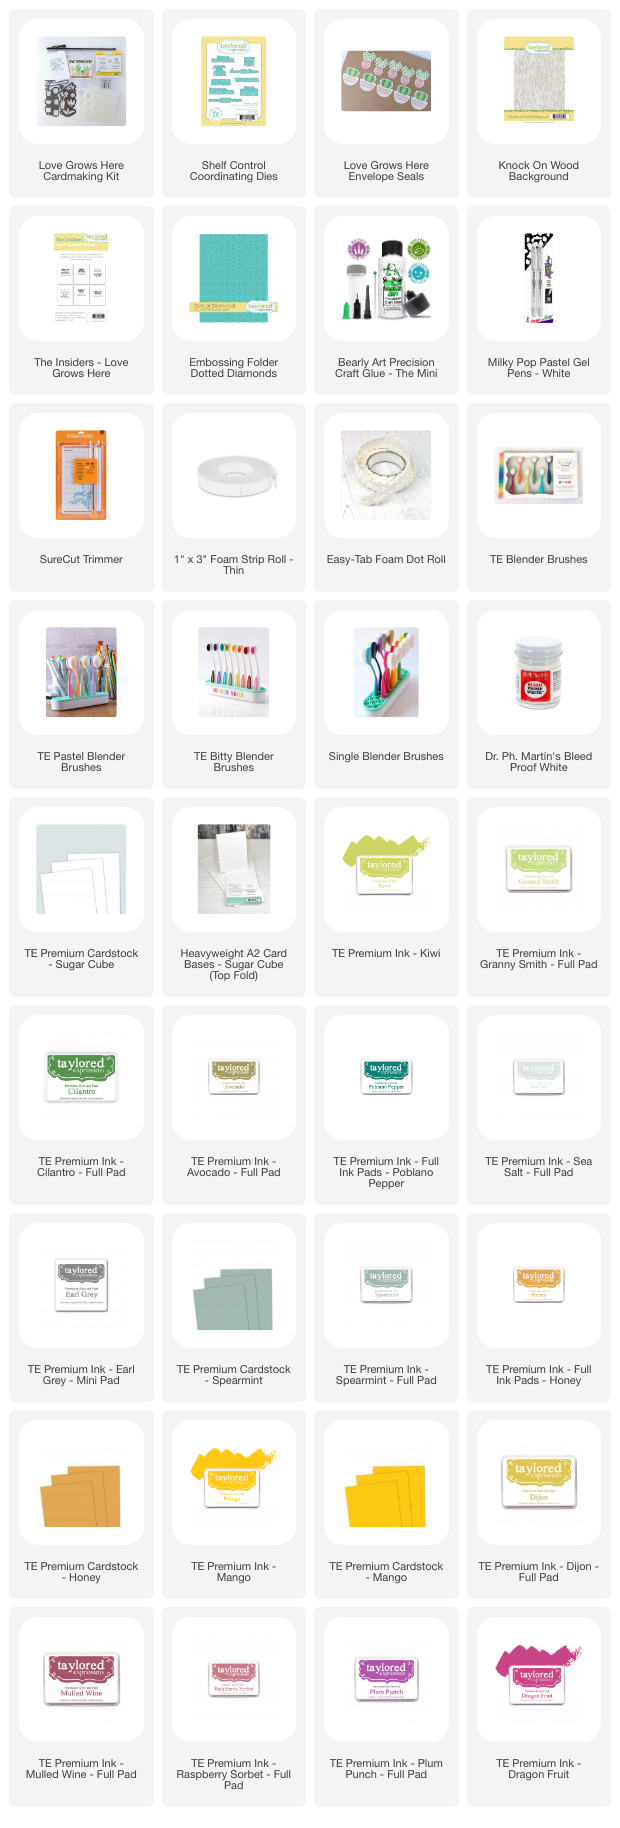


Supply List:


That’s it folks! I hope these projects inspire you! 

Happy Crafting, 
Kavya
Share
Tweet
Pin
Share
No comments

Hi folks, 

I am back on the blog with another fun spring release from TE! Is it just me or is it still colder in the PNW right now? It’s still raining and I am not happy :( But my craft room is filled with bright florals and butterflies and I could not be happier! 

Are you ready for some creative inspiration? Check out these two cards that started out with the same floral and butterfly design, but ended up completely unique! By experimenting with different background colors and textures, I was able to create two totally different cards and I love how they both turned out :) I first started off by coloring and die cutting images from the new Endless Joy and Daisy Dreams die and stamp set. 

For the first card, I ink blended the edges of Kraft Woodgrain cardstock (to be released soon!) with Chocolate truffle dye ink and splattered some paint. Then, I die cut a thin frame from A2 Thin Frame Cutting Plate from Chocolate Truffle cardstock. Finally, I colored the edges of the images using brown copic marker and added the Get the Word Out - Thanks sentiment and I was done! 


Supply List:


For my second card, I ink blended the white woodgrain card base underneath the stamped images using Pink Champagne and Peaches and Cream dye ink. I also splattered some white paint. Then, I added a frame die cut from Honey and Inside Scallop Rectangle Stacklets and matted it on top of Raspberry Sorbet. Added a sentiment from Daisy Dreams stamped in Lollipop and I was done :)


Supply List:

That's it folks! 

I hope these projects inspire you :)

Happy Spring,
Kavya


Share
Tweet
Pin
Share
No comments


Hi folks, 

Kavya here with another fun release from TE. This week's release is filled with fun florals plus a bunch of other products to celebrate all the women in our life. 

Today's card uses the new Awesome Blossoms stencil and die set. I first ink blended my Sea Salt cardbase with Oyster ink and stamped the Friendly Filigree background (from a kit) using Oyster ink as well. Then, I used the white woodgrain cardstock for the smaller window. I matted it on Osyter cardstock and stamped the Hold my Blooms stamp. Using that as a template, I adhered the floral and leaves from Awesome Blossoms. Added a sentiment from Mix & Math - For Her and I was done! 


Supply List:


I hope this project inspires you!

Happy Crafting,
Kavya


Share
Tweet
Pin
Share
No comments


Hi folks!

I am back with more inspiration for TE’s latest Easter release! This is one of the biggest releases of the year and I am always excited to see what Taylor has in store for us. As always she didn’t disappoint me with all the fun adorable critters and florals! 


My first card today showcases the Serene Scene bundle. The Serene Scene bundle includes the Serene Scene cutting plate, Serene Scene - Landscape, Serene Scene - Easter Edition and Easter Eggstras! I started off by ink blending an A2 sized Salt Water Taffy cardstock with Cookie Monster dye ink. Then, I diecut various pieces of the landscape using the dies in the bundle using colors like Toffee for the tree trunk, Granny Smith for the tree cover (this one is actually a cloud die!), Granny Smith, Lime zest and Pea Pod for the grassy hills. I ink blended the edges with coordinating dye ink to add some extra dimension. You can splatter some coordinating water color too! To make the trees realistic, I actually diecut the trunk using the cutting plate and colored in the bark using copic markers. You can skip this step if you’d like! Finally, add some of the adorable elements using the Easter Edition die set and add a fun sentiment from Easter Eggstras to finish off! 

Supply List:


My next card uses the new He Loved Us First stamp set and Stencil combo. I started off with a Granny Smith cardstock and prepared my background using the usual ink blending and dink splattering with coordinating dye ink. Then, I stamped in the leaves using Cilantro dye ink and added some florals using the dies from Spring Wreath Layering Stencil. I used Lollipop, Sugar Cube and Candy Corn for this! Heat embossed the sentiment and I was done :) 


Supply List:

That’s it folks! Hope this inspires you!

Happy Crafting,

Kavya 

Share
Tweet
Pin
Share
No comments


Hi folks, 

Kavya here with another fun kit from TE - In the Abstract 2. I absolutely loved the previous kit and couldn't wait to get my hands on the new one. If you struggled with coming with patterns, this kit makes it easier and removes the guess work. 


The In the Abstract 2 Cardmaking Kit retails for $65, is packaged in a zippered pouch with a custom sticker, and includes:
  • Create-in-Quads Abstract Layering Stencil set
  • Simple Silhouettes stamp set
  • Boho Bowls die collection
  • The Insiders – Abstract panels
Most kit items are not available to purchase individually.

Additional products available to purchase outside of the kit: Foil It – Abstract panels, Abstract Envelope Seals (package of 10), Clearly Crafty More Signature Sentiments stamp set, More Signature Sentiments die collection, and The Insiders – Abstract panels.

For all of my cards, I started out by picking sheets of Foil It that I thought would go well with the stenciled pattern. I then taped them together at the back to create an A4 sheet that I could then use to stencil. Then, I stenciled in the patterns using gradient shades represented here as darker shade/lighter shade:  Sweet Potato Pie/Pumpkin, Lollipop/Strawberry Milkshake, Blue Raspberry/Tropical Punch and Passion Fruit/Mulled Wine. Finally, I stamped some elements from the Simple Silhouettes stamp set and matted the cards on Sea Salt cardstock. As always, I finished my cards with some gel pen accents and stamped sentiments!


Supply List:


Happy Crafting, 
Kavya


Share
Tweet
Pin
Share
No comments


Hi folks, 

I am back with another fun TE release! If you have been eyeing some freebies or products from events like Stamp Joy, now is your chance to grab them!! 

I don’t really garden much but I consider playing and creating paper flowers from dies my type of gardening! I am absolutely in love with the new Garden Variety dies. I started off by die cutting different pieces of the set using leftover scrap paper. This is the perfect project to get rid of those! I used shades like Pineapple, Plum Punch, Lollipop, Granny Smith, Cilantro, Pumpkin Pie and Lavender Glaze. I then added details to the flowers using copics and a white gel pen. Later, I added stems to each of the flowers using the Garden Variety bouquet builder die.

Arrange all the flowers around a heat embossed sentiment from Big Hello on Pablano Pepper and you are done!! I love how this one turned out!!


Supply List:


That’s it! I hope you liked this project :)

Happy Crafting,
Kavya


Share
Tweet
Pin
Share
No comments


Hi folks, 

I am back on the blog with another fun project for TE's season of crafting! We have 9 days of daily deals coming your way starting TODAY! This is a great time to check thing off of your holiday shopping list for crafty friends and family or maybe check a few things off of your own crafty wish list! Each day the new daily deal starts at 9AM Central Time and goes until 8:59AM Central Time the next day. Offers are valid while supplies last and there are no rainchecks. 

Today's deal is all about clear stamps! I used a bunch of stamps that are on sale currently to create a fun rainbow birthday card. I started off by ink blending by warm night sky using Blue Raspberry, Cookie Monster and Mint Julep inks. I then heat embossed the starry background using Starfall background stamp (not on sale today). I stamped and colored images from Be U-nicorn and Big Rainbow stamps and adhered them to the base. Matted it on top of some Toffee cardstock and added a heat embossed stamp from Happy Hooray (not on sale) to finish off my card! 


Supply List:


Thanks,
Kavya


Share
Tweet
Pin
Share
No comments


Hi folks, 

I am back on the blog with another fun project for TE's season of crafting! We have 9 days of daily deals coming your way starting TODAY! This is a great time to check thing off of your holiday shopping list for crafty friends and family or maybe check a few things off of your own crafty wish list! Each day the new daily deal starts at 9AM Central Time and goes until 8:59AM Central Time the next day. Offers are valid while supplies last and there are no rainchecks. 

Today's deal is all about Standalone dies! I used a bunch of dies that are on sale currently to create a fun NYC themed card. I was in NYC last year for thanksgiving and I am definitely missing it now. Let's get started...


I first started off by using Mushroom and Sea Salt cardstock for the road and sky. I ink blending the Sea Salt cardstock with Oyster ink and used Oreo for the Mushroom cardstock. Then, I die cut the Downtown Border using Blue raspberry cardstock and also used Pineapple for the underlay. to make it more realistic, I ink blended the Downtown Border using matching dye ink. For the Statue of Liberty, I used Spearmint and added some details using a matching Copic marker and white gel pen. To finish off my card, I added a sentiment using Cap It Off - Alpha and a NYC taxi using a modified stamped image from Gus and Gertie - Ride On. 

Supply List:


I hope you liked this project and the deal of the day :)

Happy Crafting,
Kavya

Share
Tweet
Pin
Share
No comments


Hi folks, 

I always look forward to MFT's Cardmaking Superstar competition each year. It pushes me to find creative ways to use stamps that I already own and get inspired from things around me! For this year's entry into the Clean and Simple Genius category, I was inspired by a children's book I saw a while back that included the story of a deep-sea diving cat. I mean it makes sense... a cat does need its fresh supply of fish! What better way than to get it fresh from the ocean! 

I have always struggled with Clean and Simple cards. For some reason, I cannot stand the color white. I always feel like I have forgotten to add something or just looks incomplete. Lately, I have realized that white space doesn't have to mean 'white'. It's just empty! So, capitalizing on my newfound revelation, I decided to start off my card using a turquoise cardstock. I started off by masking the space for the cat and ink blending the bottom 1/3rd of the card. Then, I stamped the flora and sea bed using Mermazing stamp set. I colored it using color pencils and add some soft white highlights and glow using a color pencil as well. 


Then, I stamped a cat from Cat-astrophe and few fishes from Mermazing and Gill Friends and colored them using alcohol markers. For the scuba helmet, I drew a circle over the cat and fussy cut the entire image :) Added some bubbles and a sentiment to finish off my card! 


That's it folks! I hope you liked this fun card :) 

Happy Crafting,
Kavya


Share
Tweet
Pin
Share
11 comments


Hi folks, 

I always look forward to MFT's Cardmaking Superstar competition each year. It pushes me to find creative ways to use stamps that I already own and get inspired from things around me! For this year's entry into the Coloring Virtuoso category, I was inspired by the distinctive style of Van Gogh. Just like his bright color palette, gorgeous landscapes and expressive portraits, I love dabbling with unique color schemes and creative life-life critter scenes! 

When I saw MFT's Sunflower Sweetheart, I was immediately reminded of Van Gogh's Sunflowers, and I knew it was the perfect opportunity to combine two of his celebrated art works - The Starry Night and Sunflowers. 

I first started off by masking and stamping the sunflowers using MFT's Milk Chocolate ink. I felt like stamping in brown ink added a layer of 'vintage' to this card. 


Then, I painted the Starry Night using acrylic paint. 

For the land, I hand drew a curved hill and ink blended the edges using green distress oxide ink. 
The sentiment was heat embossed from Unicorns and Glitter stamp set. I felt that the sentiment was fitting for the card as I was trying to recreate (a bad attempt for sure) some of the most previous paintings known to humankind. 


Later, I stamped the girl and some critters and colored them using alcohol markers and colored pencils. As always, I added some white gel pen details to finish my card!


That's it folks! I hope you liked this card :) I definitely enjoyed making it!

Thanks,
Kavya


Share
Tweet
Pin
Share
2 comments


Hi folks, 

I am back on the blog with another fun kit from TE - Friendly Filigree! 


The Friendly Filigree Cardmaking Kit is available now through Thursday, October 27th, on sale for $50 – that’s $10 off! After October 27th, the kit will return to the retail price of $60. The kit is package in a zippered pouch and includes:

  • Friendly Filigree Background stamp
  • Friendly Filigree Frame die
  • All Together – Occasions stamp
  • All Together Occasions die
  • Clear Card Box
  • A2 Envelope Pack (6 Toffee envelopes)
  • Envelope Seal Pack (6 seals)
**please note that the Foil It – Friendly Filigree panels included in the photo are not a part of the kit, but can be purchased separately.

Limited quantity available

Most kit items are not available to purchase individually. You will be able to purchase additional envelope seals (package of 10), Foil It – Friendly Filigree panels, Foil It – All Together Occasions panels, and the Gift It Belly Band die collection separately from the kit.

To be notified of new kit releases, be sure to subscribe to our newsletter and follow us on Facebook and Instagram.

I like finding ways to stretch my supplies so I thought I would create two projects showing you how you can combine products that you might already have to create fun cards for all occasions. My first card is a Christmas card that I made using the background stamp. I ink blending the edges of Cherry Pop cardstock using Raspberry Sorbet dye ink and heat embossed the background using gold embossing powder. Then, I diecut the Festive Fir using Peapod cardstock and colored on top using copic pens to achieve a darker shade. Then, I adhered some gold cardstock underneath and fuzzy cut the tree as shown below. Added a heat embossed sentiment and I was done!


Supply List:


My next card is a monochromatic card - something that I haven't created in a really long time! I ink blended the edges of Blue Raspberry cardstock using Blueberry dye ink and stamped the Filigree background using the same ink. Then, I heat embossed the In the Meadow background stamp using cookie monster embossing powder. Added a few heat embossed sentiments and I was done!


Supply List:


Happy Crafting, 
Kavya


Share
Tweet
Pin
Share
1 comments
Newer Posts
Older Posts

About me


Hello! I am Kavya. Welcome to my blog where I share my love for all things papercrafting and cardmaking. I am excited that you decided to stop by and look around.

Follow me on Social Media

  • Instagram
  • YouTube

Cards by Brand

Alex Syberia altenew Heffy Doodle Mama Elephant MFT newton's nook Pear Blossom Press Reverse Confetti SugarPea Designs Sunny Studio Stamps Taylored Expressions Wow Embossing

Blog Archive

  • ▼  2024 (11)
    • ▼  October (1)
      • Bear Hugs ft Taylored Expressions
    • ►  September (1)
    • ►  August (1)
    • ►  July (1)
    • ►  June (1)
    • ►  May (2)
    • ►  April (1)
    • ►  March (1)
    • ►  February (1)
    • ►  January (1)
  • ►  2023 (15)
    • ►  December (1)
    • ►  November (2)
    • ►  September (3)
    • ►  August (1)
    • ►  July (1)
    • ►  June (1)
    • ►  May (1)
    • ►  April (2)
    • ►  March (1)
    • ►  February (1)
    • ►  January (1)
  • ►  2022 (34)
    • ►  November (4)
    • ►  October (1)
    • ►  September (3)
    • ►  August (1)
    • ►  July (1)
    • ►  June (5)
    • ►  May (5)
    • ►  April (2)
    • ►  March (5)
    • ►  February (3)
    • ►  January (4)
  • ►  2021 (47)
    • ►  December (1)
    • ►  October (3)
    • ►  September (6)
    • ►  August (5)
    • ►  July (2)
    • ►  June (4)
    • ►  May (3)
    • ►  April (4)
    • ►  March (4)
    • ►  February (6)
    • ►  January (9)
  • ►  2020 (28)
    • ►  December (7)
    • ►  November (7)
    • ►  October (2)
    • ►  September (11)
    • ►  August (1)

Popular Posts

  • Sunny Studio Stamps 6th Birthday Blog Hop!
      Hi folks,  Welcome to the Sunny Studio Stamps 6th Birthday Blog Hop! This new release is just so much fun! If you love Christmas.. this on...
  • Sunny Studio Stamps 7th Birthday Blog Hop
      Hi folks,  I am back on the blog with another fun card! I know it's been weeks since I have posted but life's been crazy :) But, I...
  • Heffy Doodle + Sunny Studio Stamps blog hop!
    Hi folks,  Welcome to the Heffy Doodle and Sunny Studio Stamps Collaboration Blog Hop! Design Team members from both companies are sharing i...
  • New Gel Printing Kit from TE
      Hi folks,  TE has a new kit and it's all about gel printing! I have never tried it before so I was excited to get my hands on it and t...
  • You are my Best-Tea! : MFT Dec Release!
    Hi folks! I am super excited to be a part of MFT's December release! This new release has so many adorable and versatile products just l...
  • Go Cray-zy! It’s the Pear Blossom + Heffy Doodle blog hop!!
      Hi folks,  Today, we’re kicking off a CRAFTY Collaboration Blog Hop with Pear Blossom Press and Heffy Doodle !  Come hop along with us and...
  • Toy Story ft. MFT Stamps!
    Hi folks,  I am back on the blog with another fun project for MFT’s Cardmaking Superstar competition. I always love taking part in every yea...
  • Christmas Gifting Kit from TE!
      Hi folks,  TE has a new Christmas Gifting Kit that has many unique products that make packaging and decoration super adorable! As always, ...
  • TE - Happy Father's Day!
      Hi folks,  I am back on the blog with another fun release from Taylored Expressions - Father's Day! I love this release... it's so...
  • Mass produce Christmas cards easily with TE!
      Hi folks,  I am back on the blog with another fun release from TE! I love how the new Create in Quad stencils make it super easy to mass p...

Followers

Check out more cards on my Instagram here Watch Cardmaking videos on my YouTube channel here

Created with by BeautyTemplates | Distributed By Gooyaabi Templates