Instagram YouTube

Handmade by Kavya

  • Home
  • Creative Resume
  • Contact Me

 
Hi folks, 

I am back with another fun release from TE... if you love, Halloween this is for you! There are so many ways in which you can combine this release with all past releases.. that's how versatile this release is! 


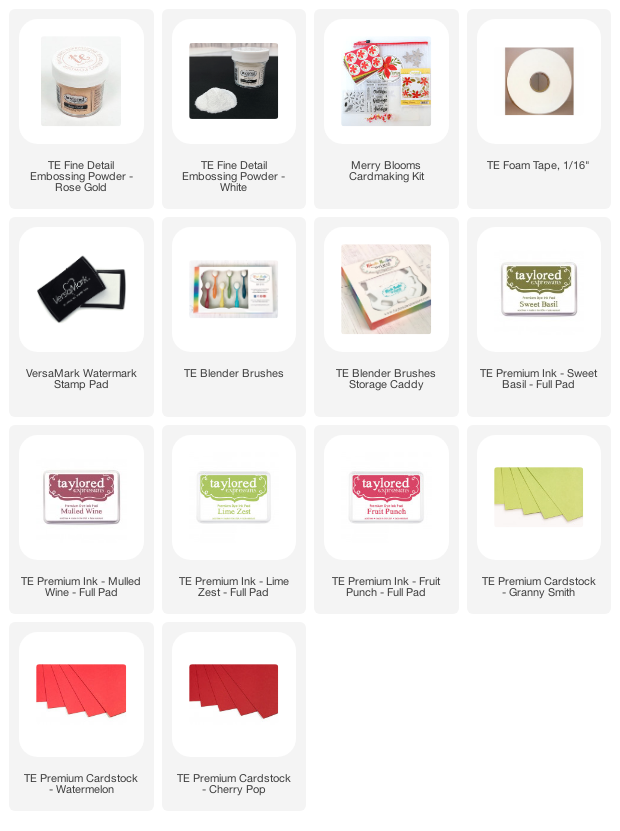
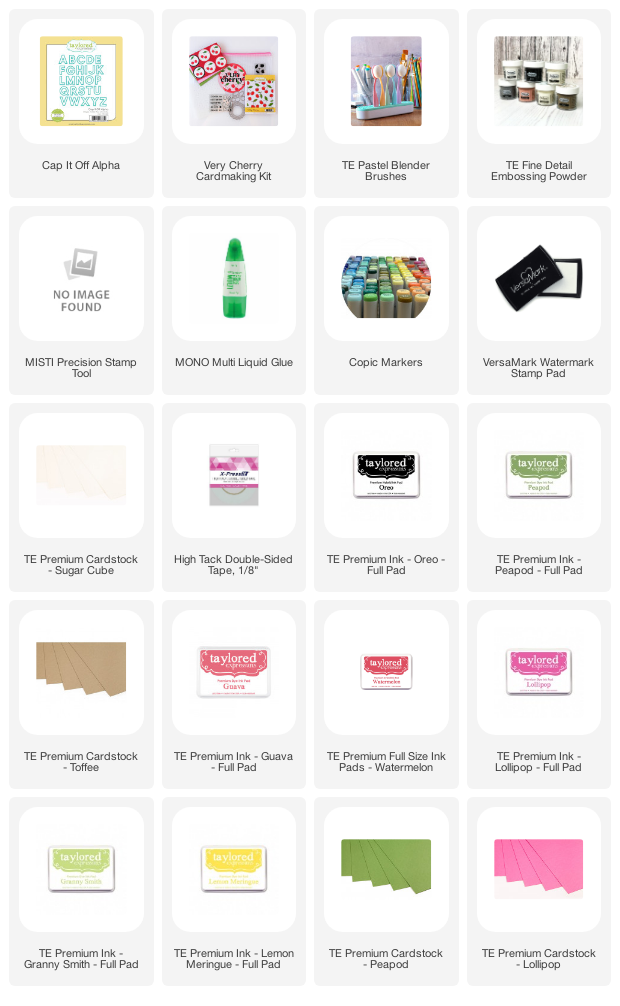
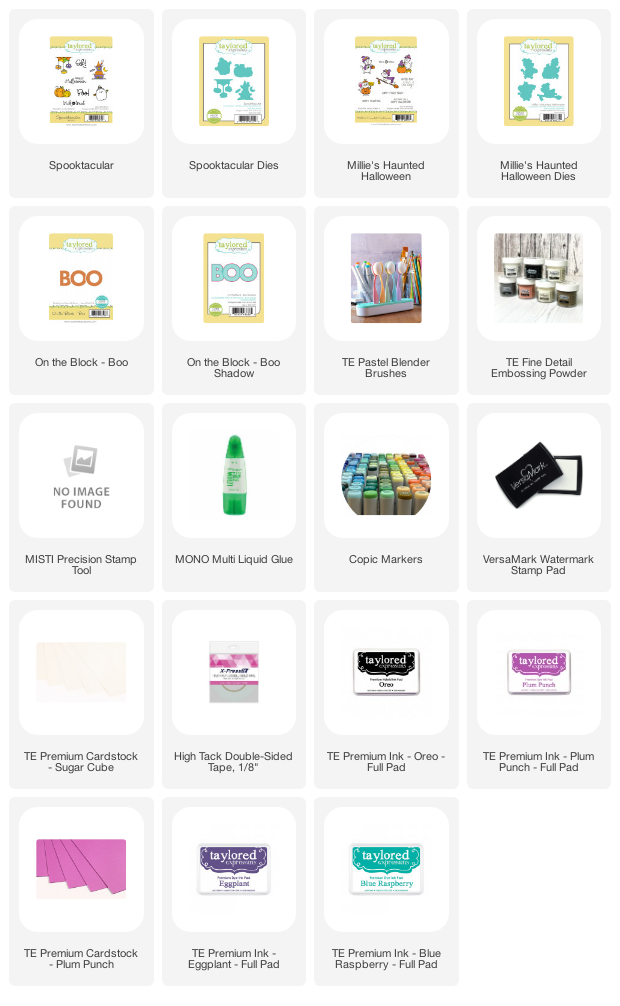
My first card is for all the critter lovers out there! I first stamped and colored a bunch of images from Spooktacular and the new Millie's Haunted Halloween stamp sets. I then stamped On the Block - Boo using Blue Raspberry dye ink and cut the last 'O' so that I could place a cute ghost in between. Later, I ink blended the top half of an A2 sized Plum Punch cardstock using Eggplant and Plum Punch Dye inks. As always, I splattered some white paint! Finally, arrange all the images around the 'Boo' and heat emboss a sentiment from  Millie's Haunted Halloween to finish it off!


Supply List:


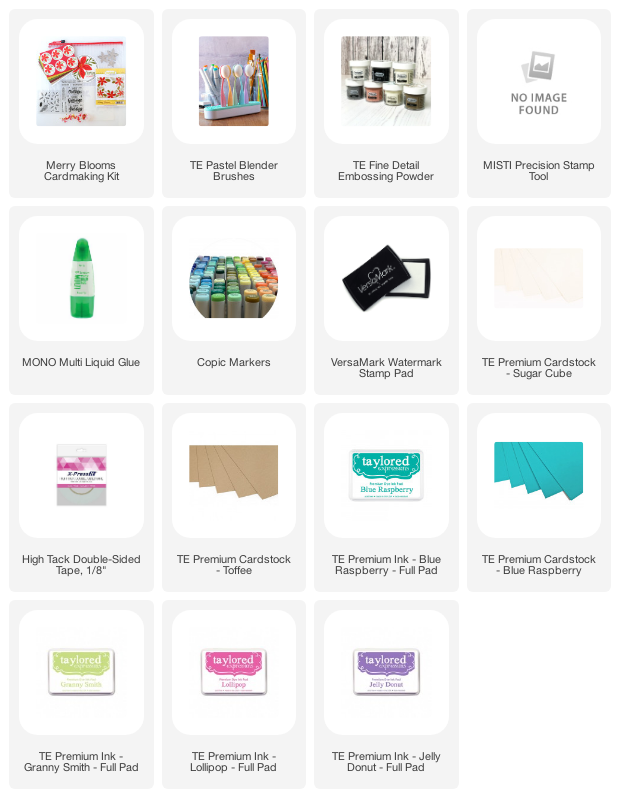
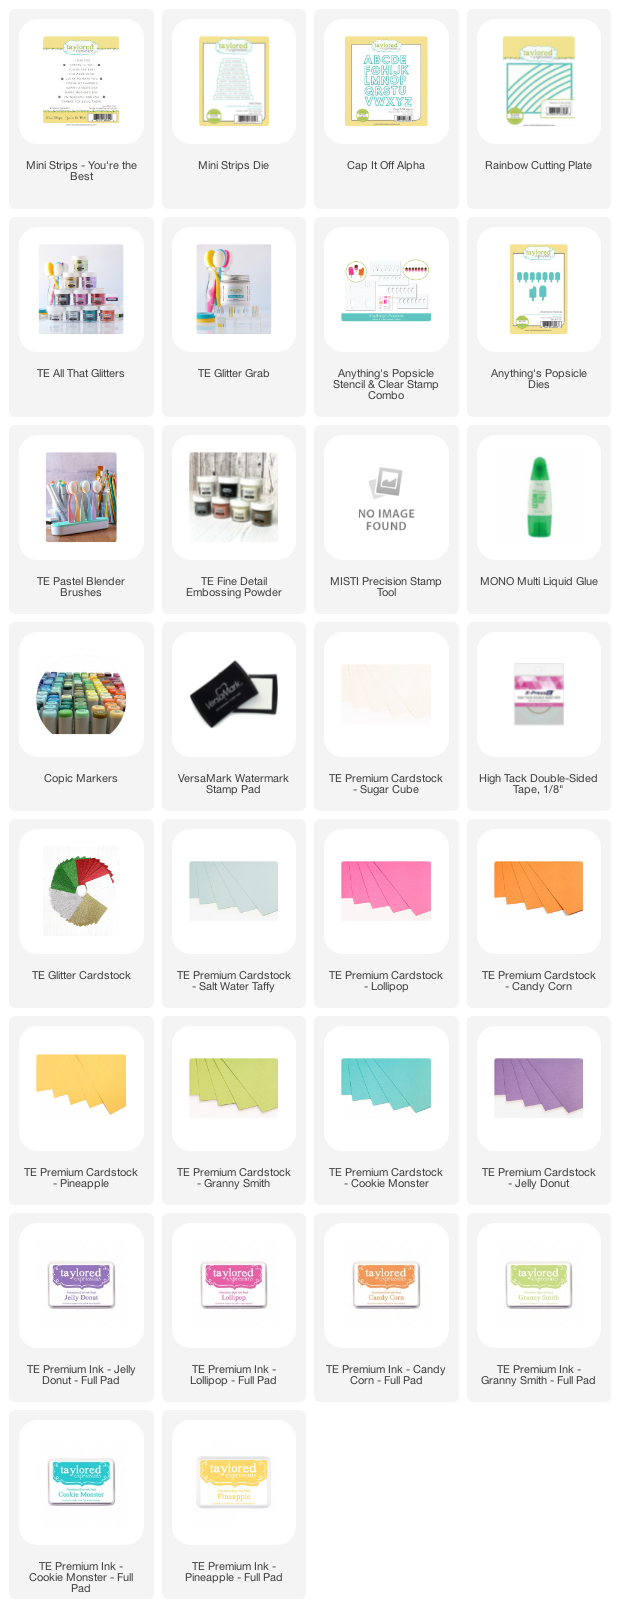
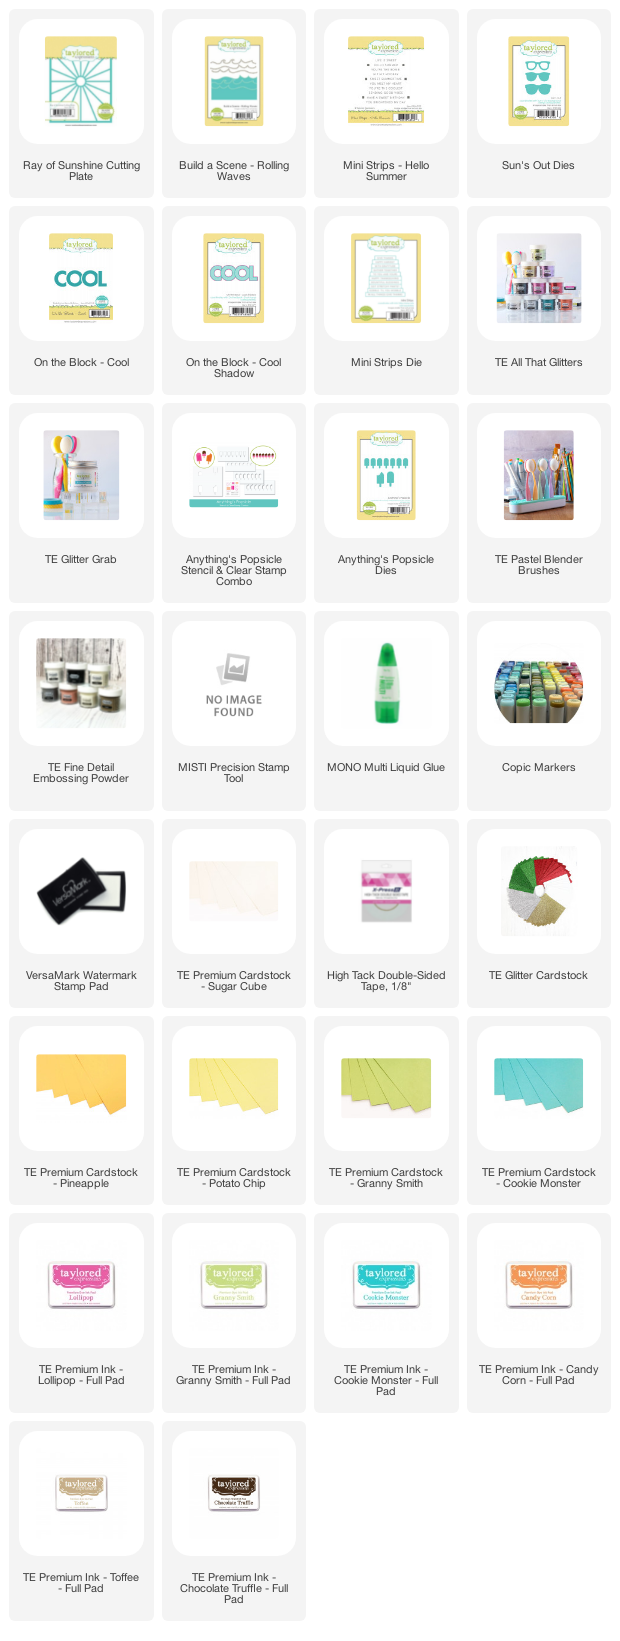
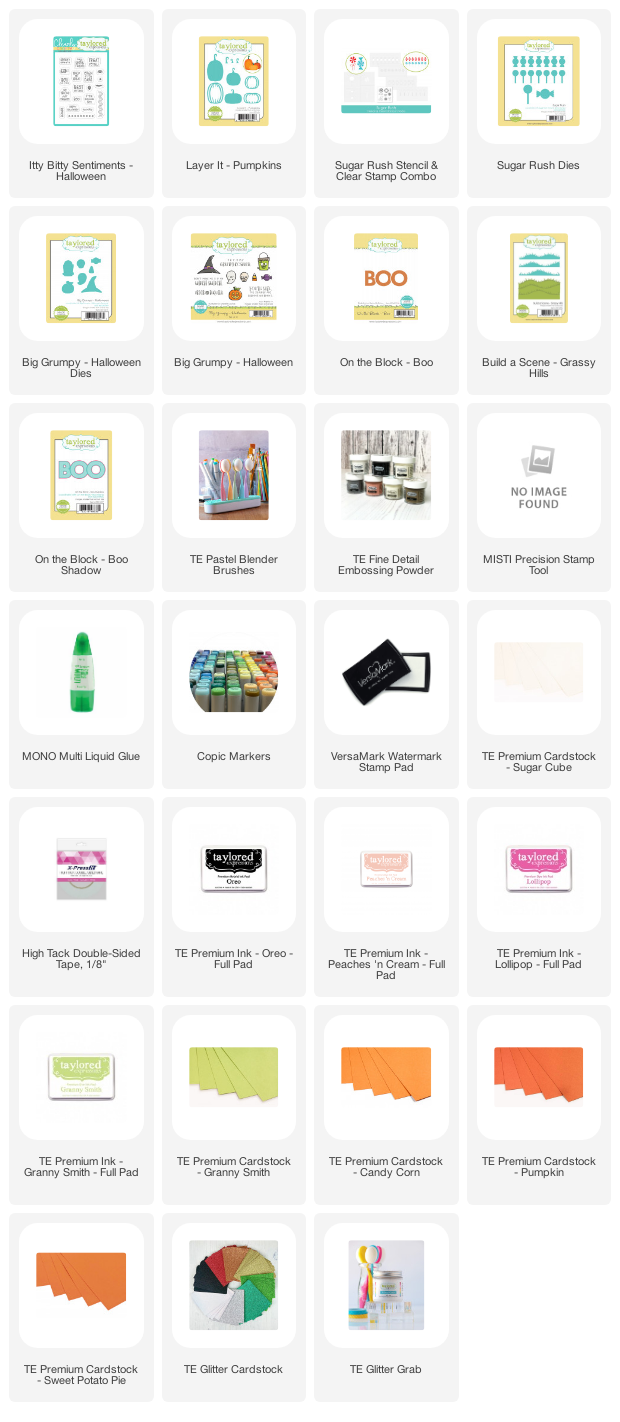
My next card is another fun Halloween scene using a bunch of Halloween products – old and new! The pumpkins are put together with the Layer It – Pumpkins dies... I used different shades of orange cardstock and also used the orange glitter cardstock! The sentiments from Itty Bitty Sentiments - Halloween set fit perfectly inside the pumpkins! The candies were created with the Sugar Rush Stamp & Stencil Combo set and I also used the pearl glitter instead of just leaving it white :) The ‘Boo’ is stamped with the On the Block – Boo stamp using Lollipop dye ink and the ghost and witch hat are from the Big Grumpy - Halloween stamp set! I then ink blended the edges of A2 cardstock using Peaches and Cream dye ink and also stamped the ‘ghostly greetings’ sentiment from the Full Circle – Halloween stamp set, using the same ink! I finally added some grass using Build A Scene - Grassy Hills using Granny Smith dye inks and cardstock and finally arranged all the pumpkins and candy!


Supply List:


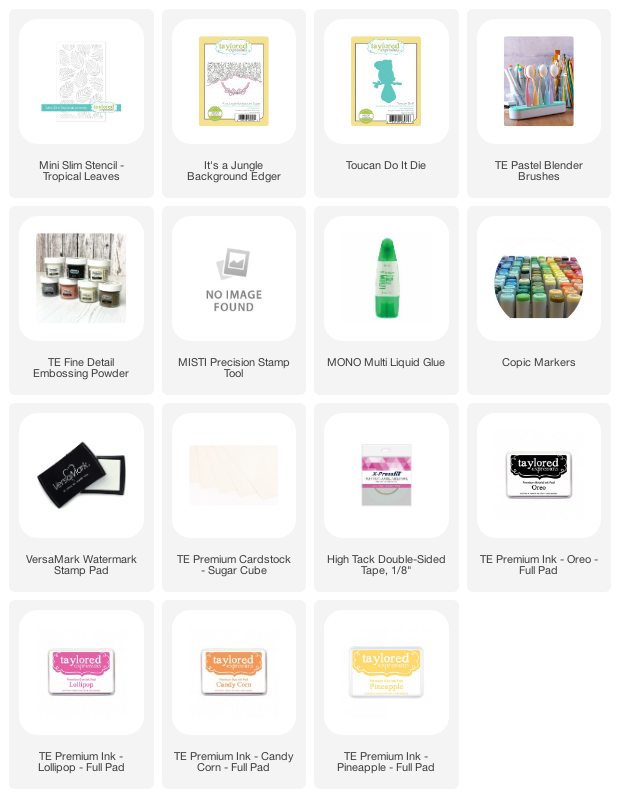
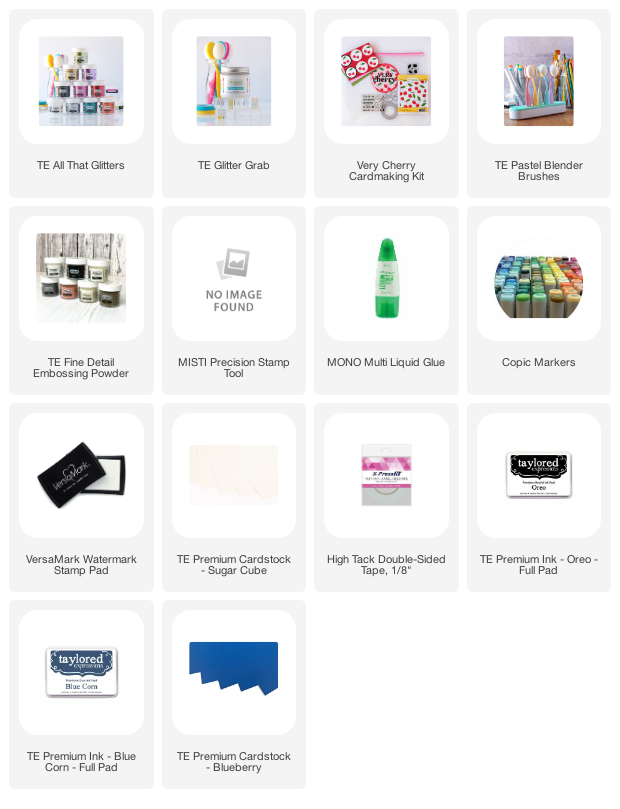
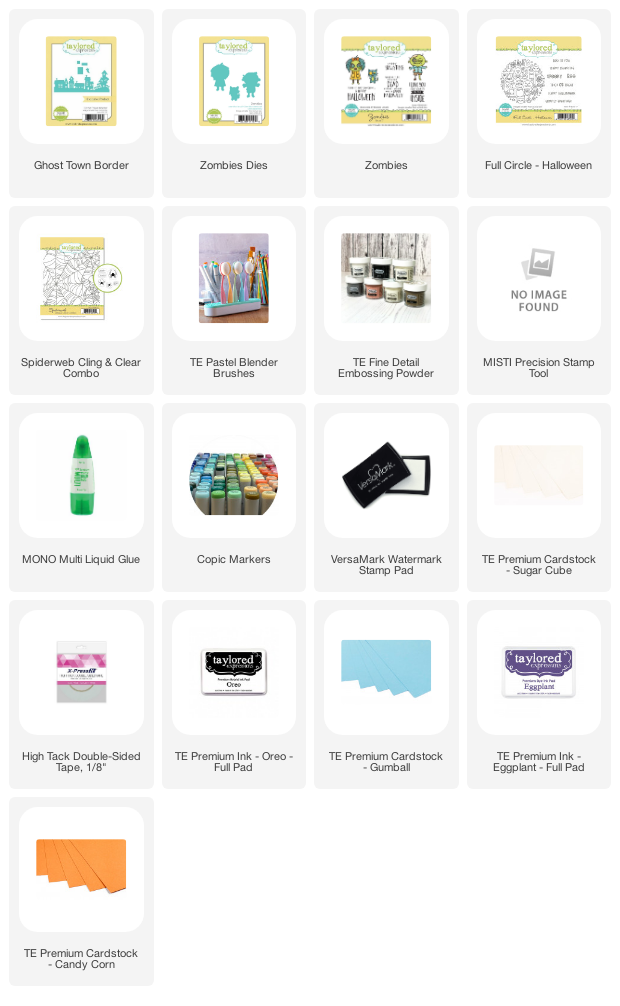
My next card uses the new Spiderweb background cling stamp. I first stamped the spider web on gumball cardstock and ink blended the edges using oreo and and eggplant dye ink. Then, I stamped and colored a bunch of images from Zombies stamp set. Then, I created a background using Ghost Town border uisng black glitter cardstock and added two strips underneath it using Candy Corn and green glitter cardstock. I finally finished it off by heat embossing a sentiment from Full Circle - Halloween! 


Supply List:


That's it folks! Hope you liked the projects!

Happy Crafting,
Kavya


Share
Tweet
Pin
Share
No comments


Hi folks, 

I am back with another fun kit from TE! I honestly had so much fun with this kit because it is so easy to mass produce cards...I tried making two different cards - one super easy to reproduce and one maybe not so easy? LOL 

Here’s everything included the Merry Blooms Kit – which is available for $69:

  • Merry Blooms Stamp, Stencil, & Clear Combo set
  • Perfect Poinsettia die collection
  • Clearly Crafty Joyful Season stamp set
  • Bits & Pieces – Red Pearl & Gold Drip Drop Mix
  • 6 A2 Envelopes: Sugar Cube, Toffee, Cherry Pop, Mulled Wine, Djion, and Cilantro
  • Packaged in a zippered pouch with a custom kit label

Limited quantity available. Most items not available to purchase individually.


I love my first card because it screams me - vibrant and colored cardstock! I tried using the emboss resist technique for the first time. I first started off by heat embossing the Merry Blooms stamp using clear embossing powder on Granny Smith Cardstock. I then ink blended the cardstock using Sweet Basil ink. To remove the ink on the embossed parts, I wiped the ink using a damp cloth and sometimes also used my clear copic marker! Later, I die cut the poinsettia using watermelon and cherry pop cardstock and ink blended the edges using fruit punch and mulled wine dye ink! I then heat embossed the details of the poinsettia using gold embossing powder. Finally, I heat embossed a sentiment from the set using white embossing powder and added details using a white gel pen! 


Supply List:


I think my next card is easily reproducible... at least that was my intention! I first cut a white cardstock smaller than A2 diagonally. I then stamped the leaves using Blue Raspberry and Granny Smith dye inks. Then, I stenciled the poinsettias using Jelly Donut and Lollipop dye inks. I stamped the sentiments using Jelly Donut and Lollipop in the empty spaces. If I felt like there was a bit too much white space, I used the clear stamps to stamp in any additional leaves. Once I finished the card, I didn't exactly like the toffee cardstock showing in between the diagonal cuts... I regretted cutting it for a bit! In order to cover it, I added a heat embossed sentiment on Blue Raspberry cardstock to cover it up! 


Supply List:


That's to folks! I hope you liked the inspiration with this new release... See ya soon!

Happy Crafting,
Kavya


Share
Tweet
Pin
Share
No comments

Hi folks, 

Taylored Expressions has a new release out but it's not cardmaking! It's a collection of fun dies that allow you to create gorgeous one of a kind earrings in seconds. I love stretching my supplies so I went an extra mile and created some fancy earrings by using thin balsa wood (available at any craft store... you could also stack multiple die cuts). 


In general, I made them by coloring the wood using alcohol makers (metallic markers for the gold!) and heat embossing them using white embossing powder or stamping using dye ink. I didn't have any varnish at hand to make them waterproof but you could also use Mod Podge or Glossy Accents. I also don't plan on doing deep sea diving with these earring so I just left them as is! 


Supply List:

That's it folks! I hope you liked this fun release....I definitely did!

Happy Crafting,
Kavya
Share
Tweet
Pin
Share
No comments


Hi folks, 

Taylored Expressions has a fun new release out and it is all about the mini slimline cards! This release has so many fun critters and dies that can be used with A2 size as well...


My first card is a fruit cocktail themed card made using the new Tutti Frutti card! I first started of by stamping and coloring a bunch of fruits from the set. I then ink blended an A2 cardstock with Peaches and Cream dye ink and stamped the Ticks and Tack background using the same ink. Then, I created a shaker element out of the mason jar stamp die set and ink blended the inside using Cookie Monster and Mint Julep inks. For the straw, I simply cut a strip of cardstock and added red stripes using a red alcohol marker. I added a sentiment from the Tutti Frutti set to finish it off!


Supply List:


My next card uses the new Toucan Do It stamp set to create a mini slimline card (it is a bit longer than 6"). I first ink blended Sugar Cube cardstock using Lollipop, Candy Corn and Pineapple dye inks. I then stenciled using the Tropical Leaves stencil on top using the same inks. Later, I stamped and colored images from from the Toucan Do It and It's a Jungle background. Finally, I heat embossed a sentiment from the set to finish it off! 

Supply List:


That's all I have got for this release! I hope you enjoyed it as much I loved creating with it...

Happy Crafting,
Kavya


Share
Tweet
Pin
Share
No comments


Hi folks, 

Taylored Expressions has a fun new kit out... if you like puns, this one is for you! I have two very different cards for this release! Here’s everything included the Very Cherry Kit– which is available for $65:

  • Very Cherry Cling & Clear Combo set
  • Very Cherry stencil
  • Clearly Crafty Cherry on Top stamp set
  • Cherry on Top die collection
  • Open Scallop Circle die
  • 6 Custom Envelope Seals
  • 6 A2 Envelopes: 2 each of Cherry Pop, Strawberry Milkshake, and Peapod
  • Packaged in a zippered pouch with a custom kit label

Limited quantity available. Most items not available to purchase individually.


My first card is super simple to recreate. I first started off by masking the bottom half of the background stamp and then stamping it on some Sugar Cube cardstock using Oreo ink. I then stamped the 'inner portion' of the cherries at an offset by using various ink colors to create a graphic look! I then simply added 'HI' by using the Cap it Off Alpha dies and another sentiment from the kit. Finally, I trimmed the edges and matted it on some Toffee cardstock to finish it off. 


Supply List:

My second card is another one of my 'vibrant' cards. I first started off by coloring a bunch of cherries in red and pink using colored pencils and alcohol markers. I first stamped them using oreo ink and I later added some white outlines using a white gel pen after coloring. I then ink blended the edges of some Blueberry cardstock using Bluecorn ink. Later, I used some of TE's new Glitter Grab and TE Cookie Monster glitter with the stencil in the kit to add some tiny glitter hearts to the background. I also applied some glitter to an Open Scallop Circle Die cut and placed a heta embossed sentiment on top to finish off the card! 


Supply List:


Hope you liked this fun release! Be sure to check out what the rest of the team has in store!

Happy Crafting,
Kavya


Share
Tweet
Pin
Share
No comments


Hi folks, 

Taylored Expressions has a new release out and its all about summer which I am waiting for - impatiently! Also, we have a new glitter collection... if you like sparkle, this is for you! Let's get started shall we?!


My first card uses the new Anything's Popsicle Stencil, Clear Stamp and Die set! It's a punny card for a father :) I first started off by ink blending a bunch of popsicles using Lollipop, Candy Corn, Granny Smith, Pineapple, Cookie Monster and Jelly Donut Inks. I then used the Glitter Grab to apply some 'sprinkles' and 'dipping'. I then sprinkled some Pearl glitter on top. Then, I used the Rainbow cutting plate to create a fun 'rainbow' background. Later, I created a the word 'Pops' using Cap It Alpha die and some glitter cardstock. Finally, I added some sentiments from Mini Strips - You are the Best to finish off the card!


Supply List:


My second card uses a bunch of products from this release and I am totally in love with it! I created the scene by cutting out some waves using the Build a Scene - Rolling Waves die and the Ray of Sunshine Cutting Plate. I then used On the Block Cool and Mini Strips Hello Summer for the sentiments. Later, I added some glittery shades using Sun's out die set and the new Jelly Donut glitter. Finally, I added a popsicle and ice cream by using the new Sweet Scoops and Anything's Popsicle Stencil and Clear stamp set. For some extra glam, I sprinkled some pearl glitter on top of the waves and sweet treats!


Supply List:


That's it folks! I hope you liked this new release! Get the glitter party started with our All That Glitters Glamour Box! This bundle is a $60 value for $50 and is available now through Sunday, June 20th. The TE All That Glitters Glamour Box includes: 10 – 1 oz jars of fine loose glitter (Lollipop, Cherry Pop, Candy Corn, Peapod, Cookie Monster, Jelly Donut, Pearl, Silver, Gold and Oreo) + a 4 oz. jar of TE Glitter Grab. The discounted bundle price is only available through Sunday, June 20th.


Happy Crafting,
Kavya


Share
Tweet
Pin
Share
No comments


Hi folks. 

I am back on the blog with another fun release from TE and it's all about celebrating America! My first card combines a bunch of new products in creative ways. I first started off by stenciling the Starstruck stencil on Toffee cardstock using Sugar Cube ink. I then heat embossed the Full Circle - Patriotic stamp on a die cut USA map (Land of the Free die!). Later, I die cut the stars from the Starstruck set using Cherry Pop and Sugar Cube cardstock and finished it off by adding a sentiment from Full Circle Patriotic! Fun Fact: The sentiments fit perfectly in the Mini Strips and Simple Strips dies! 


Supply List:


My next card is super simple! I first stamped the Sketched Flag background on Sugar Cube cardstock using Cherry Pop and Blueberry ink. I then die cut a frame using Stitched Frame Stacklets 1 and Blueberry cardstock and placed it on some Sea Salt cardstock. I thought the background was a bit too dark so I added some vellum on top to make it lighter :) I then stamped On the Block - Brave using Blueberry, Blue Raspberry and Cherry Pop ink and also added a sentiment from Building Blocks - Brave Additions. Finally, I stamped a bunch of Uncle Sams and placed them all over the card! 


Supply List:


Hope you liked this release! Be sure to checkout what the rest of the DT has in store! 

Happy Crafting,
Kavya


Share
Tweet
Pin
Share
No comments
Newer Posts
Older Posts

About me


Hello! I am Kavya. Welcome to my blog where I share my love for all things papercrafting and cardmaking. I am excited that you decided to stop by and look around.

Follow me on Social Media

  • Instagram
  • YouTube

Cards by Brand

Alex Syberia altenew Heffy Doodle Mama Elephant MFT newton's nook Pear Blossom Press Reverse Confetti SugarPea Designs Sunny Studio Stamps Taylored Expressions Wow Embossing

Blog Archive

  • ▼  2024 (11)
    • ▼  October (1)
      • Bear Hugs ft Taylored Expressions
    • ►  September (1)
    • ►  August (1)
    • ►  July (1)
    • ►  June (1)
    • ►  May (2)
    • ►  April (1)
    • ►  March (1)
    • ►  February (1)
    • ►  January (1)
  • ►  2023 (15)
    • ►  December (1)
    • ►  November (2)
    • ►  September (3)
    • ►  August (1)
    • ►  July (1)
    • ►  June (1)
    • ►  May (1)
    • ►  April (2)
    • ►  March (1)
    • ►  February (1)
    • ►  January (1)
  • ►  2022 (34)
    • ►  November (4)
    • ►  October (1)
    • ►  September (3)
    • ►  August (1)
    • ►  July (1)
    • ►  June (5)
    • ►  May (5)
    • ►  April (2)
    • ►  March (5)
    • ►  February (3)
    • ►  January (4)
  • ►  2021 (47)
    • ►  December (1)
    • ►  October (3)
    • ►  September (6)
    • ►  August (5)
    • ►  July (2)
    • ►  June (4)
    • ►  May (3)
    • ►  April (4)
    • ►  March (4)
    • ►  February (6)
    • ►  January (9)
  • ►  2020 (28)
    • ►  December (7)
    • ►  November (7)
    • ►  October (2)
    • ►  September (11)
    • ►  August (1)

Popular Posts

  • Sunny Studio Stamps 6th Birthday Blog Hop!
      Hi folks,  Welcome to the Sunny Studio Stamps 6th Birthday Blog Hop! This new release is just so much fun! If you love Christmas.. this on...
  • Sunny Studio Stamps 7th Birthday Blog Hop
      Hi folks,  I am back on the blog with another fun card! I know it's been weeks since I have posted but life's been crazy :) But, I...
  • Heffy Doodle + Sunny Studio Stamps blog hop!
    Hi folks,  Welcome to the Heffy Doodle and Sunny Studio Stamps Collaboration Blog Hop! Design Team members from both companies are sharing i...
  • New Gel Printing Kit from TE
      Hi folks,  TE has a new kit and it's all about gel printing! I have never tried it before so I was excited to get my hands on it and t...
  • Go Cray-zy! It’s the Pear Blossom + Heffy Doodle blog hop!!
      Hi folks,  Today, we’re kicking off a CRAFTY Collaboration Blog Hop with Pear Blossom Press and Heffy Doodle !  Come hop along with us and...
  • You are my Best-Tea! : MFT Dec Release!
    Hi folks! I am super excited to be a part of MFT's December release! This new release has so many adorable and versatile products just l...
  • Toy Story ft. MFT Stamps!
    Hi folks,  I am back on the blog with another fun project for MFT’s Cardmaking Superstar competition. I always love taking part in every yea...
  • Christmas Gifting Kit from TE!
      Hi folks,  TE has a new Christmas Gifting Kit that has many unique products that make packaging and decoration super adorable! As always, ...
  • TE - Happy Father's Day!
      Hi folks,  I am back on the blog with another fun release from Taylored Expressions - Father's Day! I love this release... it's so...
  • Mass produce Christmas cards easily with TE!
      Hi folks,  I am back on the blog with another fun release from TE! I love how the new Create in Quad stencils make it super easy to mass p...

Followers

Check out more cards on my Instagram here Watch Cardmaking videos on my YouTube channel here

Created with by BeautyTemplates | Distributed By Gooyaabi Templates