Instagram YouTube

Handmade by Kavya

  • Home
  • Creative Resume
  • Contact Me


Hi folks, 

Do you know that TE sells custom stamps? TE is launching 15 new designs today and Taylor handpicked and sent the design team a custom stamp to showcase the new designs. I was so STOKED when I saw mine! I absolutely love it and I love the minimalist style! My dream is to launch my own product line, so I feel like this stamp kind of manifests it :) Get your own at temadeforme.com.

For today's card, I decided to pull out a product that I haven't used yet. I bought these stunning Baroque Overlay die few months ago but never got around to using it. I decided to make a fun and quick Birthday card using my signature style of dark cardstock + bright colors so that it fits the custom stamp! After diecutting the overlays, I ink blended it using Lollipop, Candy Corn, Pineapple, Granny Smith and Blue Raspberry dye inks. Then I placed it on top of Oreo cardstock and added a heat embossed sentiment from On My Word - happy Birthday to finish off my card! I also heat embossed the back of my cards using the One of A King personalized stamp and some gold embossing powder.
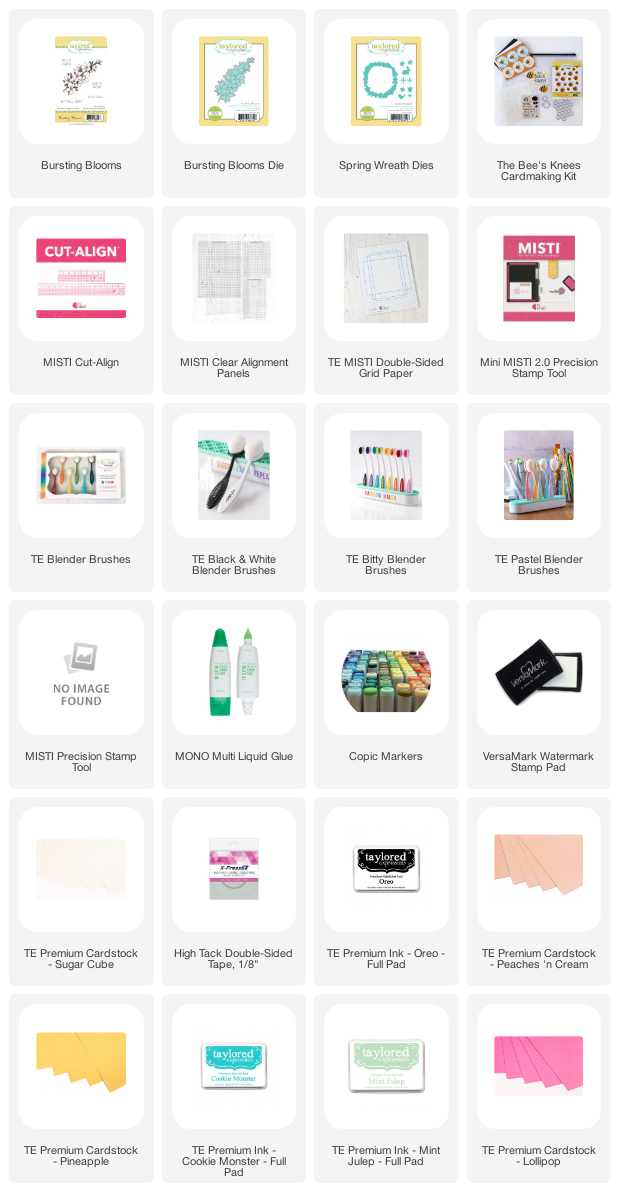
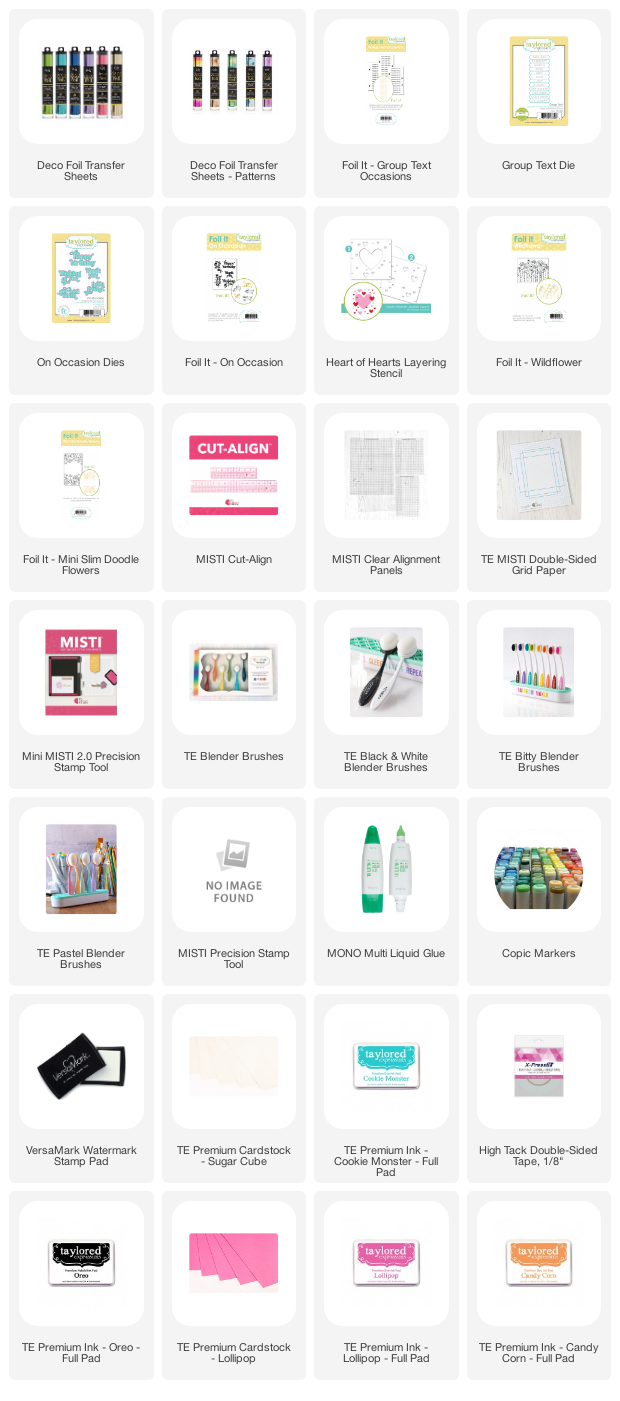
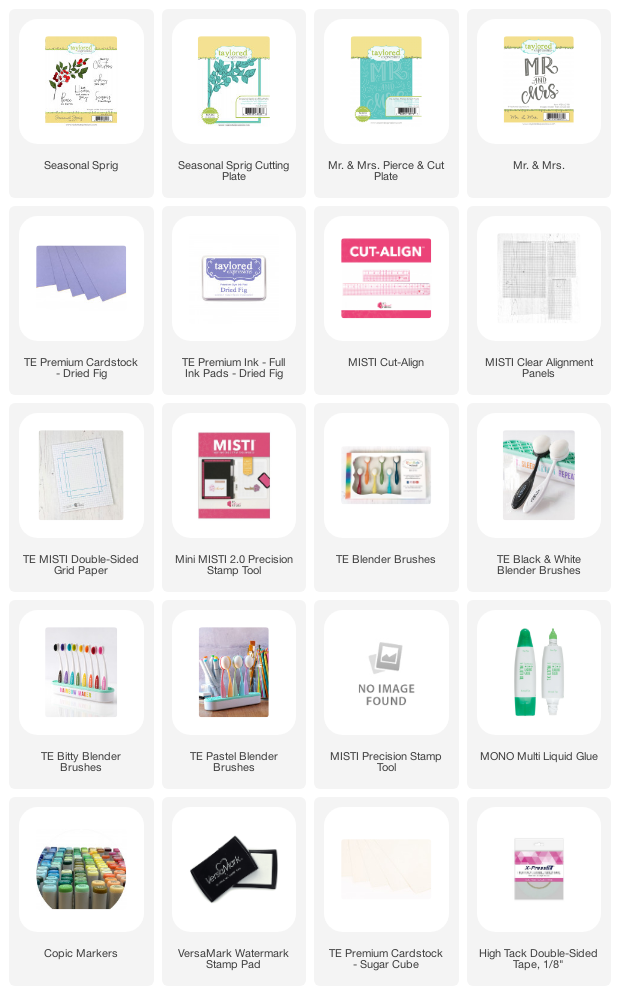
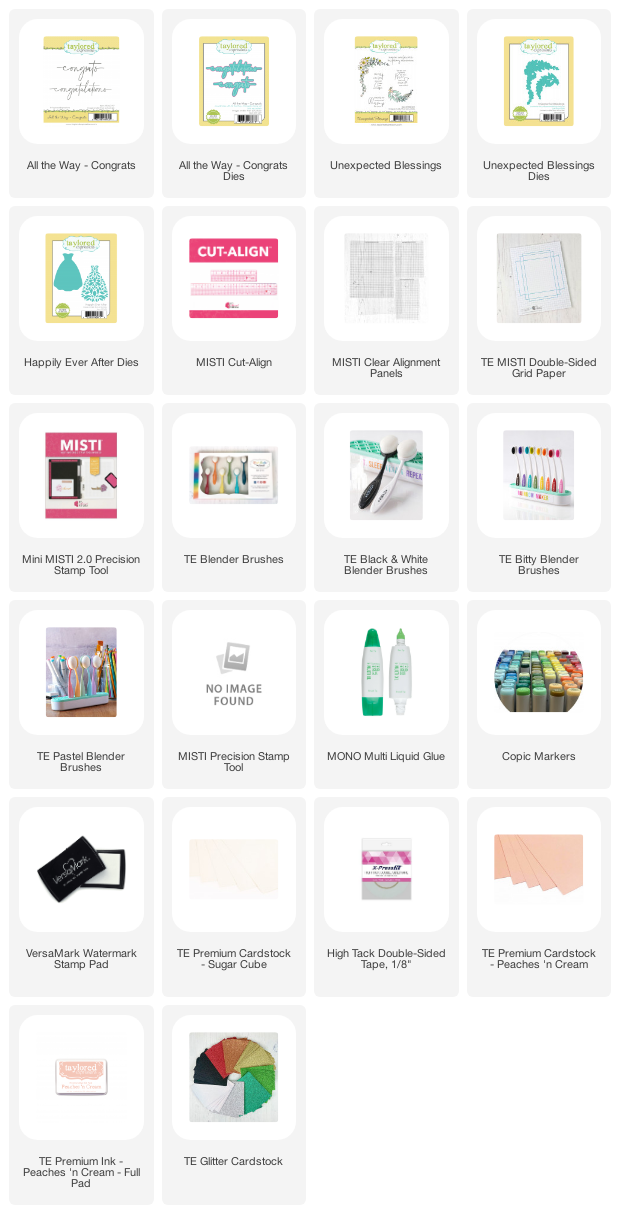

Supply List:


That's it folks! I hope you liked today's card :)

Happy Crafting,
Kavya


Share
Tweet
Pin
Share
No comments


Hi folks, 

I am back on the blog with another fun kit from TE! I love critters so this is one of my favorite kit so far!  You’ll love creating the cutest bumblebees using the Stamp & Stencil Combo set to include on all sorts of crafty projects. 

What is unique about Taylored Expressions kits? In keeping with our mission to Share Joy, we encourage you to send the cards you create by including six envelopes along with six custom envelope seals to match the theme of the kit. Each kit comes packaged in a zippered pouch with a coordinating vinyl sticker making it easy to keep the supplies organized. We create a special color story for each kit with lots of inspiration from our Creative Team to get you started!

The Bee’s Knees Cardmaking Kit retails for $74, comes in a zippered pouch with a custom sticker, and includes:

  • The Bee’s Knees Stamp & Stencil Combo set
  • The Bee’s Knees die collection
  • Clearly Crafty What’s the Buzz? stamp set
  • Honeycomb Cluster die
  • A2 Envelope Pack (6 envelopes, 2 each of: Oreo, Sugar Cube, and Honey)
  • Envelope Seal Pack (6 seals)

Limited quantity available

My first card uses a bunch of products from the kit + some that you might already have in your stash! I first started off with a mini slimline sized Peaches and Cream cardstock. Then, I diecut the Honeycomb cluster using Pineapple cardstock and colored the outer border using a darker yellow Copic marker. Then, I ink blended the bees using Pineapple, Chocolate Truffles and Cookie Monster dye ink. After die cutting the bees, and adhering to the background, I added some white daisies from the Spring Wreath stencil set. Added a heat embossed sentiment and I was done!

My second card also combines florals with these adorable Bumblebees! I first created my background by ink blending Cookie Monster and Mint Julep dye inks and added the bees and flower from Bursting Blooms. Added a sentiment and I was done! 


Supply List:


I hope you liked this week's inspiration! 

Happy Crafting,
Kavya


Share
Tweet
Pin
Share
No comments


Hi folks, 

I am super excited to be guest designing for the awesome Alex Syberia designs! I am a huge fan of trying out unique color combos and pairing different products. I hope my projects this month inspire you! 

For my first card, I decided to use the Seashells digital stamp set. I can’t wait to spend time at the beach and I thought it would be perfect to begin the summer with a summer themed card! I first started off by coloring a bunch of seashells from the digital stamp set. I then created my background by using the Cool Pool Rotating Stencil from Taylor Expressions for the top part and then ink blended the bottom part of the cardstock using tea dye and antique linen distress oxide inks. For the water background, I used tumbled glass, mermaid lagoon and blue print sketch distress oxide inks. After adhering all the seashells on the background, I finished off my card by adding a sentiment and some more details using a white gel pen! 


That’s it folks! Wasn’t that simple? I absolutely love how this turned out and I hope this inspires you to try out the digital stamp set in other unique ways. 

Happy Crafting,
Kavya


Share
Tweet
Pin
Share
No comments


Hi folks, 

Taylored Expressions has a new release out and it's all about foiling. I love foiling but I don't use it often because they are just so DIFFICULT to photograph, and it drives me bananas! They are great as gifts but not for IG lol :D

My first card today uses the new Wildflower Foil - It Panel and Opal foil. I used the Heart of Hearts layering stencil to selectively stencil some hearts on the foiled background panel using Lollipop and Candy Corn dye inks. Added another foiled sentiment from Foil It - On Occasion and Foil It - Group Texts Occasions and I was done! 


My next card uses the Foil It - Mini Slimline Doodle flower panel and Champagne Deco foil. After foiling, I used my 'faux water coloring' (check IG to see how to do this!) technique on paper. The panels are printed on 110lb paper, so they are quite sturdy. Just make sure to sure use less water so that the paper doesn't pill, or I guess disintegrate. After the first watercolor wash, I just colored in the flowers using copic markers. Just like the previous card, I added a sentiment from Foil It - On Occasion using Silver Stars deco foil and a random sentiment strip that I had lying around, and I was done :) 


Supply List:

That's it folks! Hope this inspires you :)
Kavya


Share
Tweet
Pin
Share
No comments
Hi folks, 

I am back on the blog with another fun release from TE - Summer Fun! If you love critters, this one is for you. There are so many awesome products that are just perfect for scene building. 

For my first card, I used the new Pool Party stamp set and the Boho Hellos sentiment set. I first started off by ink blending on Peaches and Cream cardstock using Peaches and Cream ink and Brick by Brick stencil to create a pool deck. Then, I used the Cool Pool Rotating Stencil with Cookie Monster and Mint Julep inks on Sugar Cube to create the pool background and Stitched Frame Stacklets 1 to create the pool. Colored and adhered a bunch of images from Pool Party and added a sentiment to finish off my card :) 

Supply List:


My next card uses the new Tropical Leavies die set. I first diecut the leaves out of Granny Smith and ink blended the edges using Peapod. Then, I colored one of the dies to look like a stem of Birds of Paradise flower. I ink blended Jelly Donut, Lollipop and Sweet Potato Pie to create my sunset and used the Cool Pool Rotating Stencil to create my water. Added a flamingo from Tickled Pink and a sentiment from Hello Sunshine and I was done! 


Supply List:

Happy Crafting,
Kavya


Share
Tweet
Pin
Share
No comments
Hi folks,

TE has a new release out and it’s all about weddings! These products are absolutely stunning and can be paired easily with so many older releases. Who doesn’t like versatility? 

My first card is another one of my ‘dark floral’ cards! This time, I tried a new color - Dark Fig! Isn’t it gorgeous? I started off by die cutting it using Mr and Mrs Pierce and Cut plate. Then, I layered it on top of another Dried Fig cardstock and ink blended the edges using Dried Fig ink. Later, I heat embossed the Mr and Mrs stamp and colored a bunch of Seasonal Sprigs and assembled them around the sentiment. Tip: Color the die cut edges of stamped images using matching copic marker for a clean look!

Supply List:

My second card was made using the new Happily Ever After die. I first die cut the top bridal gown using white cardstock and the backing using white glitter cardstock. Then, I placed this on top of Peaches and Cream cardstock and adhered some flowers from Unexpected Blessings around it! Add a heat embossed sentiment from All the way - Congrats and you are done! 


Supply List:

That’s it folks! I hoped you liked this release!! 

Happy Crafting,
Kavya
Share
Tweet
Pin
Share
No comments

Hi folks,

I am back on the blog with another fun kit from TE! If you love those modern + farmhouse themed products, this one is for you! Both my cards today are super simple to recreate and involve a bit of fussy cutting. Nevertheless, I love how they turned out! 

I first started off by creating an alcohol ink background for both my cards. I used shades of green and blue for one and pink and purple for another. Then, I foiled one of the panels using Emerald Deco foil and left the other unfoiled. I slightly colored the eucalyptuses using alcohol markers and then, fuzzy cut the frames. Matted the frames on alcohol ink backgrounds and I was done!


I hope this inspires you! Check back next week for another fun release!

Happy Crafting,
Kavya
Share
Tweet
Pin
Share
No comments


Hi folks, 

Taylored expressions has a new release out and it’s and all about celebrating America! Read along to see how I made my projects for today!

For my first card, I started off by ink blending a night sky using Bluecorn, Blueberry and Blue Raspberry inks on a Foil It panel for Fireworks. I also foiled it using silver decofoil. Then, I die cut the Mix and Match - Stars and Stripes die cutting plate out of Blueberry and Fruit Punch cardstock. Downtown Border out of Bluecorn and the Statue of Liberty out of Spearmint cardstock. Added a sentiment from 'Land that I Love' and I was done!


Supply List:


My next card is another one of my faux watercolor technique cards. I have a quick guide with a video over on my Instagram (@handmadebykavya) in case anyone is interested. I first started off by stamping the Star Spangled banner on watercolor paper using Blueberry and Fruit Punch dye inks. Then I applied watercolor top just like how I did in my guide on IG. I matted it on Toffee cardstock and added a sentiment to finish off my card :)


Supply List:


That's folks! I hope you liked this week's projects :)

Happy Crafting,
Kavya


Share
Tweet
Pin
Share
No comments


Hi folks, 

The new ink colors from TE are here and I am absolutely in love with them. Both my projects today use the same new colors - Tropical Punch and Passion Fruit along with some oldies :)

For my first project, I used the Triple Mini Slimline - In the Garden Stencil on the bottom of an A2 sized card! It's just perfect for adding a sentiment at the top. after ink blending, I added some 'watercolor' effect using liquid watercolors and finished it off with a sentiment from Oh yes you did. I will be releasing a video showing the watercolor effect on my Youtube channel and IG this Friday... so stay tuned! I couldn’t edit the video in time but hopefully I get it done by Friday. Still trying to find time for cardmaking with the entire return to office situation :) 


My next card uses the new Passion Fruit cardstock and one of my favorite cardmaking layouts - florals on dark cardstock! I stuck to the same copic colors from my palette above while making this one. I colored a bunch of florals from Spring Spray and added a sentiment to finish it off :)


Supply List:


That's it folks! I hope you liked this fun project :)

Happy Crafting, 
Kavya


Share
Tweet
Pin
Share
No comments


Hi folks, 

I am back on the blog with another fun release from Taylored Expressions - Father's Day! I love this release... it's so unique with endless opportunities to create fun scenes! 

My first card is a shaker card :) I started off with creating my background by die cutting a wave border out of Confetti Cake cardstock and ink blended the edges using Blue Raspberry and Blueberry dye inks. I also used the Just Keep Swimming stencil to create a fun school of fish in the background. Then, I die cut a bunch of tiny fish from Little Bits - fish and created a shaker element using a circle die and Snow Flurries sequins. Place this on top of a piece of saltwater taffy cardstock and added embossed sentiments on Blueberry cardstock. I finished off my card by adding a bunch of fishes from Hook, Line & Sinker and a fishing pole from Reely Great. 


Supply List:


My next card is super easy to create! No fancy technique at all. Just stamp the denim background on Blueberry cardstock using blue corn ink and then add a Stitched Frame using Bluecorn cardstock. To give it a faux stitching effect, I used a gold gel pen to go over the stitched details. Then, I added a T shirt using Dad Bod and the coordinating die. To make it more realistic, I added details by cutting off sleeved and borders from another die cut shirt out of Granny Smith cardstock. Added my sentiments and I was done! 


Supply List:


That's it folks! Hope you liked this week's inspiration :)
Kavya


Share
Tweet
Pin
Share
No comments
Hi folks, 

I am super excited to be a part of Reverse Confetti's 9th Birthday Blog Hop :) For this special occasion, I was inspired by one of the stamp sets that is a part of the release - Love Wins. A portion of the sales from this set will be donated to both Human Rights Campaign and The Trevor Project. How amazing is that?


For this Pride themed card, I started off by ink blending a rainbow themed background using dye inks. For the 'land', I used a strip of ink blended linen cardstock. As always, I added some paint splatters for extra glam! Then, I colored a bunch of images from the Birthday Buddies stamp set and arranged them such that the colors match the background. I finished off my card by adding a sentiment from 'All You Need' :)


Absolutely love how this turned out! Check out the next person on the hop for more inspiration :)

Reverse Confetti
Michelle Short
Cheryl Espie
Kelly Lunceford
Audrey Tokach
Joy Baldwin
Amy Rohl
Jennifer McGuire
Maria Russell
Becky Roberts
Kavya -----> You are here
Andrea Shell -----> Next person on the list
Lisa Henke
Cheiron Brandon
Anita Madden
Heather Ruwe
Amy Kolling
Jenny Colacicco
Lien Leysen
April Antonio
Dana Kirby
Susan Wymer
Jeanne Jachna
Rachel Alvarado
Tricia Barber
Brandi Maho
Amy Tsuruta
Richard Breaks
Jeff Lindberg
Colleen Beamish
Ricky Burton - Romero
Joe Sysavath

Supplies Used:


Happy Crafting,

Kavya


Share
Tweet
Pin
Share
1 comments
Newer Posts
Older Posts

About me


Hello! I am Kavya. Welcome to my blog where I share my love for all things papercrafting and cardmaking. I am excited that you decided to stop by and look around.

Follow me on Social Media

  • Instagram
  • YouTube

Cards by Brand

Alex Syberia altenew Mama Elephant MFT newton's nook Reverse Confetti SugarPea Designs Sunny Studio Stamps Taylored Expressions Wow Embossing

recent posts

Blog Archive

  • ▼  2023 (3)
    • ▼  March (1)
      • Easter Greetings from TE
    • ►  February (1)
    • ►  January (1)
  • ►  2022 (34)
    • ►  November (4)
    • ►  October (1)
    • ►  September (3)
    • ►  August (1)
    • ►  July (1)
    • ►  June (5)
    • ►  May (5)
    • ►  April (2)
    • ►  March (5)
    • ►  February (3)
    • ►  January (4)
  • ►  2021 (47)
    • ►  December (1)
    • ►  October (3)
    • ►  September (6)
    • ►  August (5)
    • ►  July (2)
    • ►  June (4)
    • ►  May (3)
    • ►  April (4)
    • ►  March (4)
    • ►  February (6)
    • ►  January (9)
  • ►  2020 (28)
    • ►  December (7)
    • ►  November (7)
    • ►  October (2)
    • ►  September (11)
    • ►  August (1)

Followers

Check out more cards on my Instagram here Watch Cardmaking videos on my YouTube channel here

Created with by BeautyTemplates | Distributed By Gooyaabi Templates